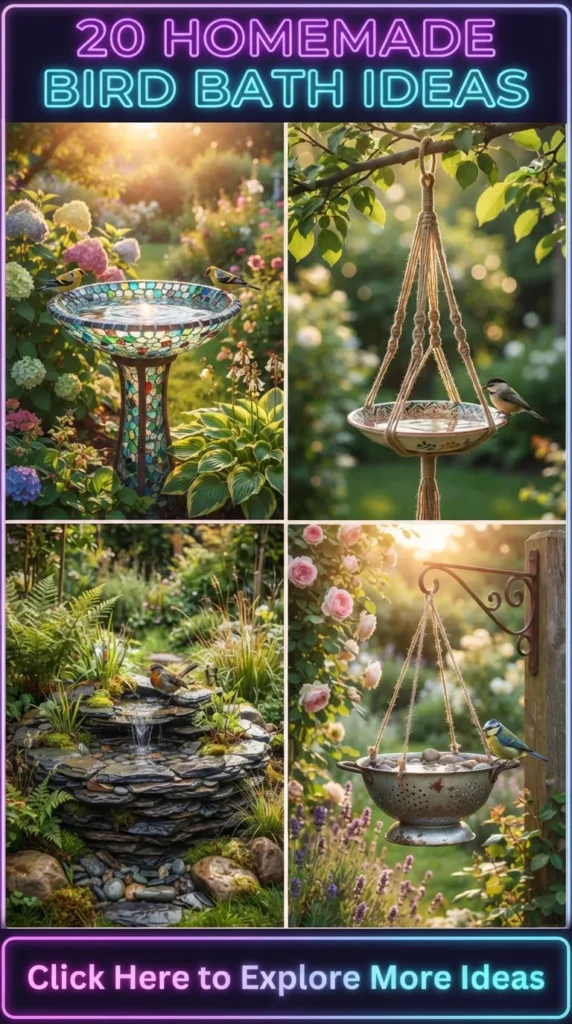
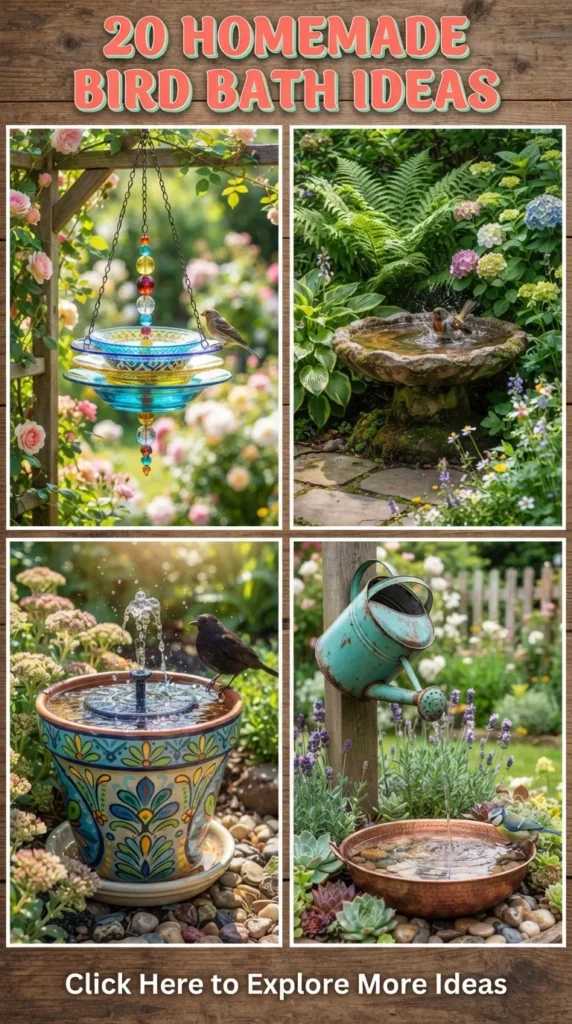
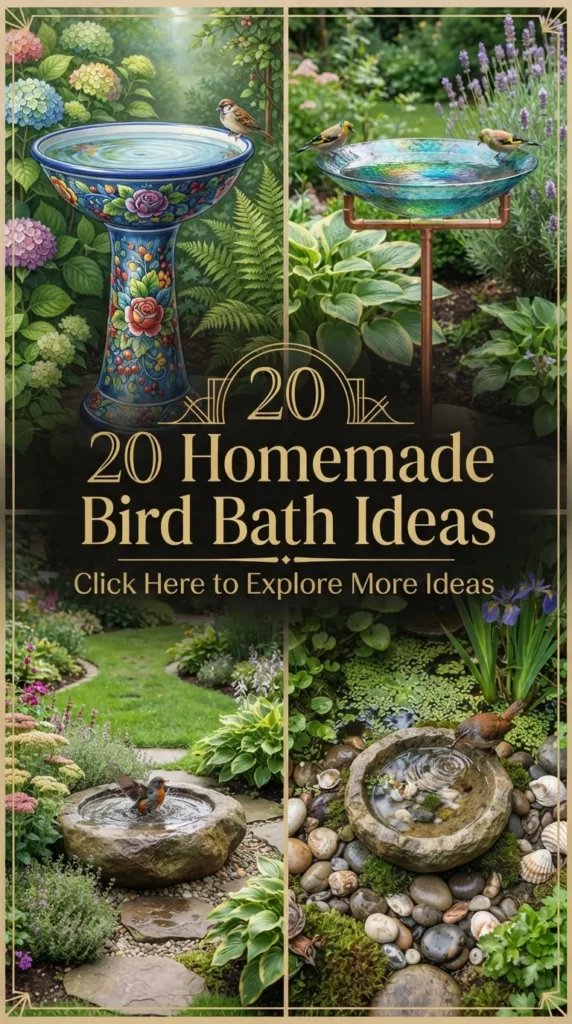
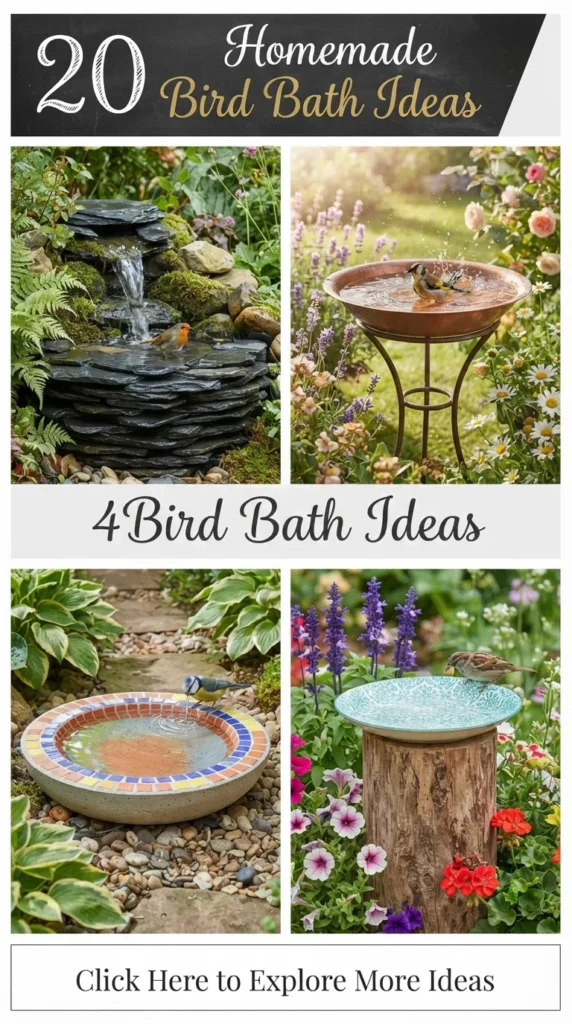
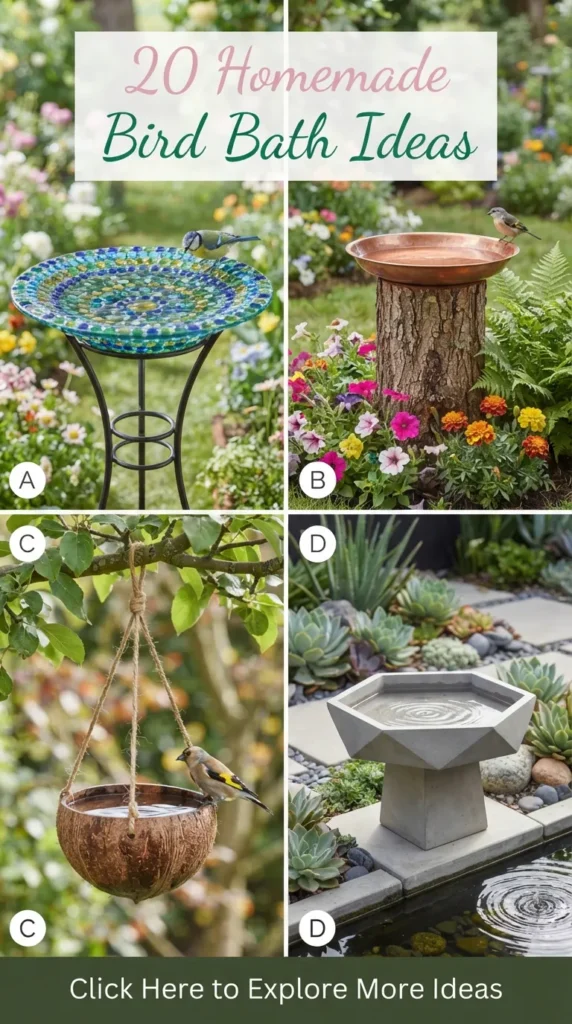
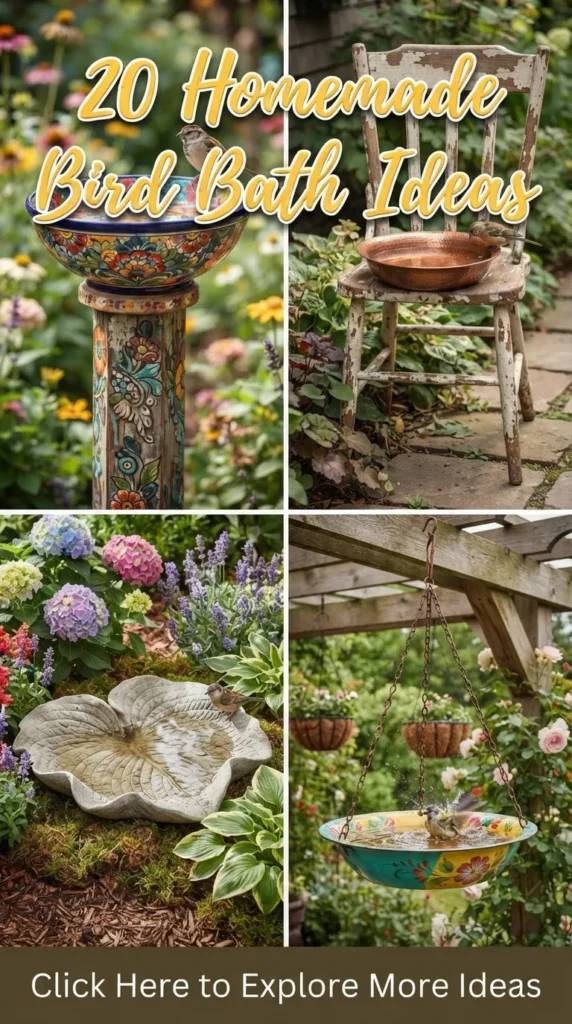
Transforming your backyard, balcony, or patio into a wildlife-friendly sanctuary doesn’t require expensive store-bought fixtures. A thoughtfully crafted DIY bird bath serves a dual purpose: it offers vital hydration and bathing space for feathered visitors while acting as an architectural centerpiece that anchors your outdoor aesthetic.
Modern garden styling relies on clean profiles, natural materials, textural contrast, and sustainable upcycling. Below is an in-depth guide to 20 elegant, modern homemade bird bath ideas, complete with material breakdowns, fabrication steps, maintenance tips, and styling variations.
1. Minimalist Architectural Concrete Pedestal
What This Idea Means This design merges raw industrial minimalism with clean geometric form. A smooth cast-concrete disc rests atop a sturdy cylindrical column, offering a sleek, contemporary contrast against soft garden foliage and ornamental grasses.
Materials Needed
- Quick-setting concrete mix
- Two nested plastic shallow saucers (one 18-inch, one 16-inch for the bowl mold)
- Heavy-duty cardboard concrete forming tube (Sonotube, 8-inch diameter)
- Mineral oil or mold release spray
- Non-toxic concrete sealer (food/bird safe)
- Coarse and fine grit sandpaper
How to Make It
- Cut the cardboard tube to your preferred height (24–28 inches). Seal the bottom base securely.
- Coat the interior of the tube and the plastic saucers with mineral oil.
- Mix the concrete to a thick, workable consistency. Pour into the column tube and tap the sides to release air bubbles.
- Pour concrete into the 18-inch saucer, press the 16-inch saucer firmly in the center to create a 1.5 to 2-inch shallow depression, and weigh it down with stones.
- Allow both components to cure for at least 48 to 72 hours.
- Demold, sand rough edges, and bond the basin to the pedestal using exterior-grade concrete adhesive.
- Apply two coats of non-toxic concrete sealer across the basin surface to prevent lime leaching into the water.
Tips and Variations
- Tip: Never make the basin deeper than 2 inches; wild birds avoid deep water due to drowning risk.
- Variation: Mix black iron oxide pigment into the wet concrete for a dramatic matte-charcoal finish.

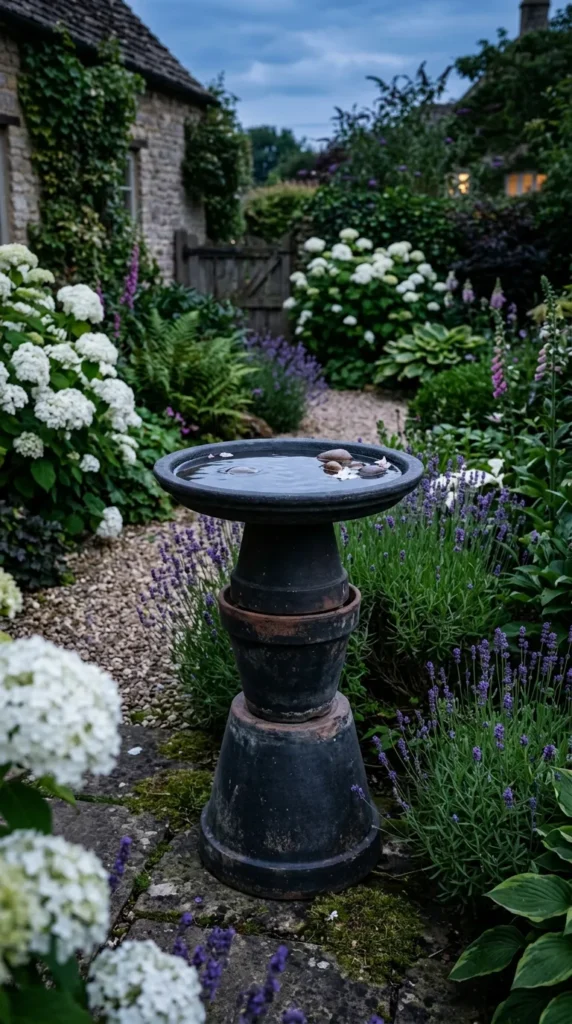
2. Stacked Terracotta Pedestal with Matte Stone Finish
What This Idea Means A reimagining of classic Italian terracotta, this project uses graduated, inverted flower pots coated in textured stone spray paint. The result is a sculptural, fluted pedestal with classical proportions and modern texture.
Materials Needed
- Three graduated terracotta pots (large, medium, small)
- One large shallow terracotta saucer (14–16 inches)
- Exterior structural construction adhesive (polyurethane base)
- Textured stone-finish outdoor spray paint
- Matte clear bird-safe waterproofing sealant
How to Make It
- Thoroughly clean and dry all terracotta pieces.
- Invert the largest pot base-down on a flat workspace.
- Apply a generous bead of construction adhesive along the base rim and seat the medium inverted pot directly on top. Repeat with the smallest pot.
- Secure the shallow saucer upright onto the top pot’s base with adhesive. Let cure for 24 hours.
- Spray uniform coats of textured stone paint over the entire exterior.
- Seal the interior of the water dish with bird-safe clear waterproof sealant to ensure water retention without chemical leeching.
Tips and Variations
- Tip: Fill the lowest pot cavity with sand or gravel before assembly to provide wind resistance.
- Variation: Paint subtle color-block geometric bands along the pot rims using muted sage or cream tones.
3. Scandinavian Hanging Copper Basin
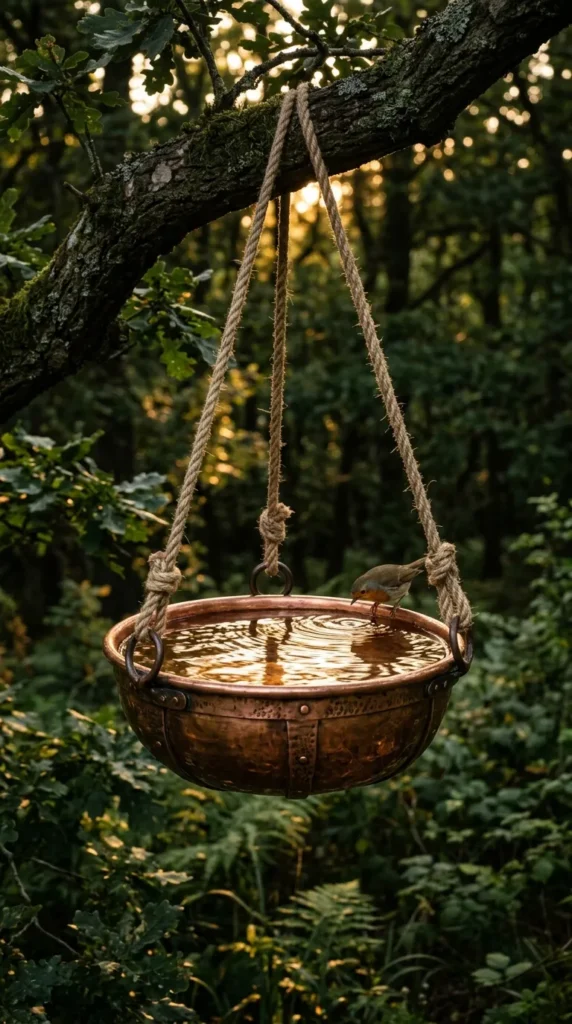
What This Idea Means Hanging bird baths keep wildlife safe from ground predators like domestic cats. This concept features a spun copper bowl suspended by natural marine-grade jute rope or matte black steel cables, catching sunlight while lending a Nordic minimalist touch.
Materials Needed
- Shallow spun copper or brass bowl (12–14 inches wide)
- Heavy-duty hanging hardware (three small brass eyelets or brass wire)
- Thick marine-grade jute rope or black coated wire rope
- S-hook and outdoor ceiling/branch mount
- Power drill with metal drill bit
How to Make It
- Measure and mark three equidistant points along the rim of the copper bowl.
- Drill small pilot holes through the marked rim positions.
- Thread three equal lengths of rope or wire through the holes, securing them underneath with heavy knots or metal crimps.
- Gather the ropes 24 inches above the bowl and secure them together in an overhand knot or around a brass marine ring.
- Hang the assembly from a sturdy tree limb or pergola beam using an S-hook.
Tips and Variations
- Tip: Copper has natural antimicrobial properties that help inhibit algae growth in fresh water.
- Variation: Add small natural sea stones inside the bowl to give smaller birds secure footing while drinking.
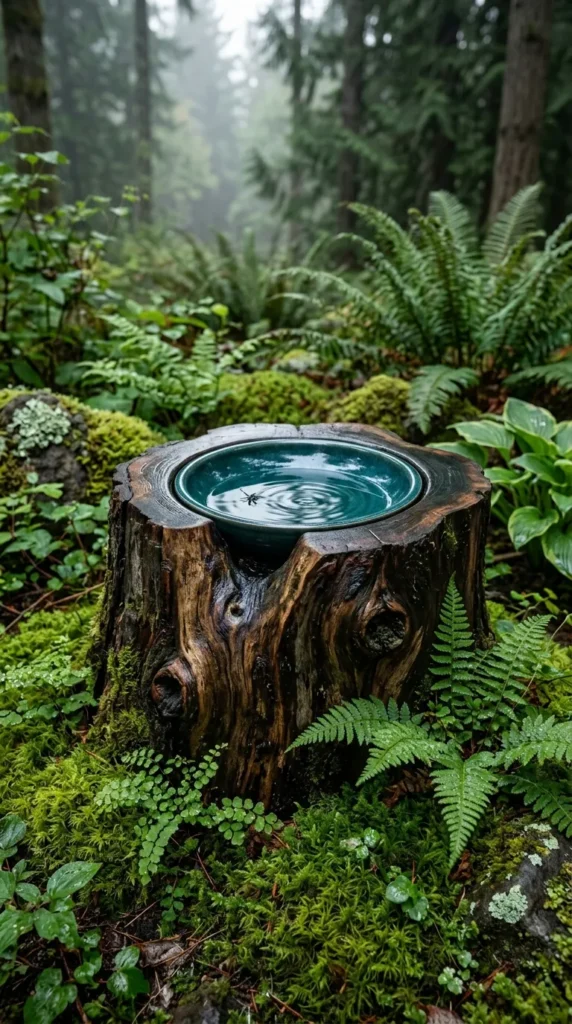
4. Raw Live-Edge Log Stave Bird Oasis
What This Idea Means This design embraces organic modernism (Japandi style), combining a preserved hardwood log base with a shallow recessed ceramic or glass dish inserted cleanly into the top surface.
Materials Needed
- Natural hardwood stump or log section (approx. 10–14 inches in diameter, 24 inches tall)
- Shallow glazed ceramic or stone basin
- Chisel and mallet (or router)
- Clear exterior outdoor wood deck sealer
- Level tool
How to Make It
- Level both ends of the wood stump using a hand saw or planer so it stands flat.
- Strip loose bark or leave it intact depending on preference; sand the top face smooth.
- Trace the outline of your shallow dish onto the top surface.
- Chisel out a recessed pocket deep enough for the dish rim to sit flush with the wood.
- Coat the wood with eco-friendly exterior marine or deck sealer to prevent rot and insect damage.
- Drop the shallow dish into the pocket for easy removal and cleaning.
Tips and Variations
- Tip: Elevate the bottom of the log slightly off damp soil using rubber patio furniture risers.
- Variation: Carve a shallow bowl directly into the log face, smooth it, and coat it with food-grade epoxy resin instead of inserting a ceramic dish.
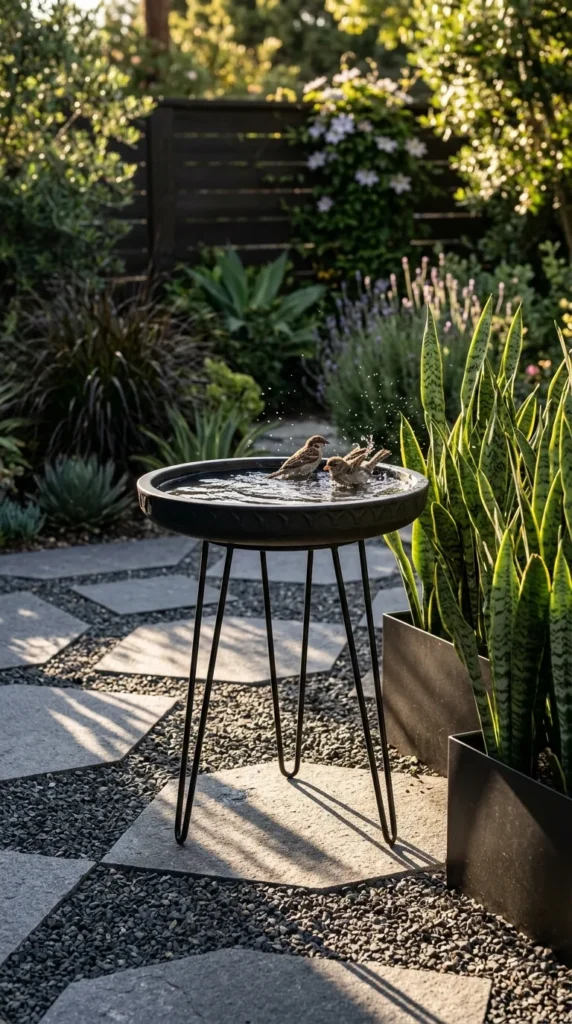
5. Mid-Century Modern Ceramic Dish with Hairpin Legs
What This Idea Means Drawing inspiration from 1950s architectural planters, this piece pairs an oversized low-profile ceramic bowl with a triangular matte black metal hairpin leg stand for a sleek, airy profile.
Materials Needed
- Shallow modern glazed ceramic platter or bowl (16 inches)
- Set of 3 short outdoor powder-coated hairpin legs (16–20 inches tall)
- Exterior-grade round plywood disk (sealed) or heavy-duty outdoor epoxy
- Stainless steel mounting screws
How to Make It
- Cut a marine-grade round wooden mounting plate roughly 2 inches smaller in diameter than the base of the ceramic dish.
- Sand and seal the wood plate with exterior polyurethane.
- Attach the three hairpin legs equidistant from each other onto the wood base using stainless steel screws.
- Affix the wide ceramic bowl to the top of the wood plate using exterior silicone or hybrid polymer adhesive.
- Allow the assembly to cure for 48 hours in a dry environment.
Tips and Variations
- Tip: Position this lower-profile bath near shrubs so birds have quick cover if startled.
- Variation: Paint the hairpin legs in a vibrant mid-century tone like mustard yellow or turquoise for a retro accent.
6. Minimalist Glass Mosaic Saucer on Steel Rebar
What This Idea Means A delicate, light-catching bath made by affixing recycled sea glass or iridescent mosaic tiles into a shallow terracotta base, elevated on a slender rebar stake driven directly into a flowerbed.
Materials Needed
- Shallow 12-inch terracotta saucer
- Assorted flat glass gems, sea glass, or ceramic mosaic tiles
- Waterproof exterior tile adhesive (thinset mortar)
- Non-sanded outdoor tile grout
- Bird-safe clear penetrating grout sealer
- Threaded floor flange and 1/2-inch steel pipe (36 inches)
How to Make It
- Clean the saucer and arrange mosaic pieces in concentric geometric patterns.
- Fix tiles in place with thinset mortar and let set for 24 hours.
- Apply grout across the surface, wiping excess grout off tile faces with a damp sponge.
- After curing for 72 hours, apply penetrating grout sealer to make it 100% water-impermeable.
- Fasten the floor flange to the underside of the saucer with epoxy, and screw the steel pipe into the flange before driving it into the ground.
Tips and Variations
- Tip: Keep the mosaic layer flat and smooth; uneven tiles make landing uncomfortable for songbirds.
- Variation: Use monochromatic charcoal and white tiles to create a sharp Scandinavian geometric motif.


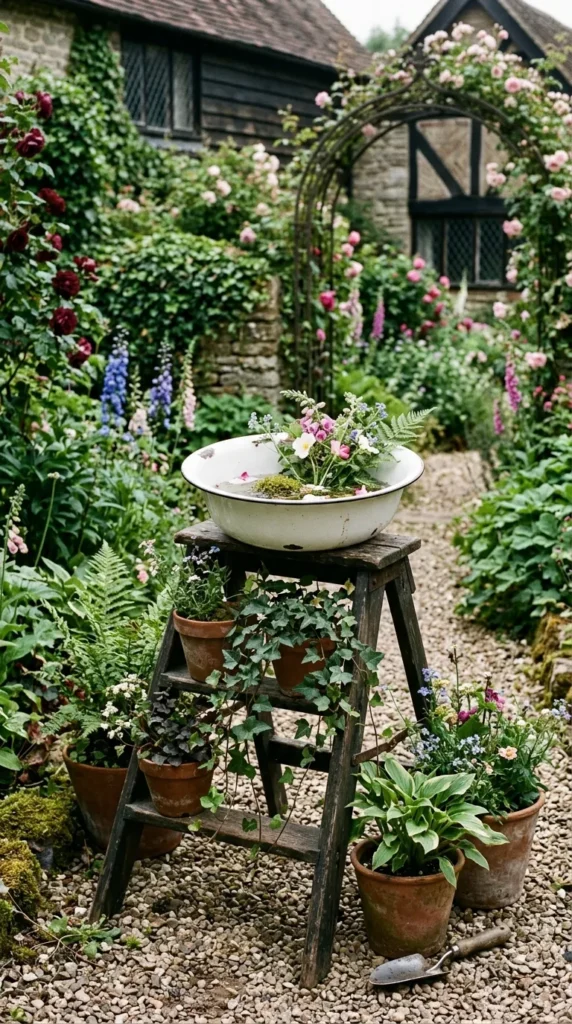

7. Upcycled Vintage Enamel Basin on Weathered Wooden Ladder
What This Idea Means Rustic farmhouse charm meets modern styling by nestling an antique white enamel washing pan with black rim details onto the steps of a trimmed A-frame timber ladder.
Materials Needed
- Vintage shallow enamelware basin (white with contrasting rim)
- Small decorative wooden stepladder (3–4 steps)
- Non-toxic exterior matte wood stain/sealant
- Potted trailing plants (ivy, creeping thyme)
How to Make It
- Sand down the wooden ladder to eliminate splinters, then coat with an exterior matte weatherproofing seal.
- Secure the ladder in an open, stable position on level ground or a patio deck.
- Rest the enamel basin securely on the top platform or broad top step. Use exterior adhesive pads beneath the basin if necessary.
- Use the lower ladder steps to display potted native plants, creating a layered green ecosystem.
Tips and Variations
- Tip: Place a flat decorative river stone in the center of the enamel basin to counter slick enamel footing.
- Variation: Weave battery-operated micro fairy lights through the ladder rails for evening garden ambiance.
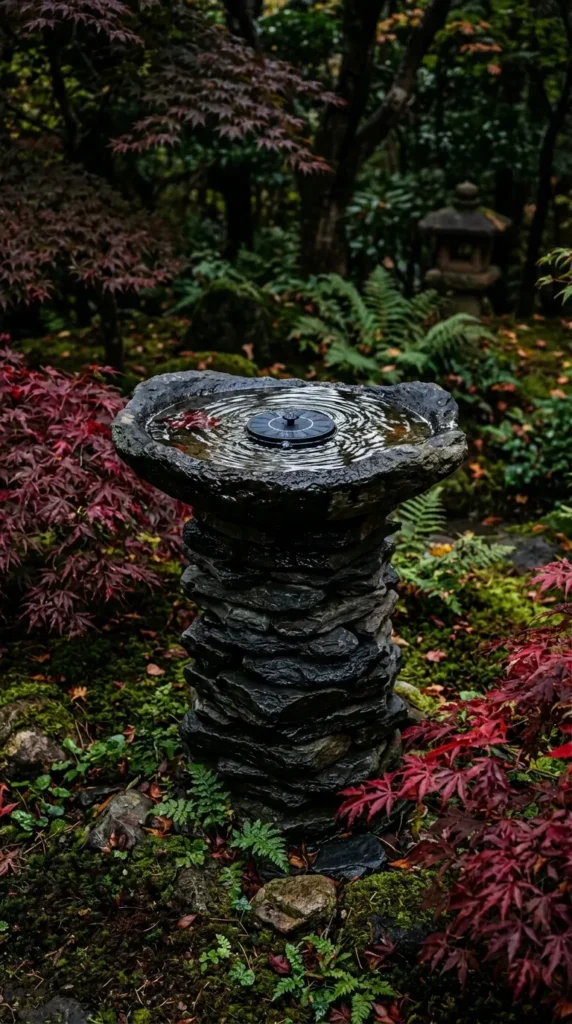
8. Zen River Stone & Cairn Balance Fountain Bath
What This Idea Means Inspired by Japanese Zen gardens, this bath utilizes flat, smooth slate and river rocks stacked in a stable cairn formation, crowned by a natural stone basin that mimics a forest stream pool.
Materials Needed
- Assorted flat river stones and slate flags
- One wide, naturally indented stone slab (or carved granite bowl)
- High-strength landscape stone adhesive (polyurethane-based)
- Compact solar fountain aerator bubbler
How to Make It
- Select a level patch of ground and lay a broad, heavy stone base.
- Stack flat slate stones upward in an organic, balanced cairn structure, securing each contact layer with landscape stone adhesive.
- Mount the naturally dished stone bowl on top, ensuring it rests level.
- Allow all adhesive bonds to dry undisturbed for 48 hours.
- Fill the hollow with fresh water and float a small solar disc bubbler in the center to create moving ripples.
Tips and Variations
- Tip: Flowing or rippling water attracts ten times more birds than standing water because the sound signals clean hydration.
- Variation: Plant moss and dwarf mondo grass in the rock crevices around the base for an aged, naturalized look.
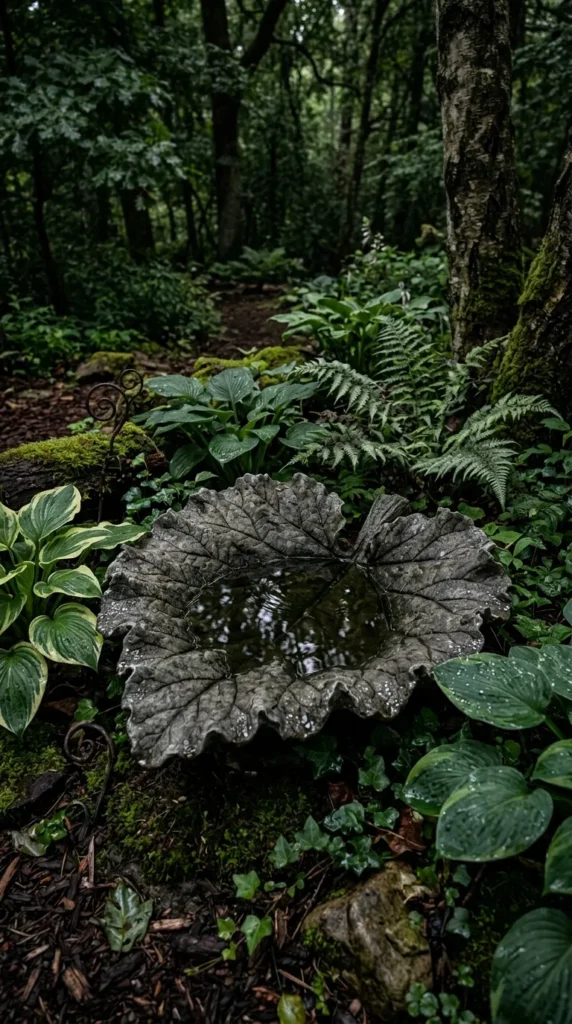
9. Cast Giant Gunnera or Rhubarb Leaf Bath
What This Idea Means A nature-cast sculpture created by pouring liquid concrete directly over an upturned giant Gunnera, Rhubarb, or Hosta leaf. The finished piece captures the intricate leaf veins and organic concave contours.
Materials Needed
- One large, intact Gunnera, Rhubarb, or large Philodendron leaf
- Sand (for molding the base mound)
- Fine-aggregate sand-mix concrete
- Wire mesh reinforcement (hardware cloth) cut to size
- Non-toxic concrete acrylic stain and matte outdoor sealer
How to Make It
- Build a smooth, rounded mound of damp sand on a flat surface to create the desired bowl depth.
- Place the leaf face-down (prominent veins facing up) over the sand mound.
- Mix concrete to a workable, peanut-butter consistency and gently spread a 1-inch layer over the leaf.
- Press wire mesh into the concrete layer, then cover with a second 1-inch concrete layer, smoothing the edges.
- Cover with plastic wrap and let cure slowly for 4–5 days.
- Flip the structure over, peel the dried leaf off the surface, clean the fine vein details, and apply a non-toxic concrete sealer.
Tips and Variations
- Tip: Mist the curing concrete with water daily to prevent hairline surface fractures.
- Variation: Tint the concrete with deep olive green or copper metallic pigment to accentuate the cast botanical veins.
10. Floating Solar-Powered Lotus Fountain Bath
What This Idea Means A self-sustaining aquatic oasis featuring an ultra-wide shallow bowl fitted with a silent, solar-powered bubbler, surrounded by floating aquatic botanicals and perching stones.
Materials Needed
- Wide, low-profile resin or composite planter bowl (20–24 inches)
- Floating solar fountain disc with interchangeable spray nozzles
- Assorted river pebbles and flat slate perches
- Sturdy outdoor pedestal or concrete breezeblock base
How to Make It
- Place the composite bowl on a sturdy, level outdoor pedestal in direct sunlight.
- Line the bottom with clean river pebbles to provide varied depth zones.
- Fill the bowl with fresh water up to 1.5 inches deep at the edges.
- Set the solar fountain in the center. Select a low-flow bubbler nozzle that produces gentle ripples rather than high water jets to avoid splashing water outside the bowl.
- Arrange flat stones around the bubbler to provide stable landing spots.
Tips and Variations
- Tip: Wide basins prevent solar fountain drift, keeping spray contained within the bowl.
- Variation: Add non-invasive floating water lettuce or faux silk lotus blossoms for shade and temperature regulation.
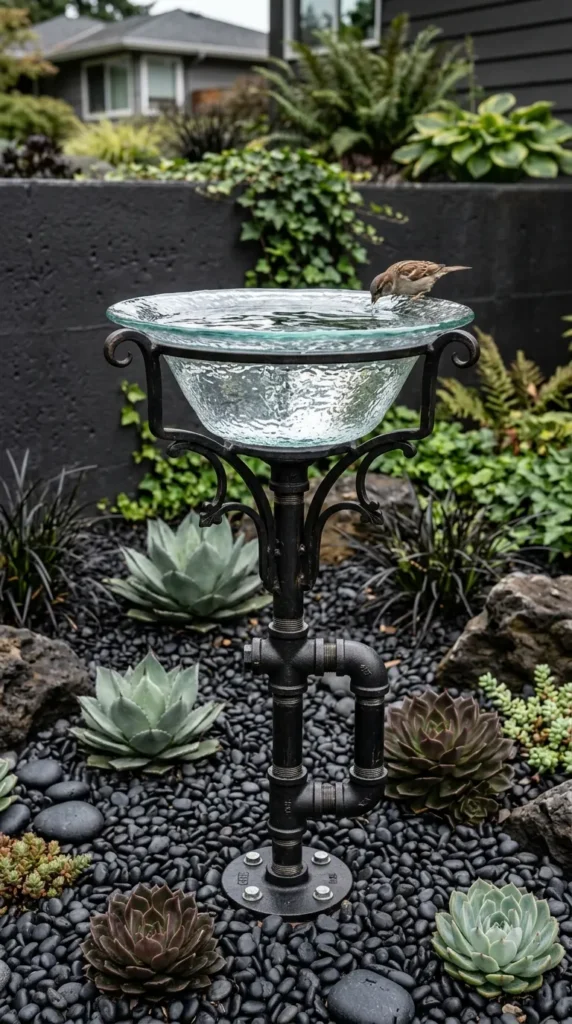
11. Minimalist Glass Cloche & Industrial Flange Bath
What This Idea Means A creative upcycling project that converts a heavy, inverted glass cloche dome or vintage glass lampshade into a clean, floating bird bath anchored on an industrial black iron pipe framework.
Materials Needed
- Heavy-duty shallow inverted glass dome or thick glass bowl
- 1-inch threaded black iron plumbing pipe (30 inches long)
- 1-inch black iron floor flange
- 1-inch iron pipe cap
- Outdoor glass-to-metal bonding silicone adhesive
How to Make It
- Clean and degrease the iron pipe components; seal with matte clear metal enamel to prevent rust.
- Assemble the plumbing pipe by screwing the floor flange to the top and the pipe cap to the bottom.
- Drive a rebar rod into the ground and slide the iron pipe over it for structural stability.
- Apply an even bead of exterior glass-to-metal silicone to the top flange surface.
- Center the glass bowl onto the flange, press firmly, and let set for 48 hours before adding water.
Tips and Variations
- Tip: Glass cleans easily with simple white vinegar washes, helping prevent bacterial build-up.
- Variation: Tint the glass bowl underside with translucent sea-glass frost spray for a soft sea-green glow.
12. Geometric Cinder Block & Wood Slat Architectural Station
What This Idea Means Modern urban yard design that stacks structural concrete breeze blocks in a modular, stepped pattern, accented by horizontal cedar wood slats, topped with a square shallow stoneware dish.
Materials Needed
- 4–6 standard rectangular concrete cinder blocks
- Exterior concrete/masonry adhesive
- Cedar wood strips (treated with Danish oil)
- Large square glazed ceramic shallow dish (16×16 inches)
- Small succulents (for block side cavities)
How to Make It
- Level the ground and arrange the cinder blocks in a stepped or staggered geometric tower.
- Bond the blocks together using masonry construction adhesive.
- Glue warm-toned cedar slats to the outer block faces for material contrast.
- Fill open side cavities with potting soil and plant shallow-rooted succulents like sedum and echeveria.
- Secure the square ceramic basin on the top platform with construction adhesive.
Tips and Variations
- Tip: The porous cinder block cavities provide natural drainage for the decorative succulent accents.
- Variation: Paint the cinder blocks in matte white or charcoal to match your home’s exterior trim.
13. Minimalist Brass Rim & Granite Composite Basin
What This Idea Means A high-end contemporary design pairing a low, wide dark granite-composite disc with a brushed brass decorative rim, designed to sit directly among low-growing garden groundcovers.
Materials Needed
- Granite composite shallow circular vessel (or dark resin composite)
- Thin decorative solid brass flat bar (cut to circumference)
- Marine grade metal-to-stone bonding epoxy
- Smooth white tumbled marble pebbles
How to Make It
- Thoroughly degrease the rim of the composite basin with isopropyl alcohol.
- Shape the flexible brass bar around the outer perimeter of the rim.
- Secure the brass trim to the edge using marine epoxy; clamp in place until fully cured.
- Place the dish directly in an elevated gravel garden bed or among low groundcover such as creeping thyme.
- Place a scattering of white marble pebbles in the basin to provide contrast and depth gradation.
Tips and Variations
- Tip: Ground-level bird baths attract towhees, thrashers, and mourning doves that prefer drinking at soil level.
- Variation: Let the brass age naturally for an antique verdigris patina, or polish it regularly to maintain a bright gold finish.
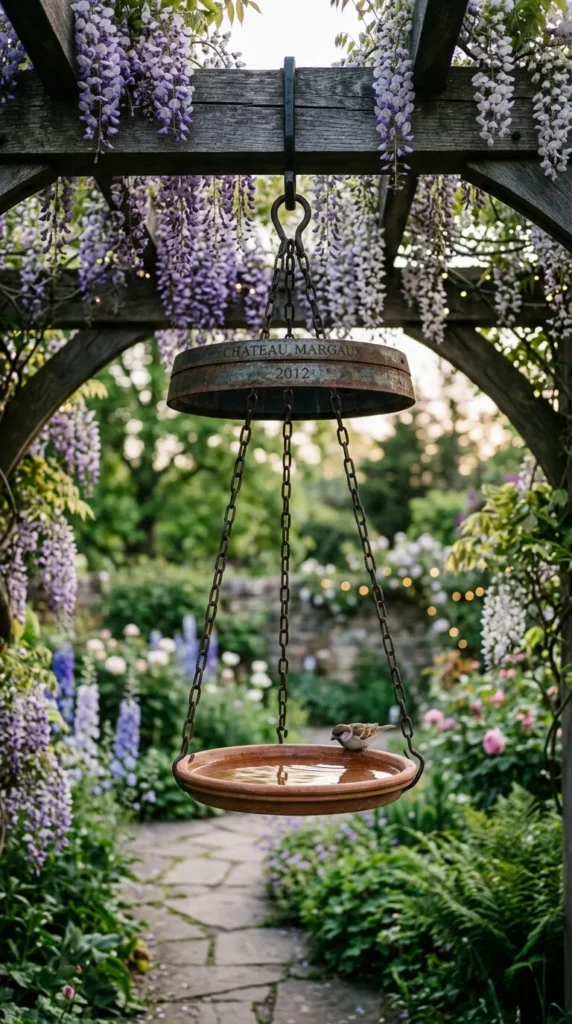
14. Repurposed Wine Barrel Ring & Terra Cotta Hanging Bath
What This Idea Means A blend of rustic winemaking history and clean geometric balance. An authentic steel wine barrel hoop suspends a shallow terracotta plate in mid-air using clean suspension points.
Materials Needed
- One authentic steel wine barrel hoop (approx. 22–24 inches diameter)
- 14-inch shallow terracotta water dish
- Heavy black link chain and S-hooks
- Drill with hardened metal bit
- Clear protective metal lacquer
How to Make It
- Clean the barrel ring with a wire brush and spray with clear protective lacquer to prevent flaking rust.
- Drill three hanging holes at 120-degree intervals along the upper half of the ring.
- Drill two small interior holes on the lower half to anchor two cross-support steel wires or straps to hold the dish.
- Rest the sealed terracotta dish onto the lower wire support within the ring.
- Attach the chain to the top holes and suspend the assembly from a patio pergola or garden arbor.
Tips and Variations
- Tip: Make sure the dish can be lifted out of the ring easily for cleaning and refilling.
- Variation: Run climbing clematis or jasmine up the support chains to create an integrated living botanical frame.




15. Tiered Bamboo Water Spillway & Stone Basin
What This Idea Means Taking cues from Japanese Shishi-odoshi and Tsukubai water fountains, this design uses natural cured bamboo stalks to direct a gentle trickling stream into a shallow, smooth granite rock bowl.
Materials Needed
- 1 wide natural river stone basin (shallow dish profile)
- Thick bamboo poles (cut to varying lengths: 8″, 12″, 16″)
- Small submersible low-wattage water pump with clear tubing
- Waterproof reservoir container (hidden sub-surface basin)
- Large decorative river cobbles
How to Make It
- Dig and level a hidden water reservoir tub in the ground; place the submersible pump inside.
- Cover the reservoir with a heavy-duty galvanized metal mesh grate, then disguise it with smooth river cobbles.
- Mount the bamboo spillway vertically using a discreet wooden or stone stake, running the water tube up through the center of the bamboo.
- Position the shallow stone drinking basin slightly offset on top of the cobbles so overflow drains cleanly back into the subterranean reservoir.
- Power on the pump and tune the flow valve to produce a gentle, tranquil trickle.
Tips and Variations
- Tip: The continuous water circulation keeps the bath cool and prevents mosquito breeding.
- Variation: Add an inline timer switch to operate the trickle pump exclusively during peak morning and late afternoon bird feeding windows.
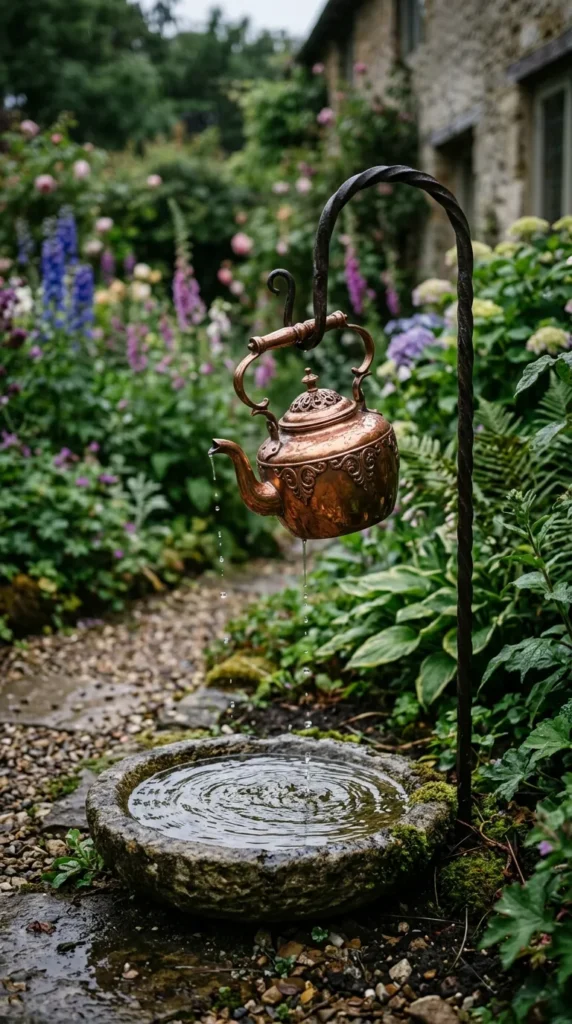
16. Upcycled Antique Copper Teakettle & Pedestal Dripper
What This Idea Means A charming visual concept that mounts an antique polished copper kettle above a shallow stone dish. A micro-valve creates a rhythmic water drip that attracts curious songbirds through motion and sound.
Materials Needed
- Antique copper teapot or watering can
- Heavy timber post (4×4 inch) or wrought iron shepherd’s crook
- Shallow stoneware or ceramic bird bowl
- Micro-drip irrigation line fittings (with fine-adjustment dripper valve)
How to Make It
- Mount the shallow stoneware basin on top of a secured timber post.
- Fix an overhead arm extension to the post (or position an iron crook directly beside it).
- Suspend the copper kettle above the basin, angled so the spout points toward the dish center.
- Route a discreet quarter-inch drip line into the kettle, terminating at an adjustable dripper inside the spout.
- Set the dripper to release one droplet every two seconds, creating subtle ripples across the water surface.
Tips and Variations
- Tip: Hummingbirds and warblers love drippers; they often flutter beneath the falling drops to bathe mid-air.
- Variation: Connect the drip feed directly to an automated garden drip irrigation zone for effortless operation.
17. Scandinavian Raw Birch Tripod with Enameled Bowl
What This Idea Means A minimalist Nordic design constructed from three debarked white birch poles lashed together in a teepee tripod shape, holding a vibrant enameled steel dish securely at its center.
Materials Needed
- Three straight white birch branches (2.5 inches thick, 36 inches long)
- High-strength braided leather cord or marine copper wire
- Shallow enameled metal dish or porcelain-coated bowl (14 inches)
- Wood drill and weatherproofing timber oil
How to Make It
- Treat the birch poles with clear timber oil to protect the distinctive bark from moisture damage.
- Drill a hole through each pole roughly 8 inches from the top ends.
- Thread heavy copper wire or leather cord through the holes and wrap tightly, forming an open, stable tripod stance.
- Form a supportive nest ring at the center joint using woven wire, or set the dish directly into the splayed top branches.
- Set the enameled bowl in the support cradle, confirming the rim sits completely level.
Tips and Variations
- Tip: Push the tripod legs 2 inches into soft soil to ensure stability on windy days.
- Variation: Wrap contrasting copper wire coils around the birch poles below the basin for subtle metallic highlights.
18. Polished Brass Buffet Bowl on Fluted Plaster Column
What This Idea Means An elegant neoclassical-modern statement combining an architectural fluted column base with a broad, shallow polished brass serving bowl.
Materials Needed
- Architectural resin or polyurethane fluted column pedestal (outdoor rated)
- Shallow polished brass or warm golden stainless steel bowl (16–18 inches)
- Exterior structural adhesive
- Smooth flat sea glass stones (clear or amber tones)
How to Make It
- Clean and prime the top surface of the fluted pedestal.
- Apply high-strength polyurethane adhesive to the pedestal head.
- Center the brass bowl over the column and apply steady pressure; verify it is level using a bubble level.
- Let the adhesive cure for 24 to 48 hours.
- Add a scattering of amber sea glass stones across the interior base to offer birds secure foot grips.
Tips and Variations
- Tip: Avoid placing shiny metal baths in direct midday sunlight, as high heat can warm the water excessively.
- Variation: Paint the fluted column in a matte charcoal or deep slate tone to make the warm metallic brass basin stand out.
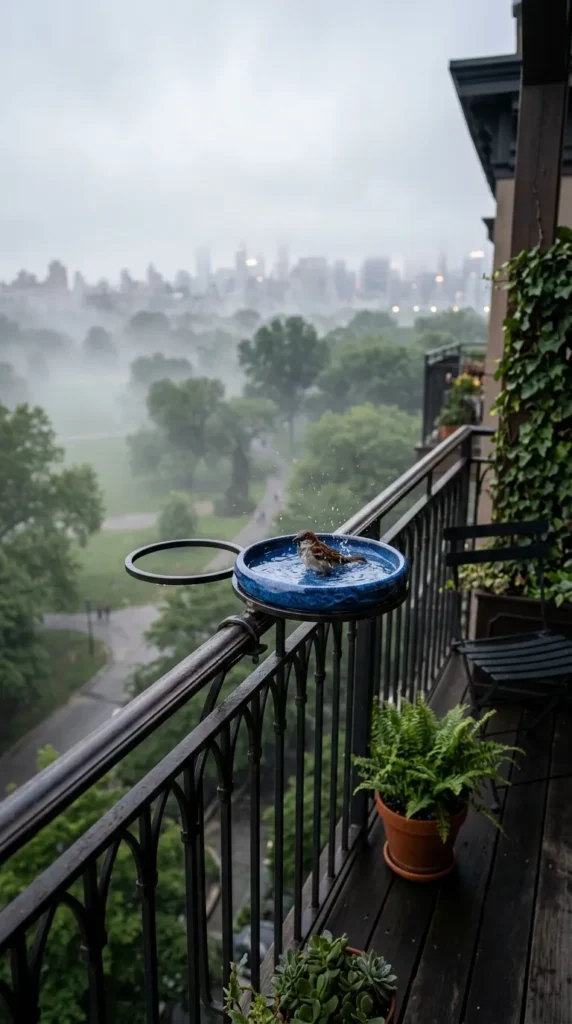
19. Floating Wooden Deck-Rail Cantilever Bath
What This Idea Means A space-conscious solution designed for apartments, townhomes, and modern patio decks. A minimalist steel arm mounts directly onto a deck railing, cantilevering a floating shallow ceramic bowl out into the open air.
Materials Needed
- Heavy-duty steel deck-rail bracket clamp (powder-coated black)
- Circular steel plant-hanger ring arm (12–14 inches inside diameter)
- Snug-fitting shallow glazed ceramic dish with flared rim
- Stainless steel mounting hardware
How to Make It
- Secure the bracket clamp to the top rail or vertical spindle of your deck balustrade.
- Attach the circular metal support arm horizontally so it extends outward past the railing edge.
- Check the ring with a bubble level to ensure the water sits evenly.
- Drop the flared ceramic dish down through the ring support until the rim rests securely on the steel frame.
- Fill with fresh water using a watering can.
Tips and Variations
- Tip: This elevated design keeps the bath safe from neighborhood pets and saves usable deck floor space.
- Variation: Select a glazed dish in a bold cobalt blue or emerald green hue to match your patio outdoor textiles.
20. Sculptural Cast Hypertufa Trough on Basalt Columns
What This Idea Means A weathered, alpine stone aesthetic created using hypertufa—a lightweight blend of peat moss, perlite, and Portland cement. The resulting textured, porous trough sits atop paired basalt landscape pillars.
Materials Needed
- 1 part Portland cement
- 1.5 parts sphagnum peat moss (sifted)
- 1.5 parts horticultural perlite
- Water and wire mesh reinforcement
- Rectangular plastic storage bin (as exterior mold) and smaller bin (as inner core)
- Two natural basalt landscape columns or heavy stone blocks
How to Make It
- Mix Portland cement, sifted peat moss, and perlite with water until the mixture reaches a moldable, dough-like consistency.
- Pack a 2-inch layer of hypertufa along the bottom and sides of the large storage bin.
- Press wire mesh into the mixture, then pack an additional 1-inch layer of hypertufa on top.
- Insert the smaller inner bin into the center to create a 2-inch-deep hollow, weighting it down with bricks.
- Wrap in plastic and let cure in the shade for 3 to 4 days.
- Demold, distress the exterior edges with a wire brush for an aged stone texture, and cure fully for 4 weeks before balancing atop the basalt pillars.
Tips and Variations
- Tip: Hypertufa naturally encourages delicate moss growth over time when placed in shaded, damp garden corners.
- Variation: Embed river fossils, sea shells, or polished quartz fragments directly into the inner rim during the molding process.
Bird Bath Placement, Maintenance, and Safety Principles
Optimal Site Selection
- Shade vs. Sun: Place your bird bath in partial shade. This keeps the water cool and slows down evaporation and algae growth.
- Cover Proximity: Position the bath within 10 to 15 feet of trees or shrubs. This gives birds a quick escape route from predators while keeping the bath open enough to prevent ambush attacks.
- Stable Footing: Ensure the base is level and sits firmly on solid ground, gravel, or paving stones to avoid tipping.
Water Depth and Safety
- Wild birds prefer water depths between 1 and 2 inches.
- For deeper bowls, add flat river stones or stepping pebbles in the center to create shallow wading areas for smaller species like finches and warblers.
Cleaning and Maintenance Routine
- Frequency: Refresh standing water every 2 to 3 days to prevent mosquito larvae from hatching.
- Cleaning Technique: Scrub the basin with a stiff brush using a simple 9-to-1 mix of water and distilled white vinegar. Rinse thoroughly with fresh water before refilling.
- Avoid Chemicals: Never use synthetic detergents, bleach, or chlorine, as these strip the natural waterproof oils from bird feathers.