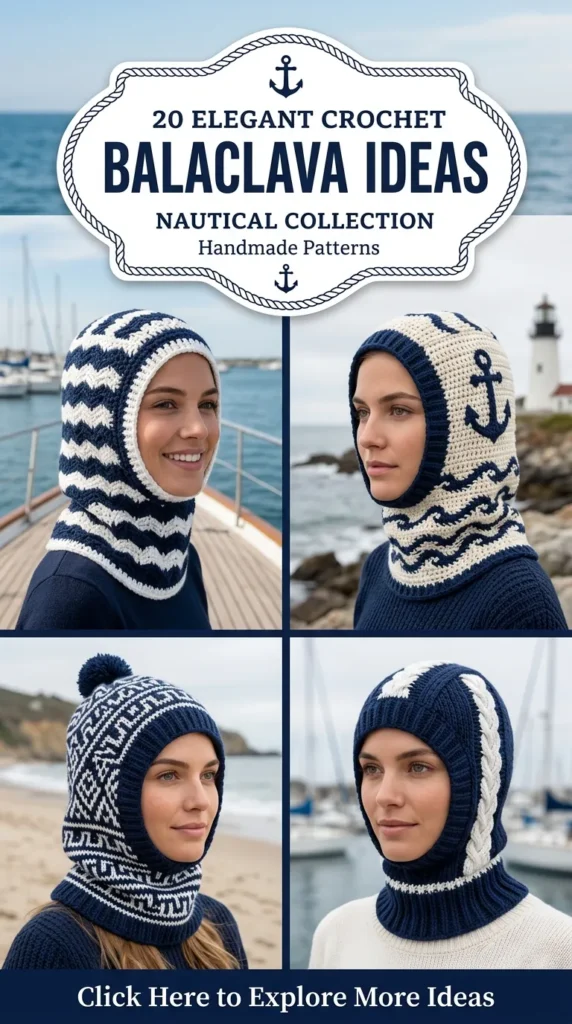
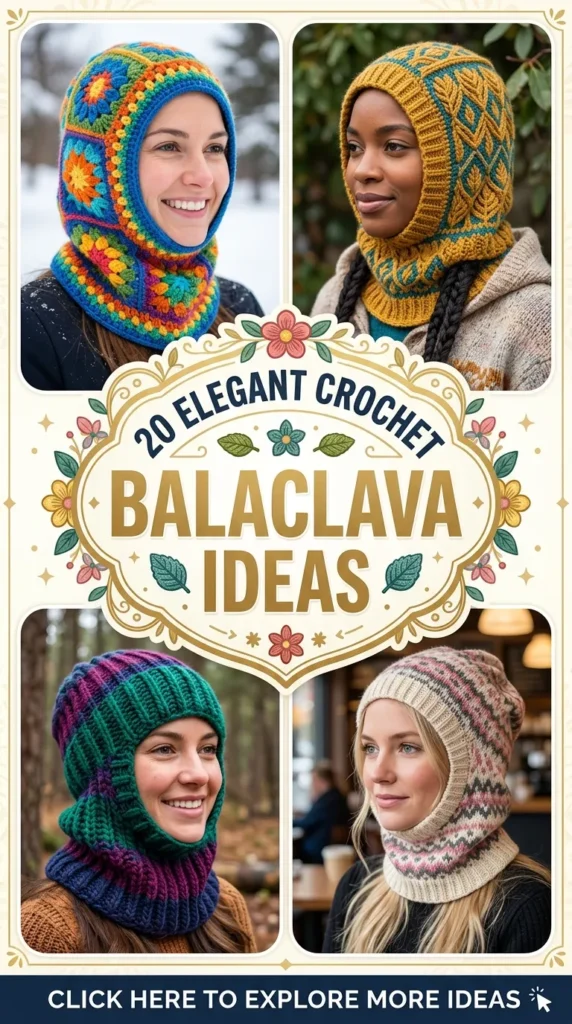
The crochet balaclava has officially transitioned from a practical cold-weather essential into a high-fashion statement piece. Seen on runways, street-style fashion blogs, and trending across Pinterest boards, this versatile headwear garment merges face-framing warmth with distinct sculptural elegance. Crafting your own balaclava allows you to customize the drape, color palette, and texture to match your personal style—whether you prefer minimalist Scandinavian chic, vintage romance, or bold bohemian flair.
This comprehensive guide explores 20 exquisite crochet balaclava designs. Each idea includes an introduction, a breakdown of its core concept, step-by-step guidance on how to make it, essential tips and variations, and the exact materials you will need. At the conclusion of this article, you will find a curated collection of high-resolution visual prompts to inspire your next creative project.


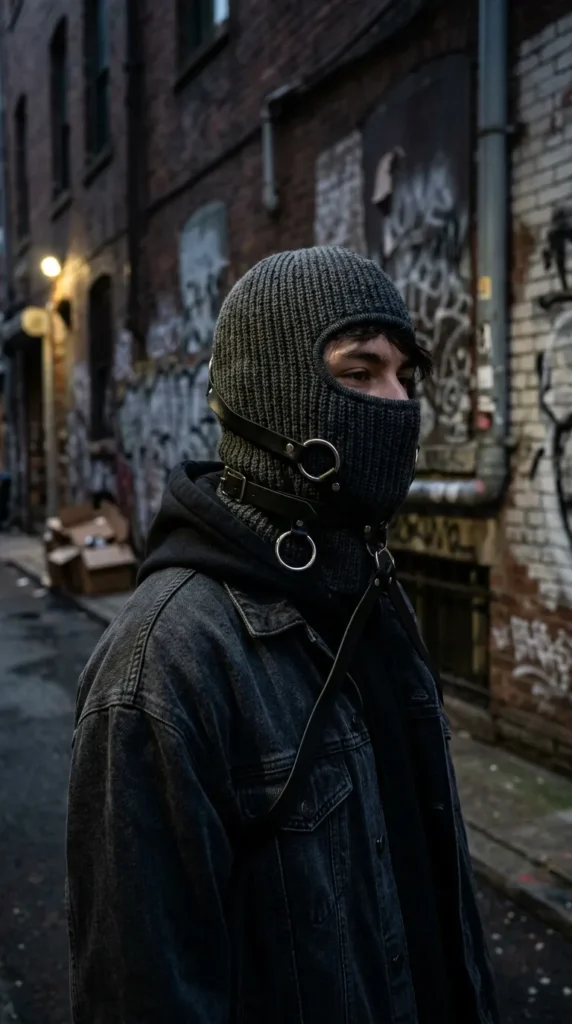

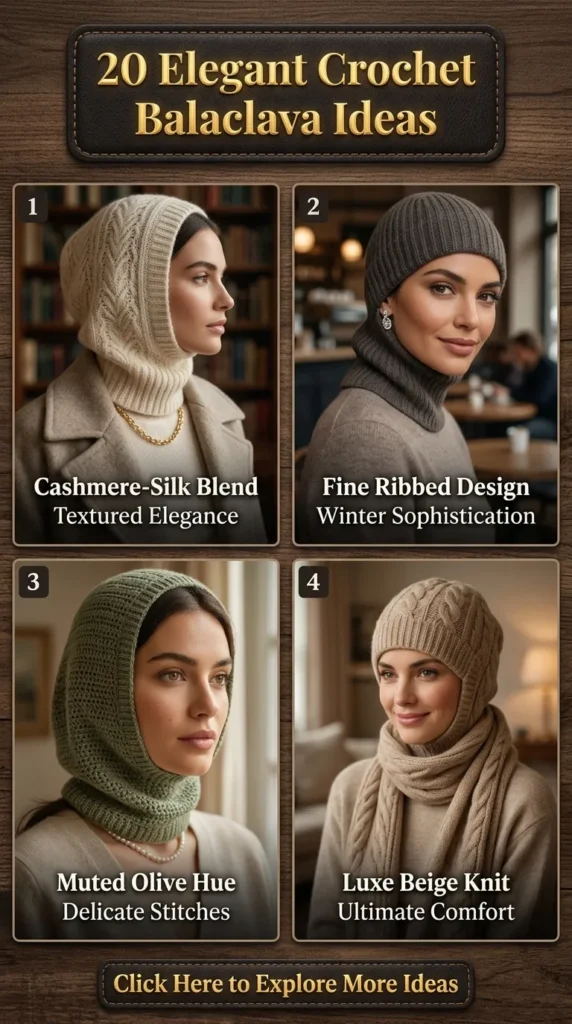
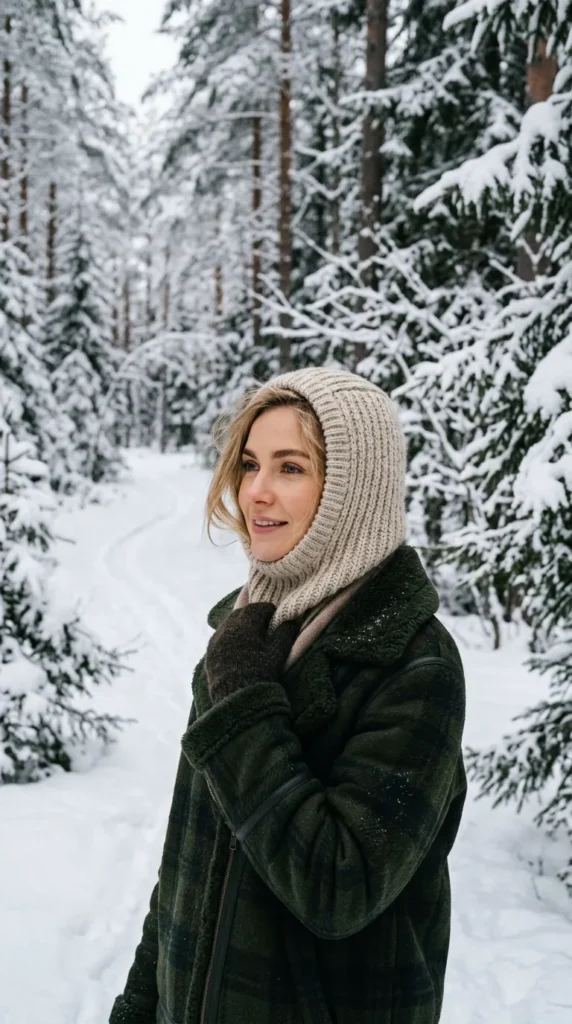
1. Classic Ribbed Neutral Balaclava
Introduction
The Classic Ribbed Neutral Balaclava is the ultimate staple for everyday winter styling. Featuring clean lines and exceptional elasticity, this design fits snugly around the face and neck, offering windproof warmth while maintaining a sophisticated, understated aesthetic.
What This Idea Means
This concept centers on timeless functionality and clean architecture. It represents the intersection of classic knitwear aesthetics translated into approachable crochet stitches, prioritizing versatility and effortless daily wear.
How to Make It
- The Neck Collar: Begin by working a long, narrow strip of ribbing (using slip stitches in the back loop only or half-double crochet in the third loop) long enough to fit comfortably around your neck, then join the ends to form a tube.
- Body Construction: Working upward from the collar, switch to your main stitch pattern (such as front post and back post double crochet ribbing) while increasing or continuing straight depending on your facial contour preference.
- Face Opening: Divide the work at the jawline, leaving the front face opening unworked. Continue working back and forth in rows to build the hood over the crown of the head.
- Seaming the Crown: Close the top of the hood using a clean mattress stitch or a three-needle style crochet join to form a smooth, rounded top curve.
Tips and Variations
- Tip: Maintain consistent tension throughout the ribbing to ensure the face opening retains its stretch without sagging over time.
- Variation: Use a rich oatmeal or camel-colored wool blend for an instant high-end designer look.
Needs to Make That Thing
- Yarn: 2–3 skeins of worsted weight wool-alpaca blend yarn.
- Hook: 5mm ergonomic crochet hook.
- Notions: Tapestry needle, locking stitch markers.
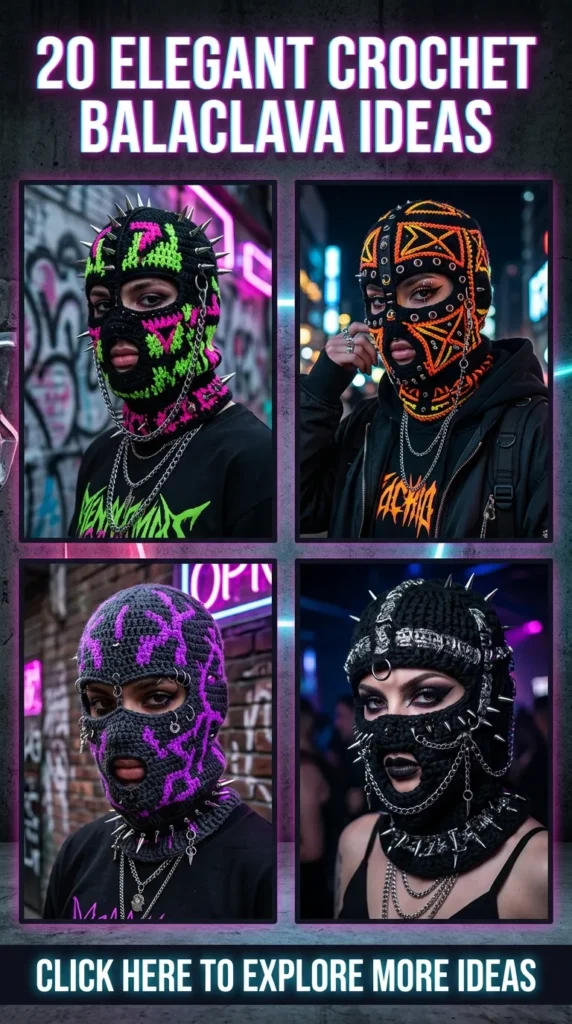
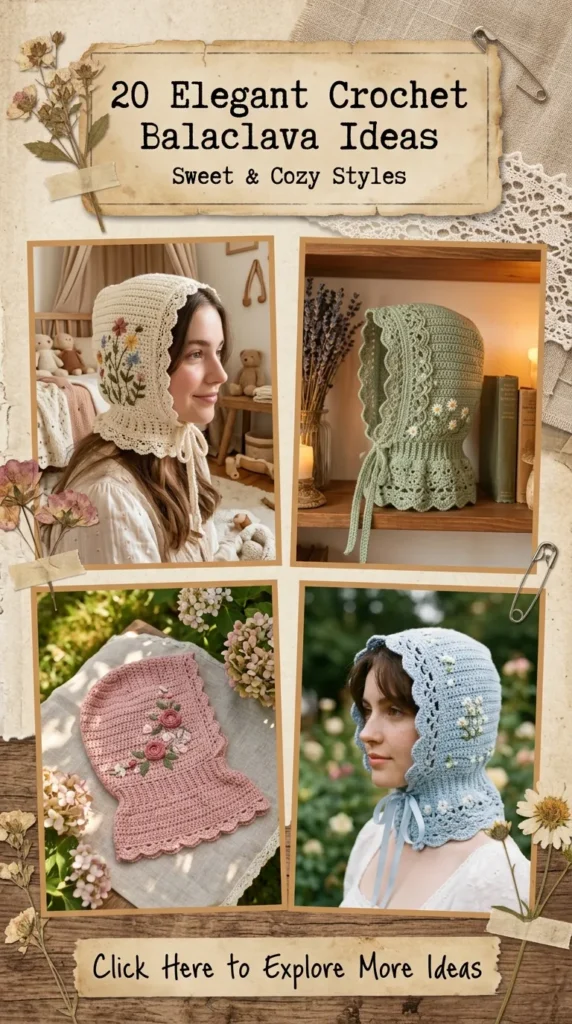
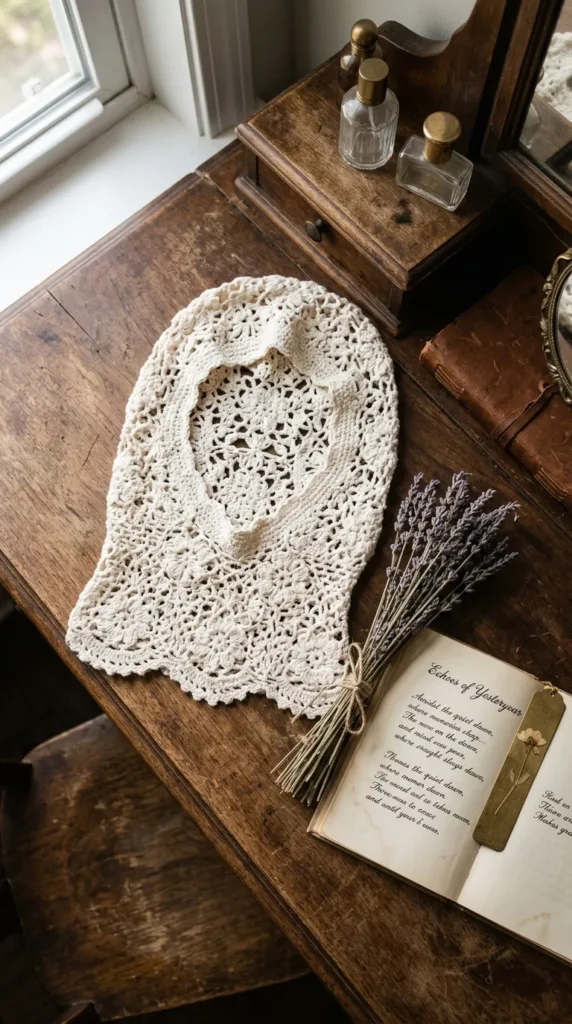
2. Vintage Floral Lace Balaclava
Introduction
Delicate, romantic, and delightfully feminine, the Vintage Floral Lace Balaclava transforms cold-weather gear into an heirloom-quality accessory. Reminiscent of vintage Victorian textiles, it features intricate openwork lace and soft scalloped edges.
What This Idea Means
This design celebrates vintage nostalgia and intricate stitch anatomy. It elevates crochet from a purely functional craft into delicate statement couture.
How to Make It
- The Motif Base: Begin by crocheting individual small lace flower motifs or working a continuous openwork fan stitch directly from the neckline upward.
- The Hood Body: Transition into a lightweight mesh or shell stitch pattern that drapes softly over the head, allowing the lace pattern to breathe.
- Face Framing: Work a dainty picot edge or shell border around the face aperture to frame your features gracefully.
- Neck Ties: Add a delicate braided or chain-cord tie threaded through the base of the neck for an adjustable, vintage-inspired closure.
Tips and Variations
- Tip: Block the finished balaclava gently with steam to open up the lace stitches and define the floral details.
- Variation: Use fine bamboo-cotton yarn in crisp antique white or soft ecru for a bridal or spring aesthetic.
Needs to Make That Thing
- Yarn: 2 balls of fingering weight bamboo-cotton blend yarn.
- Hook: 3.5mm crochet hook.
- Notions: Tapestry needle, blocking pins.
3. Luxurious Mohair Hooded Balaclava
Introduction
Cloud-like, ethereal, and luxuriously soft, the Luxurious Mohair Hooded Balaclava wraps you in a halo of warmth without weighing you down. The fuzzy mohair fibers catch the light beautifully, creating a glamorous winter accessory.
What This Idea Means
This concept focuses on opulent textures and sensory comfort. It is about embracing lightweight warmth and creating a garment that feels as divine as it looks.
How to Make It
- Selecting the Yarn Base: Hold a strand of lace-weight mohair silk together with a matching fingering-weight wool yarn for stability, or work with a thicker brushed mohair cake.
- Simple Stitches: Use a basic half-double crochet stitch to let the fluffy halo of the mohair take center stage without getting lost in complex stitch definitions.
- Shaping: Work flat rows for the lower neck cowl, then join in the round for the face frame before shaping the crown.
- Finishing: Lightly brush the surface with a clean soft-bristle brush if desired to fluff up the mohair fibers further.
Tips and Variations
- Tip: Mohair can be difficult to frog (rip out) due to the fuzzy fibers; practice your tension swatch before starting the main piece.
- Variation: Choose a striking jewel tone like deep emerald or burgundy for an unforgettable winter look.
Needs to Make That Thing
- Yarn: 3 skeins of mohair-silk blend yarn.
- Hook: 5.5mm crochet hook.
- Notions: Tapestry needle, locking stitch markers.
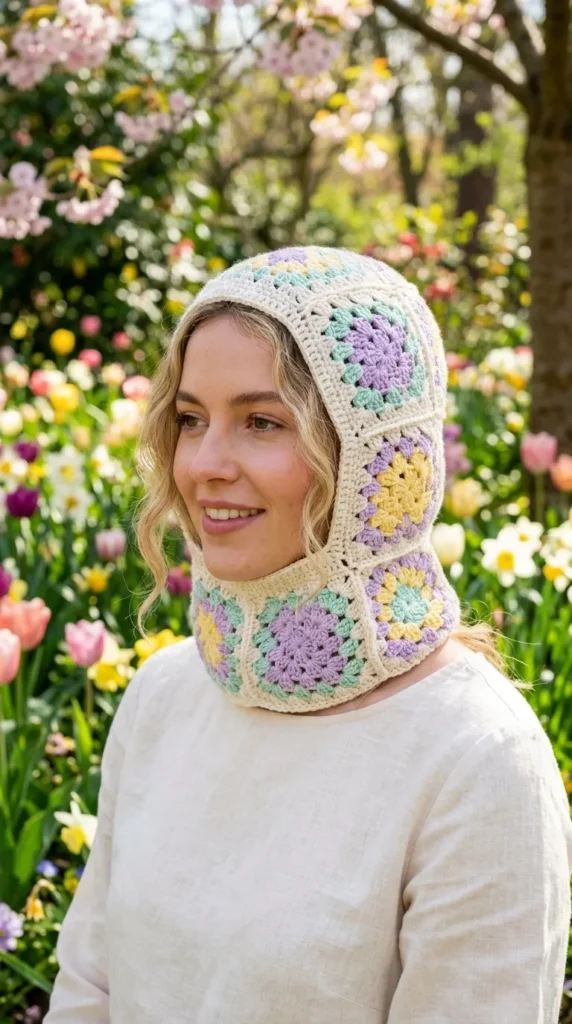
4. Pastel Granny Square Balaclava
Introduction
Playful, colorful, and bursting with handcrafted charm, the Pastel Granny Square Balaclava combines traditional blanket squares into a contemporary, avant-garde headwear piece that commands attention.
What This Idea Means
This design is a joyful tribute to patchwork artistry and color theory. It transforms leftover yarn scraps or planned pastel palettes into a cohesive wearable masterpiece.
How to Make It
- Crafting the Squares: Crochet 6 to 8 small classic solid or floral granny squares using a harmonious palette of soft pastel shades (lavender, mint, butter yellow, and blush).
- Blocking: Meticulously block every square so they share identical dimensions and crisp, flat corners.
- The Layout: Arrange the squares strategically to cover the crown, sides, and back of the hood, leaving the front face aperture open.
- Joining and Border: Join the squares with an invisible flat braid join or slip stitch seam, then work a sturdy ribbing border around the neck and face opening.
Tips and Variations
- Tip: Keep the joining yarn color consistent (such as crisp white or soft cream) to tie all the pastel squares together harmoniously.
- Variation: Create a solid contrast trim around the face opening to frame the patchwork body cleanly.
Needs to Make That Thing
- Yarn: Assorted DK weight cotton yarns in pastel colorways.
- Hook: 4mm crochet hook.
- Notions: Tapestry needle, blocking board and pins.
5. Chic Alpine Stitch Balaclava
Introduction
Rich, deeply textured, and remarkably warm, the Chic Alpine Stitch Balaclava features a stunning raised diamond pattern created by dropping stitches down into previous rows. It offers incredible thickness and high-end boutique appeal.
What This Idea Means
This concept highlights advanced texture and tactile depth. It proves that simple yarn can transform into an architectural wonder through strategic stitch placement.
How to Make It
- Foundation: Start with a sturdy single crochet or ribbed band around the neck opening for structural stability.
- The Alpine Pattern: Alternate rows of front post treble crochets (worked around posts two rows down) with plain single crochet rows to build the signature textured diamond fabric.
- Hood Shaping: Continue the alpine pattern upward, shaping the back curve by working gradual decreases along the crown seams.
- Edging: Finish the face opening with a clean, tight border of crab stitch (reverse single crochet) for a polished frame.
Tips and Variations
- Tip: Count your stitches carefully on the single crochet rows between alpine rows to ensure your diamond pattern remains perfectly aligned.
- Variation: Use a tonal tweed yarn to make the alpine texture pop with subtle multi-colored flecks.
Needs to Make That Thing
- Yarn: 3 skeins of worsted weight wool yarn.
- Hook: 5mm crochet hook.
- Notions: Tapestry needle, stitch markers.
6. Statement Cat Ear Balaclava
Introduction
Playful, trendy, and beloved by internet fashion icons, the Statement Cat Ear Balaclava adds a whimsical touch to winter wear. The natural shaping of the hood creates adorable pointed feline ears at the crown.
What This Idea Means
This design embraces youthful fun and pop-culture fashion trends. It balances cozy winter practicality with lighthearted, expressive personality.
How to Make It
- Main Hood Body: Crochet the standard balaclava body and hood using a dense, warm stitch like the half-double crochet or thermal stitch.
- Crown Closure: When seaming the top of the hood horizontally across the crown, leave the two top outer corners slightly un-sewn or pinch them into distinct triangles.
- Reinforcing the Ears: Secure the base of each pointed corner with tight whip stitches or small hidden stitches inside the hood to ensure the ears stand up perkily.
- Finishing Touches: Add tiny embroidered inner ear details using contrasting yarn if desired.
Tips and Variations
- Tip: Use a slightly smaller hook size than recommended for your yarn to give the fabric extra stiffness so the ears hold their shape without flopping.
- Variation: Attach tiny detachable pom-poms or bows to the tips of the cat ears for an extra layer of customization.
Needs to Make That Thing
- Yarn: 2–3 skeins of soft acrylic or wool blend yarn in black, pink, or cream.
- Hook: 4.5mm crochet hook.
- Notions: Tapestry needle, sharp scissors.
7. Velvet Ribbon Tie Balaclava
Introduction
Combining plush yarn textures with opulent velvet ribbon closures, the Velvet Ribbon Tie Balaclava is the epitome of coquette-core elegance. It ties under the chin with a dramatic bow, adding an ultra-feminine flair.
What This Idea Means
This concept merges cozy knitwear with delicate accessories, utilizing contrasting ribbon textures to elevate a standard winter hood into a designer piece.
How to Make It
- The Body: Work a sleek, fitted balaclava using a smooth worsted-weight yarn and a simple moss stitch or half-double crochet.
- Ribbon Casing: Create eyelet holes or loops along the neck and chin area during construction to thread your ribbon through.
- Attaching the Ribbon: Thread a wide, high-quality double-faced velvet ribbon through the casing, allowing long tail ends to tie into a graceful bow beneath the chin.
- Secure Fastening: Anchor the center of the ribbon in the back of the neck with a few hidden stitches so it does not slip out while wearing.
Tips and Variations
- Tip: Singlet-seal the cut ends of your velvet ribbon with a lighter flame to prevent fraying over time.
- Variation: Pair a deep black balaclava with rich crimson velvet ribbons for a dramatic winter contrast.
Needs to MakeThat Thing
- Yarn: 2 skeins of smooth DK weight cotton-wool yarn.
- Hook: 4.5mm crochet hook.
- Notions: 1 yard of wide velvet ribbon, tapestry needle, lighter (for ribbon ends).

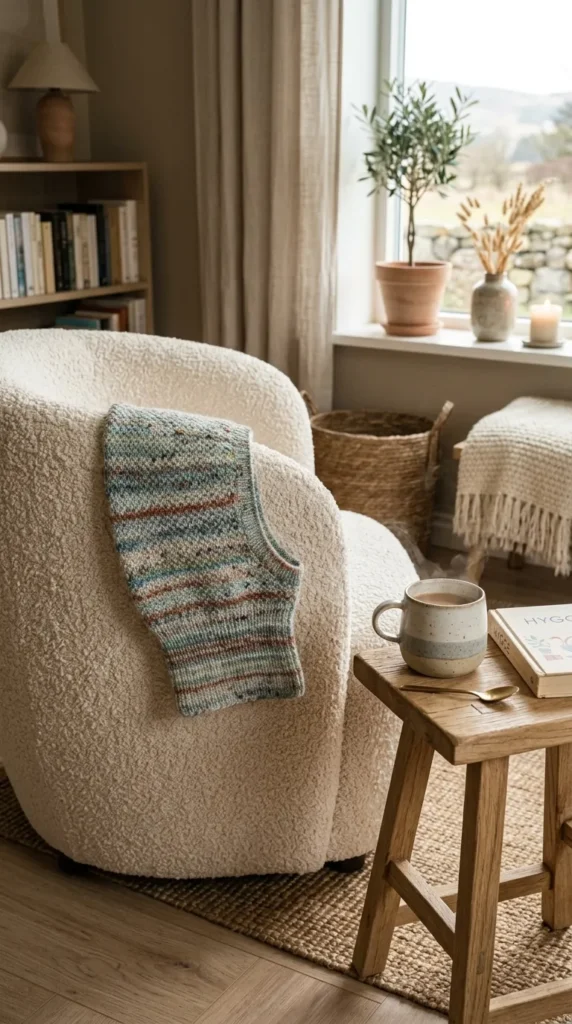
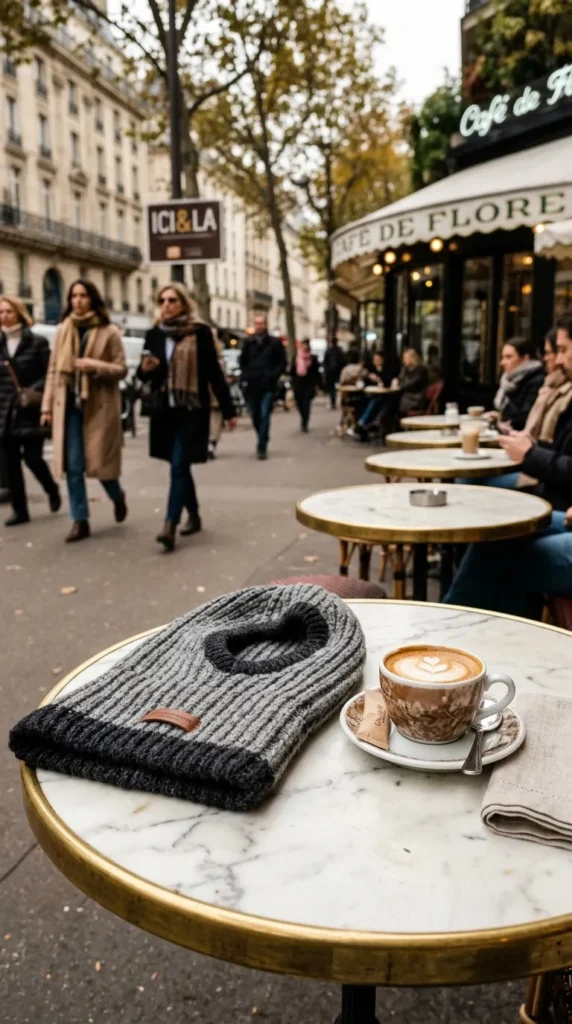


8. Ombre Gradient Winter Balaclava
Introduction
The Ombre Gradient Winter Balaclava features a seamless, flowing color transition from a deep shade at the neck up to a soft tint at the crown. This visual fade creates a striking, modern artistic effect.
What This Idea Means
This design explores color progression and visual harmony. It is about creating smooth, natural transitions that mimic natural landscapes like twilight skies or snowy mountain peaks.
How to Make It
- Yarn Selection: Choose 3 to 4 yarn cakes in the same color family transitioning from dark to light (or use a continuous self-striping gradient cake).
- Working in Rounds: Begin at the neck collar with your darkest shade, working upward in continuous rounds.
- Color Transitions: Fade into the next lighter shade every few rows by working standard color-change techniques on the final pull-through of the last stitch.
- Crown Completion: Finish the top of the hood in your lightest color shade for a luminous framing effect around the face.
Tips and Variations
- Tip: Carry your yarn tails neatly or weave them in as you go to avoid a cluttered interior.
- Variation: Use an ocean-inspired gradient transitioning from deep navy to bright aqua and icy mint.
Needs to Make That Thing
- Yarn: 1 large gradient yarn cake (approx. 400-500 meters) or 3 individual matching tone skeins.
- Hook: 5mm crochet hook.
- Notions: Tapestry needle, scissors.
9. Modern Color-Block Balaclava
Introduction
Bold, graphic, and fashion-forward, the Modern Color-Block Balaclava plays with contrasting geometric blocks of color. It is a favorite among contemporary streetwear enthusiasts and avant-garde designers.
What This Idea Means
This concept celebrates modern graphic design and stark color contrast. It uses clean boundaries between distinct hues to make a powerful visual statement.
How to Make It
- Planning the Blocks: Divide your balaclava pattern into distinct sections (e.g., left side, right side, neck collar, and hood crown) assigned to specific contrasting colors.
- Tapestry Crochet or Intarsia: Work the panels using tapestry crochet techniques or crochet individual panels separately and seam them together for ultra-crisp color lines.
- Assembly: Join the color-blocked pieces securely using a flat slip-stitch seam on the wrong side.
- Border Trim: Work a contrasting border around the face opening to pull the geometric color story together.
Tips and Variations
- Tip: Block all individual panels before seaming to ensure your color block lines meet with absolute mathematical precision.
- Variation: Pair primary colors like cobalt blue and sunshine yellow with a neutral black trim.
Needs to Make That Thing
- Yarn: Worsted weight wool yarn in 3 bold contrasting colors.
- Hook: 4.5mm crochet hook.
- Notions: Tapestry needle, locking stitch markers.
10. Pearl-Embellished Evening Balaclava
Introduction
Transforming winter wear into formal evening wear, the Pearl-Embellished Evening Balaclava is dotted with shimmering faux pearls. It brings unexpected glamour and elegance to holiday parties and winter galas.
What This Idea Means
This design merges cozy knitwear with high-fashion embellishment, proving that winter accessories can be ornate, delicate, and evening-appropriate.
How to Make It
- Pre-Stringing or Sewing: Depending on your preference, either thread pearls onto your yarn before you begin crocheting or hand-sew pearls onto the finished balaclava fabric.
- The Base Garment: Crochet a sleek, fitted balaclava using fine merino wool or cashmere yarn in a rich, dark hue like midnight black or cream.
- Embellishment Scatter: Distribute pearls in clusters around the crown and side panels, spacing them evenly for a balanced, luxurious look.
- Secure Fastening: If hand-sewing, use strong, double-threaded sewing thread and knot each pearl securely on the back side of the stitches.
Tips and Variations
- Tip: Avoid placing pearls directly around the immediate skin contact edge of the face opening to ensure maximum comfort against your face.
- Variation: Mix silver seed beads with pearls for an extra sparkling, starry-night effect.
Needs to Make That Thing
- Yarn: 2 skeins of fine merino wool yarn.
- Hook: 4mm crochet hook.
- Notions: Assorted flat-back or hole-drilled faux pearls, sewing needle, strong thread.
11. Two-Tone Fisherman’s Rib Balaclava
Introduction
Inspired by rugged maritime knitwear, the Two-Tone Fisherman’s Rib Balaclava offers extraordinary thickness, spongy elasticity, and rich vertical texture. It is exceptionally warm and visually striking.
What This Idea Means
This concept focuses on dense, structural stitch work that mimics knit brioche, providing incredible wind-resistance and high-end tailoring.
How to Make It
- The Rib Stitch Technique: Master the crochet equivalent of fisherman’s rib (created by alternating front post double crochets and slip stitches, or specialized ribbed half-double crochets).
- Working Flat or Round: Work your balaclava panels in rows to maintain crisp vertical ribs that stretch comfortably around your facial contours.
- Two-Tone Alternation: Switch colors every two rows to emphasize the deep valleys and ridges of the ribbing pattern.
- Crown Shaping: Decrease gradually along the top edges to taper the hood neatly.
Tips and Variations
- Tip: Fisherman’s rib stitches consume more yarn than standard single crochet; ensure you have extra yarn on hand.
- Variation: Use heathered gray and charcoal for a classic, sophisticated Scandinavian aesthetic.
Needs to Make That Thing
- Yarn: 3 skeins of smooth wool yarn in two contrasting colors.
- Hook: 5mm crochet hook.
- Notions: Tapestry needle, stitch markers.
12. Delicate Moss Stitch Balaclava
Introduction
Lightweight, squishy, and wonderfully modern, the Delicate Moss Stitch Balaclava (also known as the granite or linen stitch) creates a woven-fabric texture that is breathable yet cozy.
What This Idea Means
This design prioritizes modern minimalism and balanced drape. It is understated, lightweight, and fits easily under jacket hoods or coat collars without feeling bulky.
How to Make It
- The Foundation: Chain an even number of stitches for your neck opening and join in the round.
- Moss Stitch Pattern: Work rounds of
single crochet, chain 1, skip 1 stitch, nesting the single crochets into the previous round’s chain-1 spaces. - Face Aperture: Split the working rounds into rows to create the face opening, building up the sides and crown of the hood.
- Finishing: Close the top with a simple mattress stitch and add a single crochet border around the face.
Tips and Variations
- Tip: The moss stitch has great diagonal stretch; ensure your starting chain isn’t too loose.
- Variation: Use a self-striping speckled sock yarn for a gorgeous painterly effect.
Needs to Make That Thing
- Yarn: 2 skeins of fingering or sport weight yarn.
- Hook: 4mm crochet hook.
- Notions: Tapestry needle, scissors.
13. Dramatic Hooded Cowl Balaclava
Introduction
The Dramatic Hooded Cowl Balaclava features an oversized, sweeping hood that drapes luxuriously over the shoulders like a medieval cloak, paired with a fitted inner face collar for ultimate warmth.
What This Idea Means
This concept celebrates theatrical fashion, oversized drama, and supreme comfort. It provides the cozy protection of a full hood combined with the elegance of a cascading capelet.
How to Make It
- The Inner Face Warmer: Start with a fitted rib-knit neck and face opening tube.
- Expanding into the Hood: Gradually increase stitches across the shoulder and crown sections to create a voluminous, deep hood silhouette.
- The Cowl Base: Flare the lower section outward in cascading ripples or wide double crochets so it rests gracefully across your shoulders.
- Edge Polish: Work a heavy, stable border around all outer rims to support the dramatic weight of the hood.
Tips and Variations
- Tip: Choose a drapey yarn blend containing alpaca or bamboo to ensure the oversized hood falls into soft, natural folds rather than standing stiffly.
- Variation: Add a decorative faux-fur trim along the outer edge of the oversized hood.
Needs to Make That Thing
- Yarn: 4–5 skeins of bulky wool-alpaca yarn.
- Hook: 6mm crochet hook.
- Notions: Tapestry needle, stitch markers.
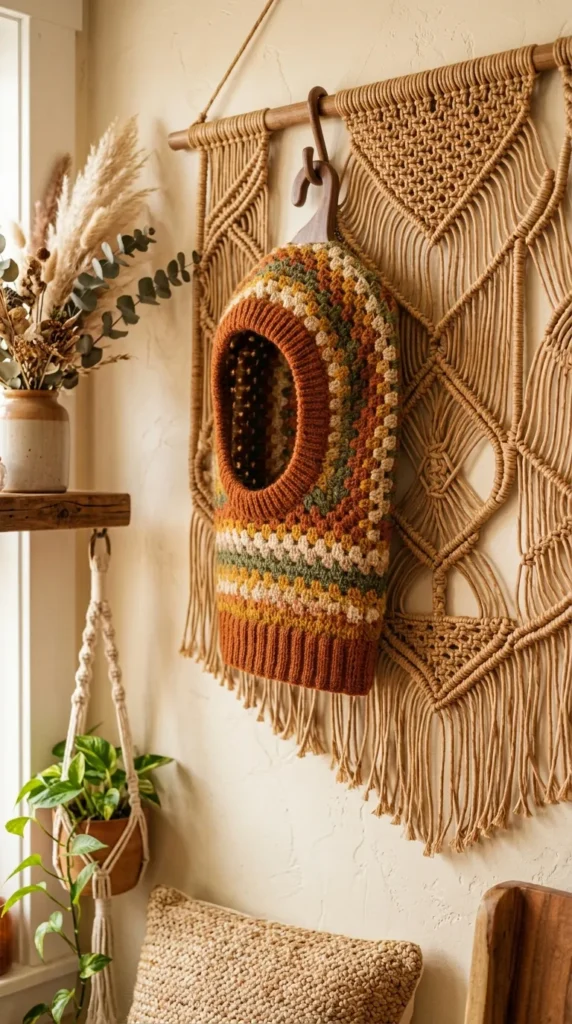
14. Bohemian Granny Stripe Balaclava
Introduction
Channeling effortless 1970s festival style, the Bohemian Granny Stripe Balaclava utilizes rolling waves of colorful granny clusters to create a vibrant, cheerful winter accessory.
What This Idea Means
This design honors retro folk aesthetics and rhythmic color play, bringing a joyful, handmade bohemian spirit to chilly weather.
How to Make It
- Foundation: Chain a foundation row divisible by 3 and join to form the neck loop.
- Granny Stripe Rounds: Work rounds of 3-double-crochet clusters into the chain-1 spaces of the round below, changing colors every two rounds for a lively striped sequence.
- Face Shaping: Divide your rounds to leave the face opening free, working back and forth in the stripe pattern to form the hood.
- Crown Seam: Seam the top of the hood closed from the inside with a neat whip stitch.
Tips and Variations
- Tip: Weave in your yarn tails as you go during color changes to save hours of finishing work later.
- Variation: Use rich autumn tones like rust, mustard, olive, and cream for a gorgeous vintage earth-toned look.
Needs to Make That Thing
- Yarn: Assorted scrap yarn balls or 4 mini-skeins of worsted weight wool.
- Hook: 4.5mm crochet hook.
- Notions: Tapestry needle, sharp scissors.



15. Minimalist Cable Knit Look Balaclava
Introduction
Achieving the sophisticated look of traditional knitted cable sweaters using crochet, the Minimalist Cable Knit Look Balaclava features stunning faux-cable braids created with front post stitches.
What This Idea Means
This concept merges advanced crochet texturing with timeless tailoring, offering high-end cable elegance without requiring knitting needles.
How to Make It
- Cable Foundation: Establish a ribbing base around the neck, incorporating raised front post treble crochet stitches grouped together to form cable twists.
- Crossing Cables: Cross your post stitches over each other every few rows following a standard crochet cable chart.
- Hood Transition: Carry the central cable up the back or sides of the hood for a continuous, tailored design element.
- Clean Edging: Finish the face aperture with a simple, tight single crochet border to let the cables take center stage.
Tips and Variations
- Tip: Pull up your loops slightly when working front post treble crochets to prevent the fabric from puckering or pulling too tight.
- Variation: Use a solid cream or ivory yarn for a luxurious winter-white cable aesthetic.
Needs to Make That Thing
- Yarn: 3 skeins of worsted weight wool yarn.
- Hook: 4.5mm crochet hook.
- Notions: Cable needle (optional), tapestry needle, stitch markers.
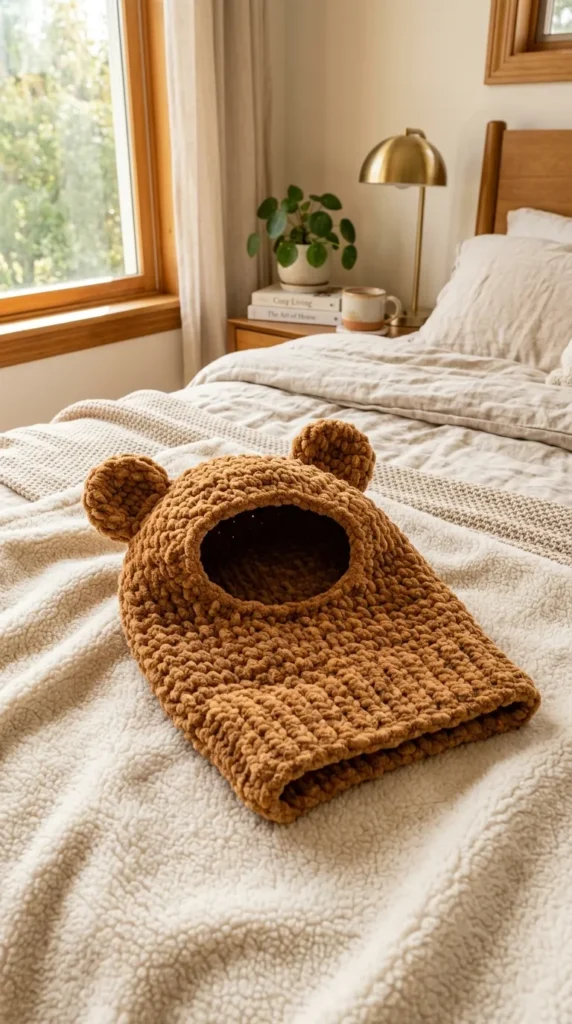
16. Plush Chenille Teddy Balaclava
Introduction
Incredibly soft, squishy, and tactile, the Plush Chenille Teddy Balaclava resembles a cuddly teddy bear hood. It is cozy, adorable, and provides unmatched plush warmth against freezing winds.
What This Idea Means
This design celebrates maximum tactile coziness and playful texture, wrapping the wearer in a cloud of plush comfort.
How to Make It
- Working with Chenille: Use super-bulky chenille yarn and a large hook, working in simple half-double crochet stitches in continuous rounds.
- Hood Construction: Shape the hood directly from the neck tube, keeping your tension loose and even.
- Adding Bear Ears: Crochet two small half-circle bear ears and sew them securely to the top crown corners of the hood.
- Finishing: Fasten off securely and weave in ends using your fingers or a large jumbo tapestry needle.
Tips and Variations
- Tip: Chenille yarn stitches can be hard to see; use locking stitch markers to keep track of your rounds and starting points.
- Variation: Choose a rich caramel or teddy-bear brown yarn for an authentic, playful look.
Needs to Make That Thing
- Yarn: 2 skeins of super bulky chenille yarn (Category 6 or 7).
- Hook: 8mm crochet hook.
- Notions: Jumbo tapestry needle, locking stitch markers.
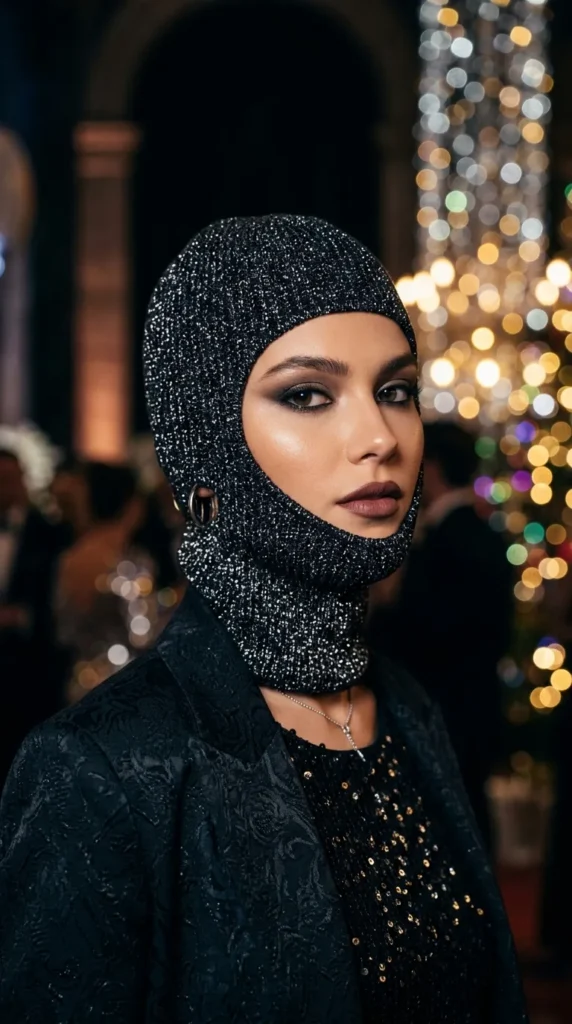
17. Sparkly Lurex Thread Balaclava
Introduction
Shimmering subtly with every movement, the Sparkly Lurex Thread Balaclava incorporates metallic lurex threads into the yarn to create a magical, starry-night effect perfect for evening wear and winter parties.
What This Idea Means
This concept highlights festive glamour and luminous texturing, turning a practical cold-weather garment into a sparkling jewelry-like statement piece.
How to Make It
- Yarn Blending: Hold a fine strand of metallic lurex thread together with a smooth wool or alpaca yarn as you crochet.
- Stitch Selection: Use a clean, simple stitch like the half-double crochet so the sparkling metallic sheen is evenly distributed without visual clutter.
- Face Framing: Work a delicate metallic picot or scalloped edge around the face opening for an extra touch of sparkle.
- Secure Ends: Knot and weave in all metallic yarn ends securely to prevent scratching against the skin.
Tips and Variations
- Tip: Metallic threads can sometimes feel slightly abrasive; test your yarn combination against your skin before committing to the full project.
- Variation: Pair a deep obsidian black yarn with silver lurex thread for an unforgettable celestial aesthetic.
Needs to Make That Thing
- Yarn: 2 skeins of yarn plus 1 spool of metallic lurex thread.
- Hook: 4.5mm crochet hook.
- Notions: Tapestry needle, scissors.
18. Textured Bobble Stitch Balaclava
Introduction
Playful, tactile, and delightfully dimensional, the Textured Bobble Stitch Balaclava features raised, pillowy bobbles scattered across the crown or framing the face like little winter berries.
What This Idea Means
This design emphasizes three-dimensional surface embellishment and engaging sensory interaction, elevating a standard winter hood into a work of art.
How to Make It
- Base Hood: Crochet the main balaclava body using sturdy single crochet stitches in warm wool yarn.
- Incorporating Bobbles: Work bobble stitches (typically 5-dc clusters) in spaced-out rows or clustered along the outer hood border.
- Pushing Bobbles: Ensure all bobbles pop out crisply to the right side of the fabric as you complete each row.
- Clean Edging: Finish the neck and face opening with clean single crochet borders to balance the textured bobbles.
Tips and Variations
- Tip: Space your bobbles evenly using stitch markers to maintain a balanced geometric layout.
- Variation: Make the balaclava in soft oat milk cream with contrasting rust-colored bobbles for an autumnal berry look.
Needs to Make That Thing
- Yarn: 3 skeins of worsted weight wool yarn.
- Hook: 4.5mm crochet hook.
- Notions: Tapestry needle, stitch markers.
19. Edgy Metal Ring Balaclava
Introduction
Embracing modern alternative streetwear, the Edgy Metal Ring Balaclava incorporates metallic O-rings or D-rings threaded into the crochet fabric, adding an unmistakable punk-chic attitude.
What This Idea Means
This concept explores rebellious fashion subcultures and hardware accents, combining soft yarn craftsmanship with hard industrial details.
How to Make It
- The Balaclava Body: Crochet a sleek, fitted balaclava in solid black or dark charcoal gray using tight single crochet stitches.
- Integrating Hardware: When reaching the side or neckline, crochet directly around the edge of smooth metal O-rings or secure them with sturdy yarn reinforcement loops.
- Strap Details: Add small decorative straps with snap buttons or buckles connecting to the metal rings for an authentic hardware finish.
- Reinforcement: Ensure the fabric holding the metal rings is reinforced with hidden nylon cord or dense stitches to support the weight.
Tips and Variations
- Tip: Choose lightweight aluminum or coated metal rings to ensure the balaclava remains comfortable and doesn’t pull heavily on one side.
- Variation: Add small silver safety pin charms or chains threaded between the rings for an even more custom industrial look.
Needs to Make That Thing
- Yarn: 3 skeins of worsted weight acrylic or wool yarn.
- Hook: 4.5mm crochet hook.
- Notions: Metal O-rings or D-rings, tapestry needle, heavy-duty thread.
20. Scalloped Edge Romantic Balaclava
Introduction
Soft, charming, and endlessly graceful, the Scalloped Edge Romantic Balaclava features delicate shell-stitch borders framing the face like flower petals, softening the architectural lines of the hood.
What This Idea Means
This design focuses on delicate finishing touches and softening traditional silhouettes, adding a romantic, feminine grace to winter accessories.
How to Make It
- Main Hood Construction: Work a fitted, smooth balaclava base using a neutral-toned merino wool or cashmere yarn.
- The Scalloped Border: Attach yarn to the edge of the face opening and work a continuous round of scalloped shell stitches (e.g., 5 double crochets in one stitch, skip 2, slip stitch).
- Neckline Scallops: Mirror the delicate scalloped edge along the lower hem of the neck cowl.
- Blocking: Steam block the scalloped borders gently so they curl outward into crisp, defined petal shapes.
Tips and Variations
- Tip: Use a slightly smaller crochet hook for the scalloped border than you used for the main body to keep the shells crisp and flat.
- Variation: Choose a soft rose pink or lavender yarn for an enchanting fairytale aesthetic.
Needs to Make That Thing
- Yarn: 2–3 skeins of merino wool yarn.
- Hook: 4.5mm crochet hook.
- Notions: Tapestry needle, blocking pins.