Transforming your personal space or diving into a hands-on project is one of the most rewarding ways to spend your free time. For teenage guys looking to upgrade their bedrooms, organize their gear, or express their unique personal style, DIY crafting offers an accessible and fulfilling outlet. Far from the traditional stereotype of crafting being limited to paper and glue, modern teen crafts blend industrial elements, tactile textures, functional utility, and striking visual aesthetics.
Designing a room that reflects your personality requires attention to detail, a curated color palette, and a willingness to work with raw materials like wood, concrete, rope, and metal. Whether you are aiming for a minimalist urban loft vibe, a cozy moody retreat, or a vibrant gamer setup, handmade elements add an unmatched layer of authenticity. This comprehensive guide details twenty distinct, highly visual DIY projects tailored specifically for teenage guys. Each project includes step-by-step assembly instructions, insider tips for a flawless finish, and creative variations to help you make each piece truly your own.
1. Minimalist Concrete Desk Organizer
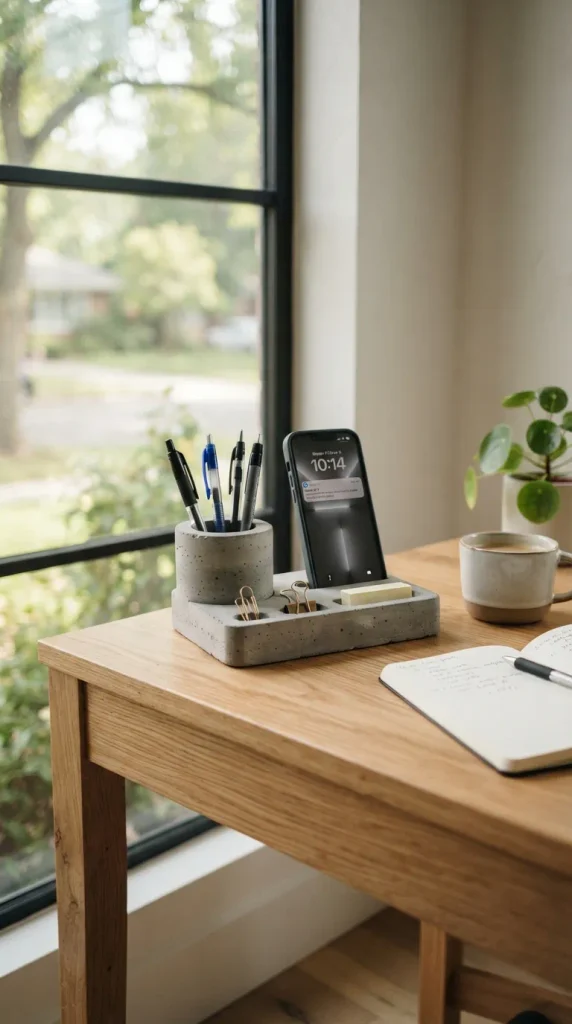
A cluttered desk kills productivity and looks messy. Building a minimalist concrete desk organizer gives your workspace an industrial, modern aesthetic while keeping pens, your phone, and daily carry items neatly arranged. Concrete is inexpensive, highly durable, and incredibly satisfying to mold into sleek geometric shapes.
Materials and Tools Needed:
- Quick-setting concrete mix
- Water and a mixing bucket
- A large outer plastic container (like a cut-off milk carton)
- Smaller inner plastic containers, cups, or wooden blocks (to create compartments)
- Cooking oil or petroleum jelly
- Fine-grit sandpaper (120 and 220 grit)
- Painter’s tape
Step-by-Step Instructions:
- Prepare the Molds: Wipe the inside of your large outer container and the outside of your inner containers with a thin layer of cooking oil or petroleum jelly. This prevents the concrete from sticking and ensures a smooth release.
- Mix the Concrete: In your bucket, mix the concrete powder with water according to the package instructions. Stir thoroughly until it reaches a thick, smooth consistency similar to peanut butter, ensuring there are no dry pockets.
- Pour the Base: Pour the concrete mixture into the bottom of the large container until it reaches your desired base thickness (about one inch). Tap the sides of the container firmly with your hands or a tool to release trapped air bubbles.
- Insert Compartment Molds: Press your smaller cups or blocks down into the wet concrete to create the storage cavities. Weigh them down with small stones or heavy objects so they do not float back up.
- Curing: Let the mold sit undisturbed for 24 to 48 hours in a dry area. Once completely dry and cool to the touch, carefully cut away the outer plastic container and pull out the inner molds.
- Finishing Touches: Wet-sand the edges and bottom with fine-grit sandpaper to smooth out any rough spots or imperfections. Wipe clean with a damp cloth.
Tips and Variations:
- For a striking modern contrast, dip the bottom half of the cured concrete organizer in matte black or metallic gold acrylic paint once it is fully dry.
- Stick small felt pads or cork squares to the bottom of the organizer to protect your desk surface from scratches.