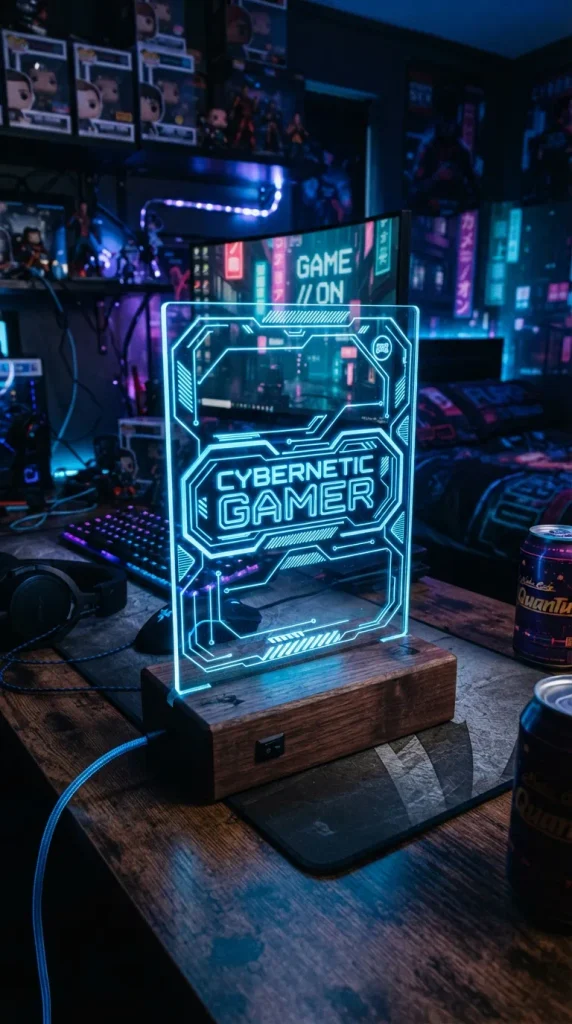
2. LED Neon-Style Acrylic Edge-Lit Sign
Custom lighting completely alters the mood of a bedroom, especially at night. Creating an edge-lit LED sign allows you to showcase your favorite symbol, gamer tag, or silhouette using glowing light channeled through clear acrylic.
Materials and Tools Needed:
- Cast acrylic sheet (cut to size)
- Dremel rotary tool with engraving bits
- LED strip lights or a custom wooden base with built-in LEDs
- Wood scrap for the base
- Safety glasses and a dust mask
- Transfer paper and a printed template of your design
Step-by-Step Instructions:
- Design Your Graphic: Print your chosen design (such as a geometric animal, logo, or abstract shape) on paper at actual size. Tape the template to the back side of the clear acrylic sheet.
- Trace and Engrave: Put on your safety glasses. Using the fine engraving bit on your rotary tool, carefully trace over the lines of your template. Keep a steady hand and let the tool do the work without pressing down too hard. The goal is to scratch and frost the surface of the acrylic so it catches light.
- Build the Base: Cut a groove into a piece of wood that matches the thickness of your acrylic sheet. Drill a hole in the back for the power cord if you are wiring internal LEDs, or rout a channel to fit an adhesive LED strip along the bottom edge.
- Assembly: Peel off any protective plastic films from the acrylic, wipe it clean with microfiber, and insert the bottom edge firmly into the wooden base slot directly above the light source.
- Test Your Sign: Turn off the room lights, plug in the LEDs, and watch your engraved lines glow brilliantly.
Tips and Variations:
- Use RGB LED strips with a remote control so you can change the color of your sign to match your room theme or current mood.
- Keep your lines clean and deep for a brighter, more defined glow effect.