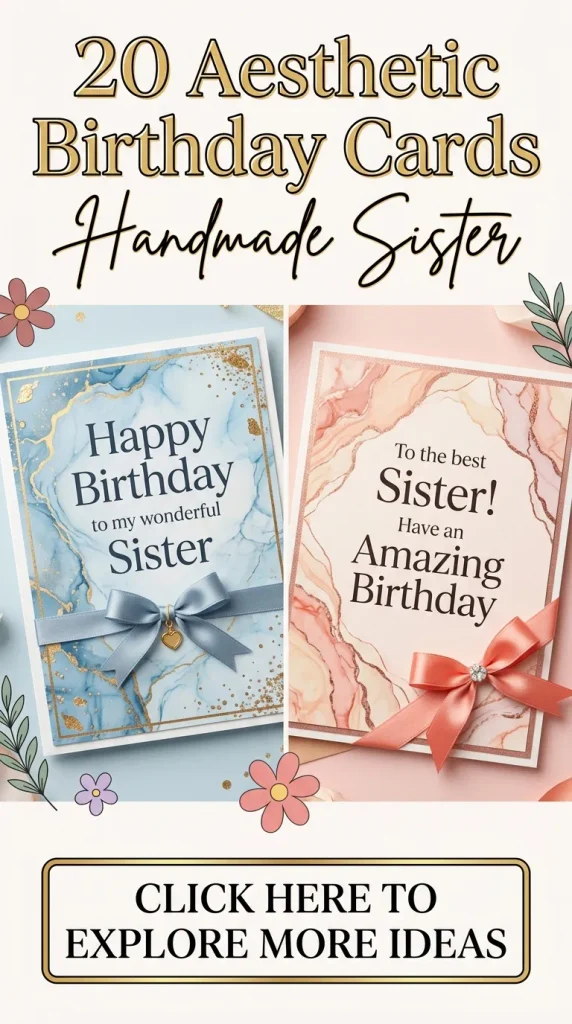
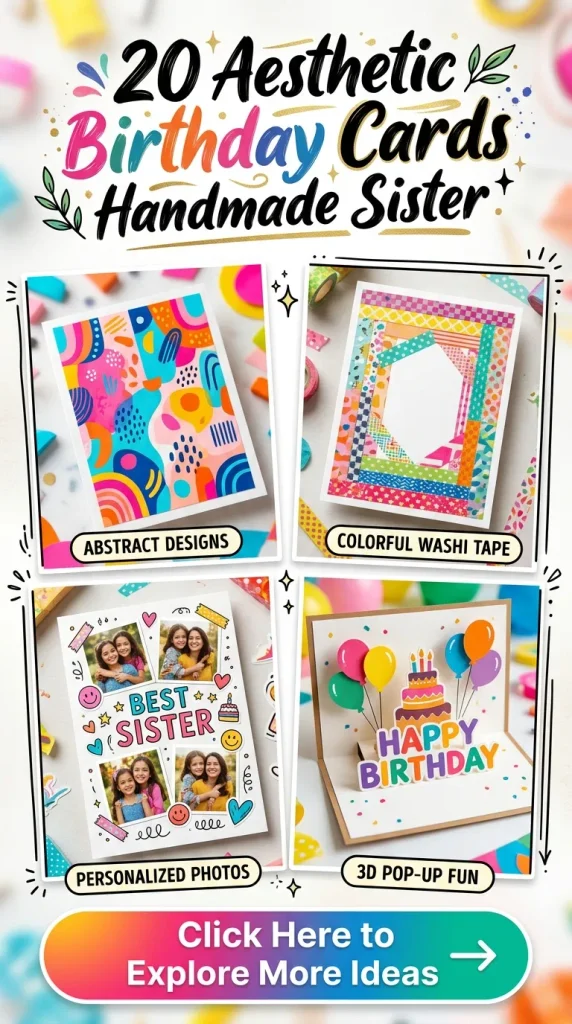
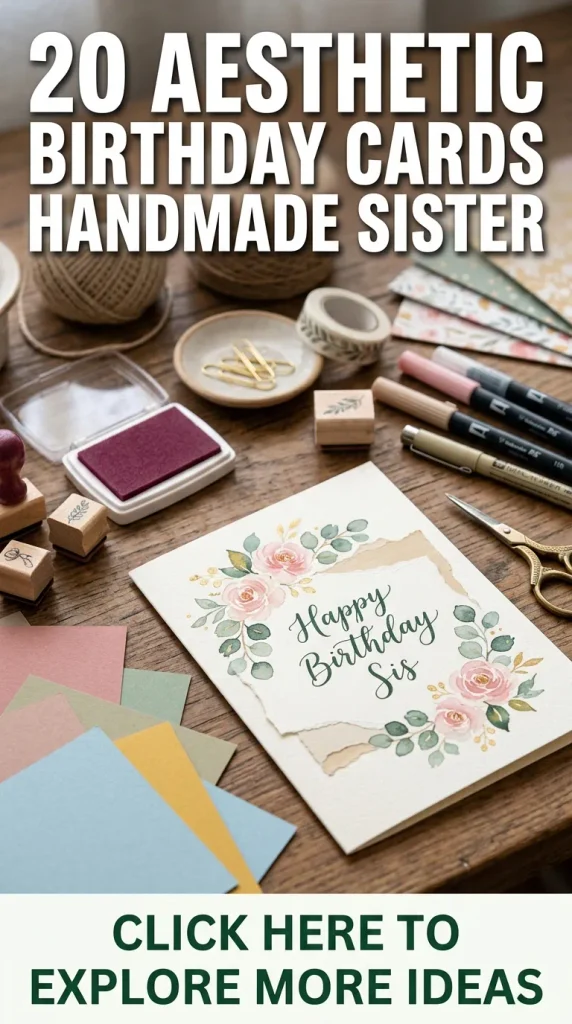
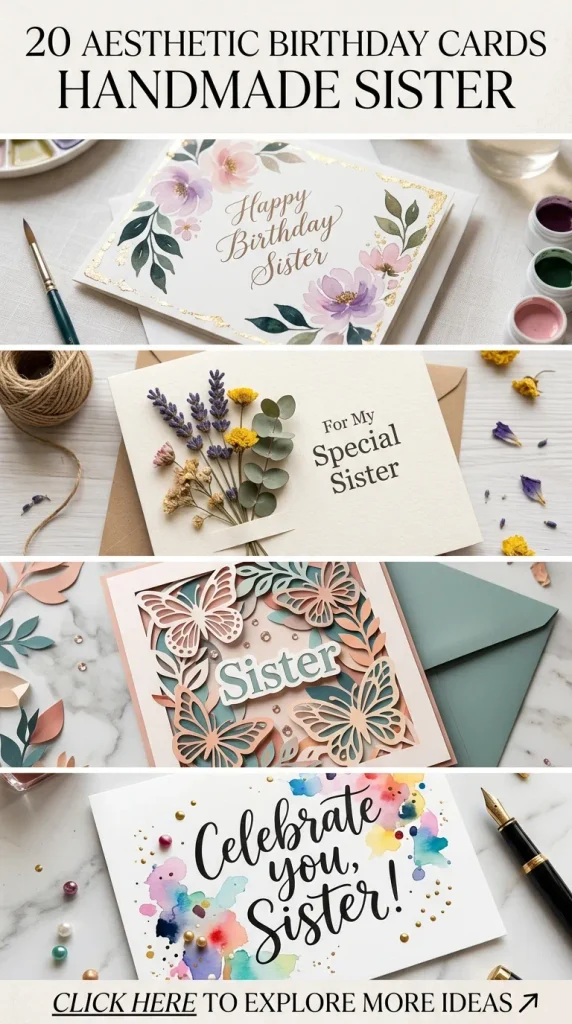
There is something irreplaceable about a sister. She is your built-in best friend, your keeper of secrets, your partner in childhood nostalgia, and your fiercest advocate. When her birthday rolls around, a generic, mass-produced greeting card picked up hastily from a supermarket shelf simply will not do. Your bond is unique, layered, and deeply personal—your birthday greeting should reflect that. In a world saturated with digital notifications and fleeting text messages, taking the time to craft a tangible, aesthetic, and gorgeous handmade birthday card is a profound act of love. It tells her that she is worth your time, your creativity, and your thoughtfulness.
Handmade cards have experienced a massive renaissance, driven by a collective desire for authenticity, tactile experiences, and personalized gifting. Aesthetic design—characterized by soft color palettes, minimalist compositions, thoughtful typography, and tactile mixed-media elements—turns a simple piece of cardstock into a keepsake she will frame and cherish for years. Whether your sister is a minimalist who loves clean lines and neutral tones, a bohemian spirit who adores dried florals and earthy textures, or a vibrant maximalist who thrives on glitter, pastel layers, and whimsical illustrations, crafting a card tailored specifically to her aesthetic is deeply rewarding.
Embarking on a DIY card-making journey for your sister allows you to infuse every fold, brushstroke, and embellishment with memories you share. This comprehensive guide explores twenty distinct, highly aesthetic, gorgeous, and inspiring handmade birthday card ideas designed specifically for sisters. For each concept, you will discover the underlying design philosophy, a detailed step-by-step tutorial on how to make it, essential tips for success, and creative variations to make the design truly your own. Let us dive into the art of making your sister’s next birthday unforgettable.
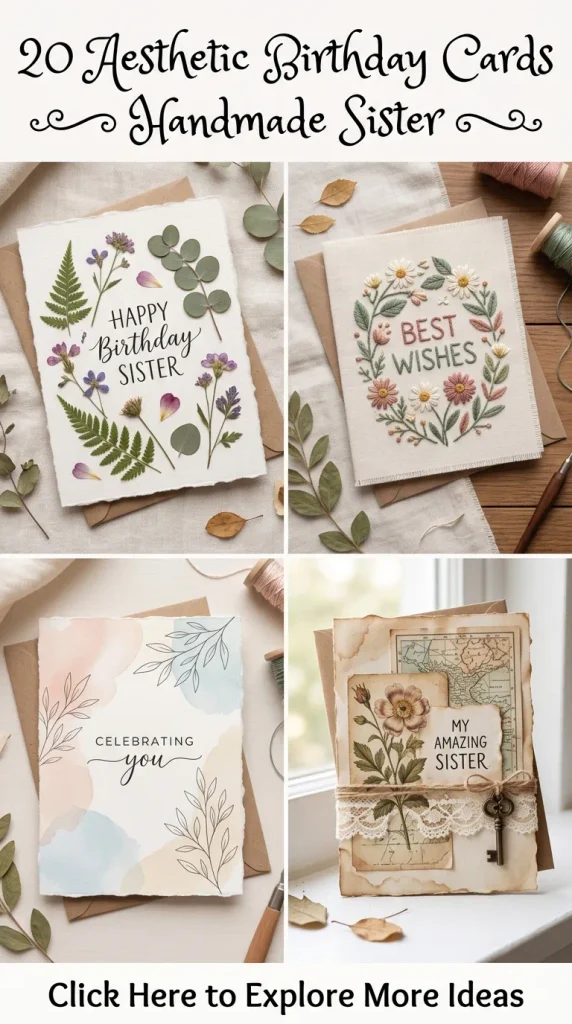
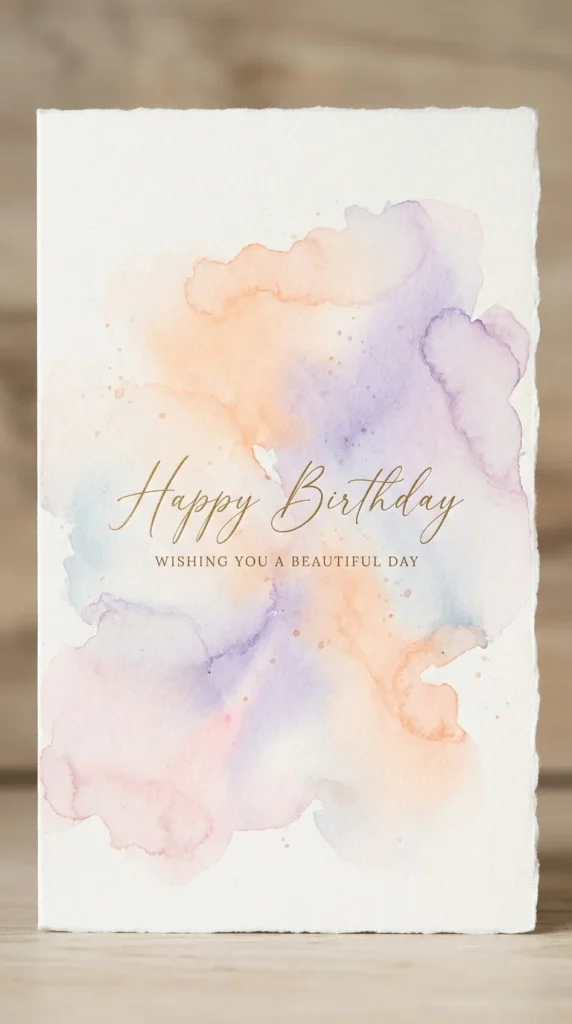
1. Pressed Botanical Garden Card Capturing nature’s fleeting beauty in a permanent keepsake makes for an inherently aesthetic and deeply sentimental design. This card utilizes real pressed flowers and foliage arranged to mimic a delicate garden scene, resting against a backdrop of thick, textured cotton paper.
How to make it:
- Start with a heavy-duty, A2-sized folded card base made from deckle-edge watercolor paper or cream cotton cardstock.
- Select an assortment of small pressed florals, such as baby’s breath, miniature ferns, pansies, or pressed rose petals.
- Arrange the botanicals on the front cover in a loose, organic bouquet or a cascading vine layout before securing them. Use a fine-tip tweezer for precision placement.
- Adhere the flowers using a tiny dot of archival, clear-drying liquid glue or Mod Podge, pressing gently with your fingertip until secured.
- Using a fine-point black waterproof pen or a calligraphy brush pen, write a delicate phrase like “Growing together” or “Happy Birthday, Sister” beneath the botanical arrangement.
Tips and variations:
- Ensure your pressed flowers are completely dehydrated before gluing to prevent moisture damage or mold.
- Variation: Instead of loose flowers, press a single large fern frond and overlay it with a piece of vellum paper secured by tiny copper eyelets, creating a layered, dimensional effect.
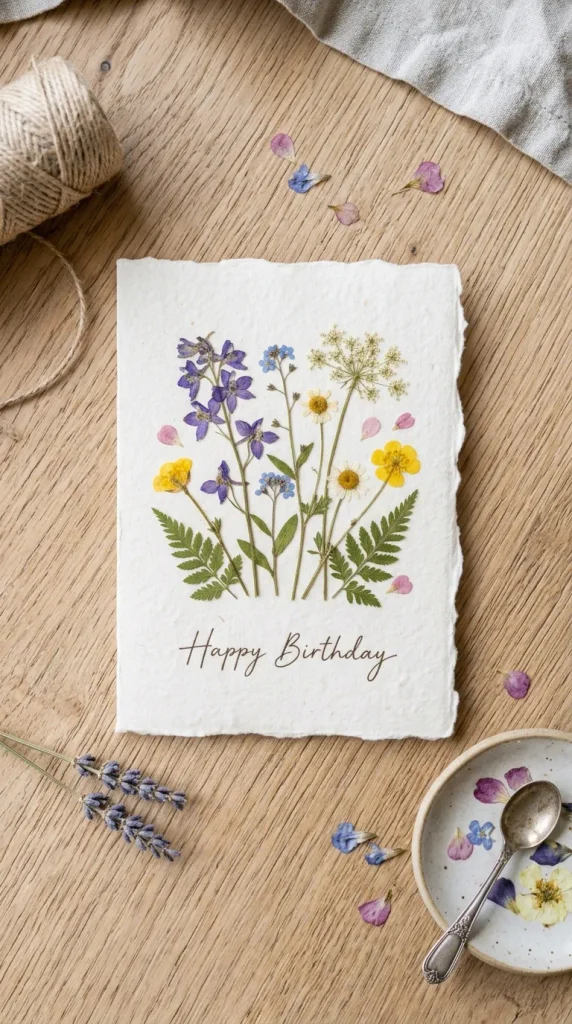
2. Minimalist Gold-Foil Constellation Card For the sister who looks at the stars and finds magic in the cosmos, a minimalist celestial card is breathtaking. This design uses negative space, deep midnight blue or charcoal cardstock, and shimmering gold foil details to evoke a starry night sky.
How to make it:
- Cut a piece of heavy midnight blue cardstock to fit your card base.
- Research your sister’s zodiac constellation or design a custom constellation shape that holds personal meaning for the two of you.
- Lightly sketch the constellation stars and connecting lines using a white pencil or a stylus.
- Apply a quick-drying liquid adhesive or a glue pen directly over your sketched lines. Alternatively, use a hot foil stamping pen with gold foil sheets.
- Sprinkle fine gold glitter over the wet glue or press the gold foil firmly onto the adhesive lines, brushing away any excess once dry to reveal crisp, glittering metallic trails.
Tips and variations:
- Use a white gel pen to write tiny star dots of varying sizes around the main constellation to add depth.
- Variation: Punch out a circular window in the front card panel, backed with patterned paper featuring a galaxy print, framing the golden constellation in the center.
3. Vintage Pressed-Butterfly Ledger Card Nostalgic, romantic, and steeped in old-world charm, this card blends vintage ephemera with delicate butterfly motifs. It feels like a page torn from an heirloom journal discovered in a Parisian attic.
How to make it:
- Source vintage dictionary pages, old sheet music, or French ledger paper to serve as your foundational background layer. Tear the edges by hand for a soft, deckled look.
- Layer the torn paper onto a kraft brown cardstock base using double-sided tape for a flat, clean adherence.
- Print or hand-paint intricate vintage botanical illustrations of butterflies in soft pastel hues (dusty rose, sage green, and antique cream) onto heavy cardstock, then carefully cut them out.
- Fold the butterfly wings slightly upward along the center body axis to create a 3D flying effect, and glue only the center body to the ledger background.
- Stamp a vintage script birthday greeting or write it using brown sepia ink.
Tips and variations:
- Dab the edges of your papers with distress ink (like vintage photo) using a sponge dauber to give them an authentic aged patina.
- Variation: Tie a piece of frayed, natural linen string or cheesecloth in a messy bow around the spine of the card.
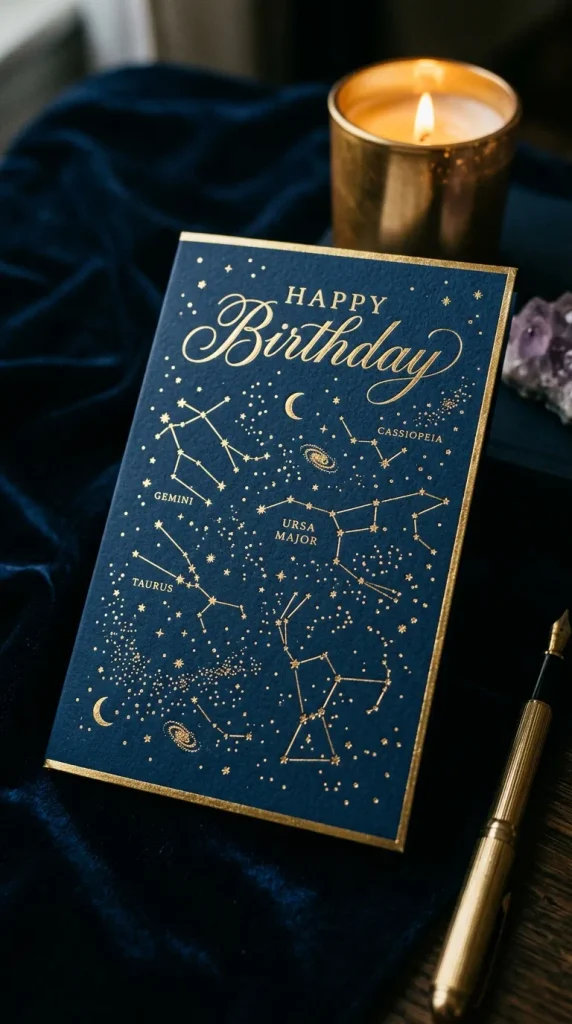
4. Abstract Pastel Watercolor Wash Card Soft, dreamy, and effortlessly modern, an abstract watercolor wash captures a tranquil aesthetic. The blending of bleeding pigments creates an ethereal background that looks like a professional fine art print.
How to make it:
- Tape down the edges of a watercolor paper sheet onto a flat surface using low-tack painter’s tape to maintain crisp white borders.
- Wet the paper lightly with clean water using a large brush, allowing the water to pool gently without soaking through.
- Drop diluted pastel watercolor pigments—such as peach, lavender, soft butter yellow, and sky blue—onto the wet surface, letting them bleed and merge organically.
- While the paint is still damp, sprinkle coarse sea salt over select areas to create crystalline starburst textures as the paint absorbs.
- Once completely dry, peel off the tape and use a white acrylic paint pen or metallic gold marker to add abstract minimalist line art or a clean typography greeting.
Tips and variations:
- Use metallic liquid watercolors for the accents to catch the light beautifully.
- Variation: Cut the finished watercolor paper into organic arch shapes and layer them vertically on top of a solid white card base.

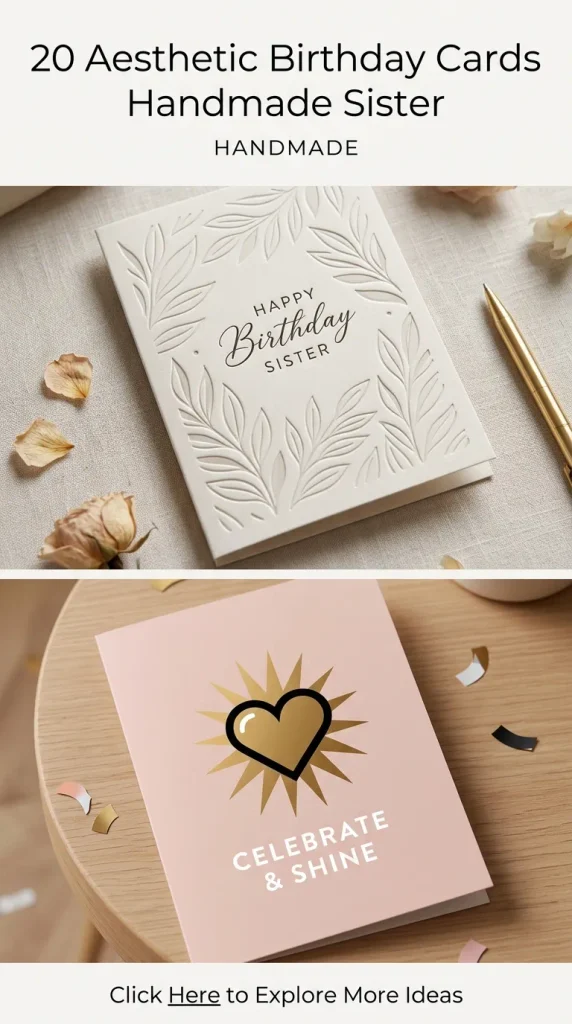
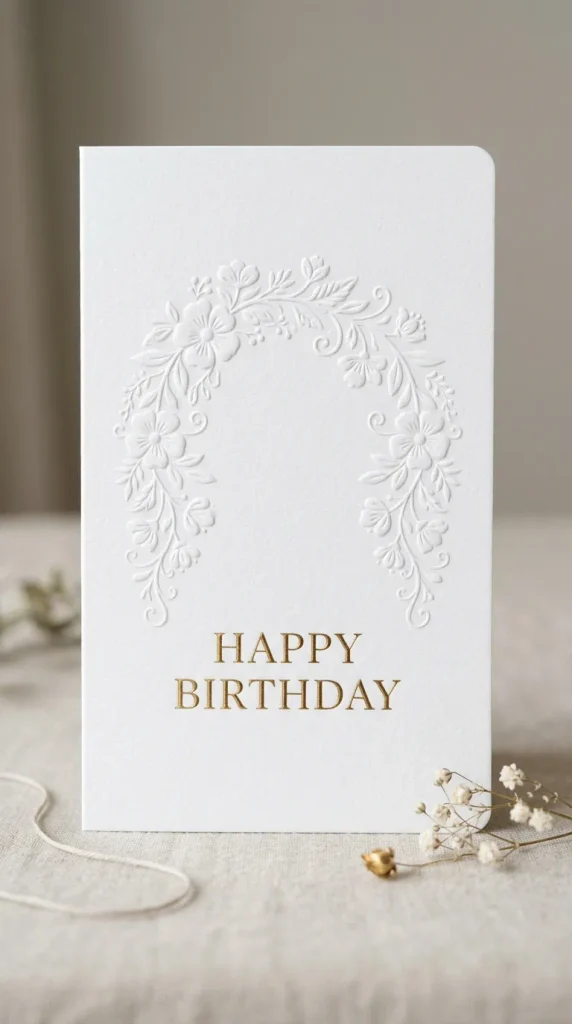
5. Textured Embossed Floral Arch Card Clean, sophisticated, and rich in tactile depth, dry embossing creates a stunning monochromatic look. This design plays with light and shadow rather than bright colors, resulting in a remarkably chic aesthetic.
How to make it:
- Take a thick sheet of heavy white or cream cardstock cut to your desired card dimensions.
- Use a manual die-cutting and embossing machine with an architectural arch die and a floral embossing folder.
- Run the cardstock through the machine to press a raised, three-dimensional floral pattern into the center of the arch shape.
- Carefully cut out the embossed arch or leave it mounted on a contrasting colored background panel, such as terracotta or muted olive green.
- Stamp or emboss a sleek, modern serif birthday message at the base of the arch using gold embossing powder and a heat tool.
Tips and variations:
- Keep the overall design strictly monochromatic (all white on white) for a high-end, minimalist wedding-invitation feel.
- Variation: Lightly sweep a sponge dipped in metallic gold ink across the raised surfaces of the embossed flowers to highlight the texture.
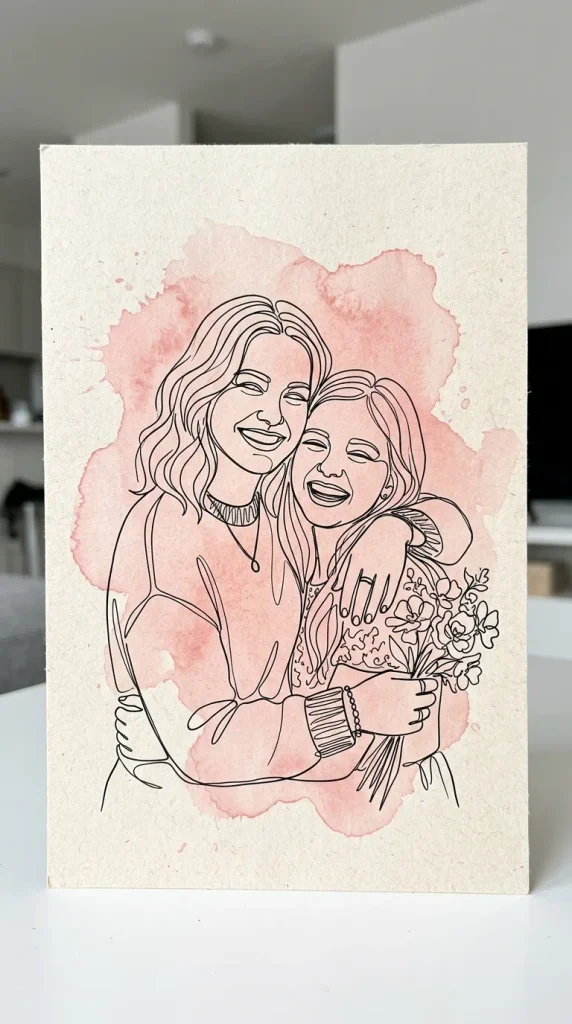
6. Modern Line-Art Sisters Silhouette Card Celebrating female solidarity and sisterhood, continuous line art is a reigning interior design and fashion trend that translates gorgeously onto handmade stationery.
How to make it:
- Fold a piece of heavy cream or oatmeal-colored cardstock in half.
- Using a reference image of two sisters or a stylized continuous-line illustration, sketch a profile portrait of two women with flowing hair intertwined.
- Trace over your pencil lines with a fine-tip black marker or a black ink dip pen with flexible nib control to vary line thickness.
- Add a single splash of color behind the line art by painting a loose, semi-transparent circle of pink or rust watercolor wash.
- Hand-letter the words “Sisters Forever” or “Happy Birthday to My Built-In Best Friend” in a modern brush-script font beneath the portrait.
Tips and variations:
- Embroider the continuous line art directly onto the cardstock using black embroidery floss with a backstitch technique.
- Variation: Draw floral crowns blooming from the heads of the silhouette figures using pastel pink and green markers.
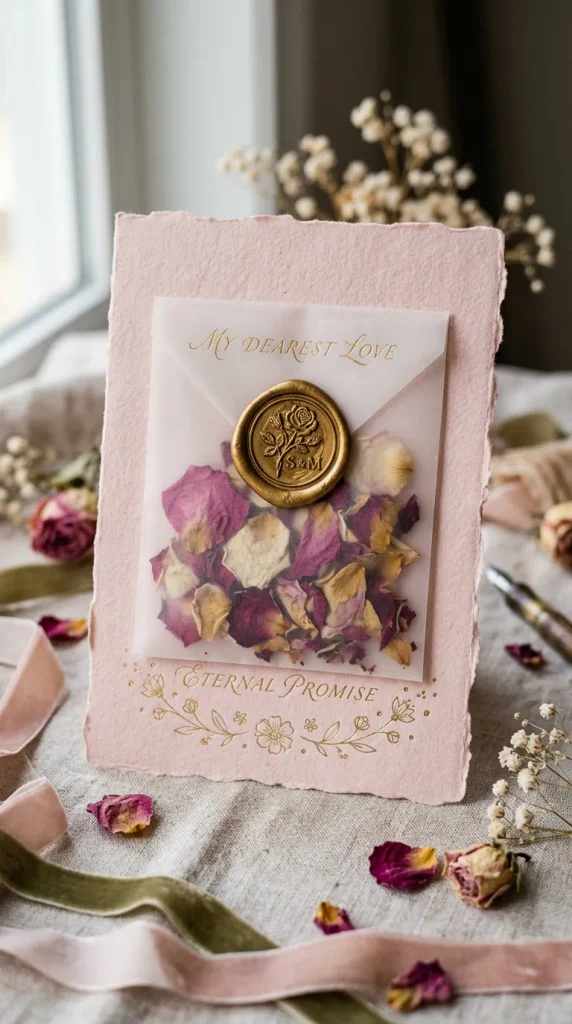
7. Layered Vellum & Pressed Petal Pocket Card Vellum is a translucent, semi-opaque material that instantly elevates any papercraft project. This card features a vellum pocket envelope built right onto the face of the card, holding sweet notes or extra pressed petals.
How to make it:
- Cut a thick blush pink cardstock to form your main card base.
- Cut a smaller rectangle of translucent vellum paper, fold up the bottom edge to create a small pocket, and secure the side seams with invisible double-sided tape.
- Arrange a collection of tiny dried rose petals and baby’s breath inside the translucent vellum pocket so they are clearly visible from the front.
- Slide a miniature cardstock tag inside the pocket bearing a handwritten birthday message like “For You, Sister.”
- Seal the top flap of the vellum pocket with a tiny gold wax seal stamp featuring a botanical initial or a heart motif.
Tips and variations:
- Use botanical-infused vellum paper that already has embedded flower petals for an extra layer of texture.
- Variation: Print a meaningful poem on the slip inside the vellum pocket that your sister can pull out and read.
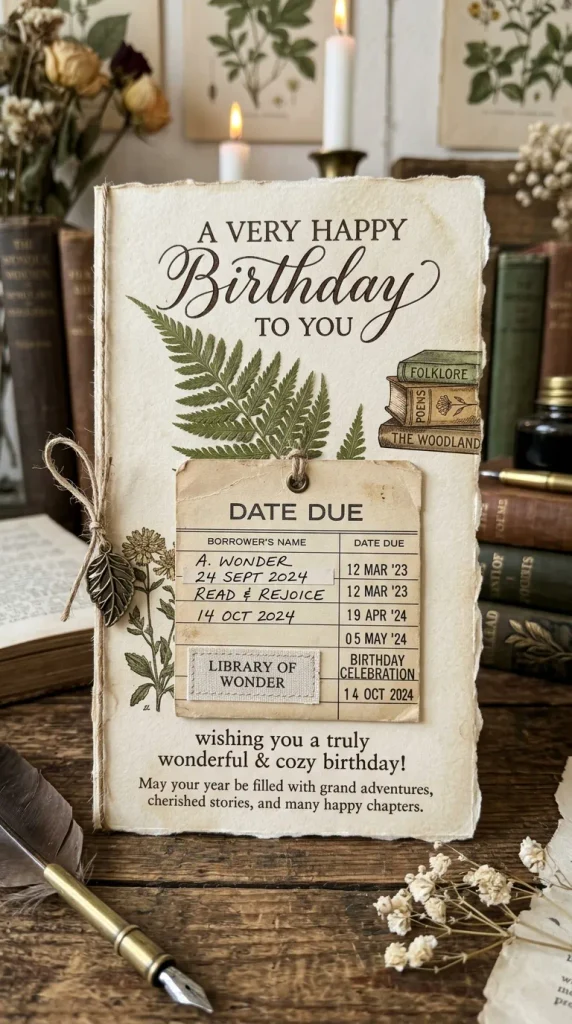
8. Whimsical Pressed-Fern Bookworm Card If your sister is an avid reader, literature lover, or cozy-aesthetic enthusiast, this card designed to look like a vintage library book or a pressed botanical bookmark is an absolute home run.
How to make it:
- Cut a piece of kraft brown cardstock to resemble the spine and cover of an antique hardcover book.
- Use a white or gold paint pen to draw intricate bookbinding filigree and corner flourishes along the borders.
- Glue a miniature paper pocket on the front face designed to look like an old-school library checkout card holder.
- Slide a tiny card into the pocket stamped with due dates, with the final date stamped as her birthday with the words “Special Edition: Sister’s Birthday.”
- Mount a genuine pressed fern leaf across the cover using fine cross-stitching thread threaded through tiny holes punched in the paper.
Tips and variations:
- Spray the card lightly with a vanilla-scented fixative to give it an authentic old-book aroma.
- Variation: Incorporate a real fabric bookmark ribbon glued into the spine fold that drapes over the front cover.
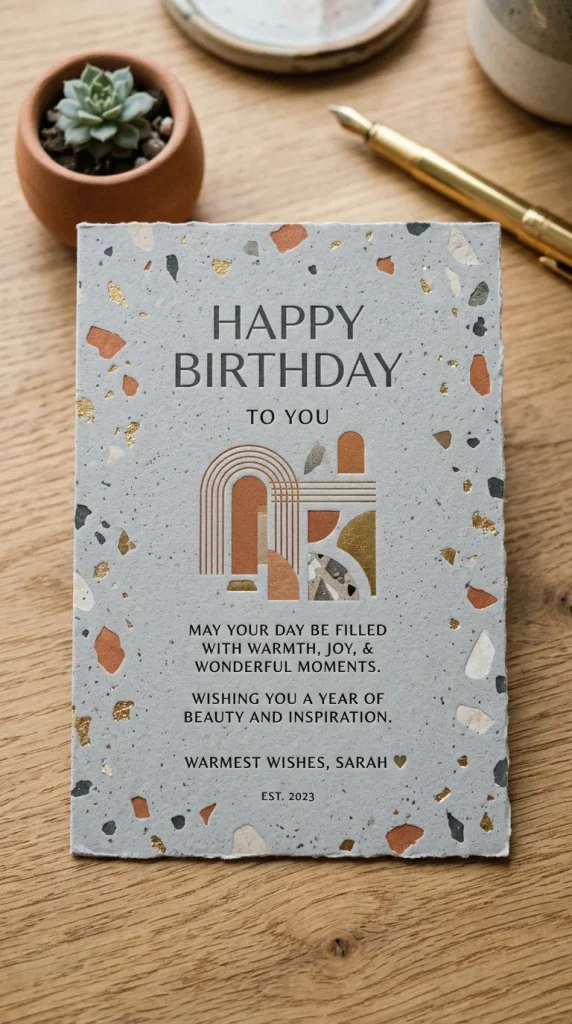
9. Chic Neutral Terrazzo Tile Card Terrazzo patterns—characterized by chips of marble, quartz, and glass set into cement—bring an edgy, contemporary, architectural aesthetic to paper crafting.
How to make it:
- Select a heavy stone-grey or soft sand-colored card base.
- Cut organic, irregular shards and chips out of various scrap cardstocks in a curated color palette (e.g., terracotta, blush, mustard, sage, and gold foil).
- Arrange and glue these paper chips across the lower third of the card face in a dense, scattered terrazzo formation.
- Use a fine black pen to draw tiny flecks and speckles around the chips to mimic the texture of poured concrete.
- Stamp a bold, minimalist birthday greeting in the upper negative space using black block-letter stamps.
Tips and variations:
- Use polymer clay instead of paper chips for a literal 3D terrazzo effect, adhering them with heavy-duty craft glue.
- Variation: Frame the terrazzo pattern within a sleek geometric gold foil square outline.
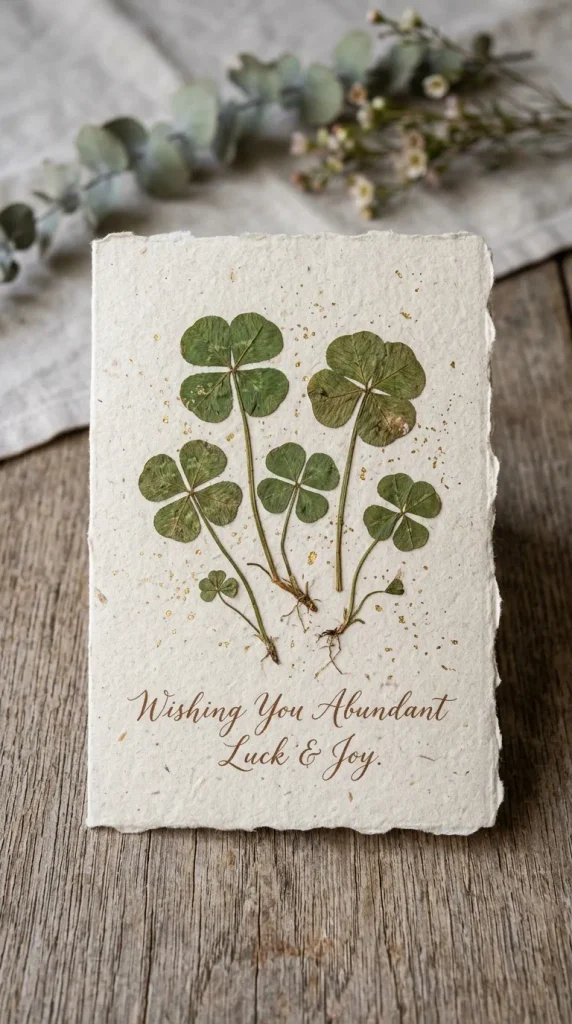
10. Pressed-Clover Luck & Love Card Simple, organic, and deeply symbolic, a card featuring real pressed four-leaf clovers or lucky greens radiates a sweet, earthy, handmade charm.
How to make it:
- Cut a square card base from heavy oatmeal-colored cardstock containing visible natural fiber flecks.
- Collect and press genuine four-leaf clovers or delicate woodland greens.
- Arrange three pressed clovers in a triangular cluster in the center of the card cover.
- Glue the stems down carefully and add a handwritten calligraphy banner underneath reading “Lucky to have you as my sister.”
- Add subtle gold splatter to the background by loading a toothbrush with gold metallic paint and flicking the bristles gently over the card.
Tips and variations:
- Laminate the front paneling of the card with a matte thermal pouch to protect the delicate clovers from tearing.
- Variation: Frame the clover cluster with a hand-painted gold circular wreath.
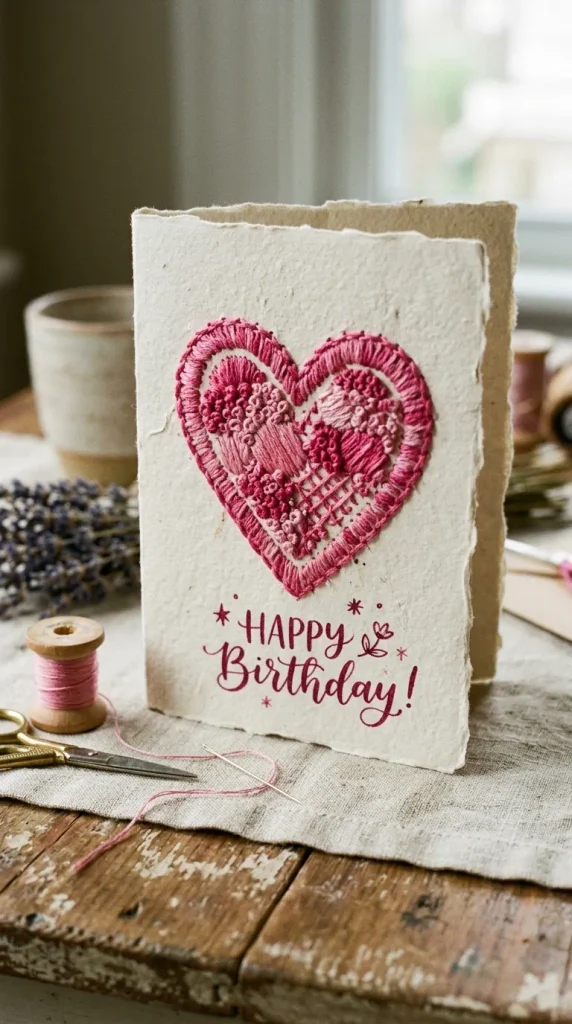
11. Embroidered Constellation & Heart Card Card stitching bridges paper craft with textile art, creating an exceptionally tactile and cozy finished product. Stitching a heart or constellation onto cardstock adds an heirloom quality that feels intensely personal.
How to make it:
- Lightly draw a simple heart outline or a cluster of hearts on the front of a thick cardstock panel using a pencil.
- Use a pushpin or an embroidery piercing tool to punch evenly spaced holes along your pencil lines.
- Thread an embroidery needle with rich cotton floss in a complementary color, such as dusty rose or metallic copper.
- Stitch through the holes using a backstitch or cross-stitch pattern until the design is fully outlined. Secure the thread ends securely on the back with archival tape.
- Glue the stitched panel onto a folded white card base, leaving a neat border frame.
Tips and variations:
- Leave the thread ends hanging loosely on the inside of the card for a charmingly rustic, unfinished artistic vibe.
- Variation: Stitch your sister’s birth flower or initial instead of a standard heart motif.
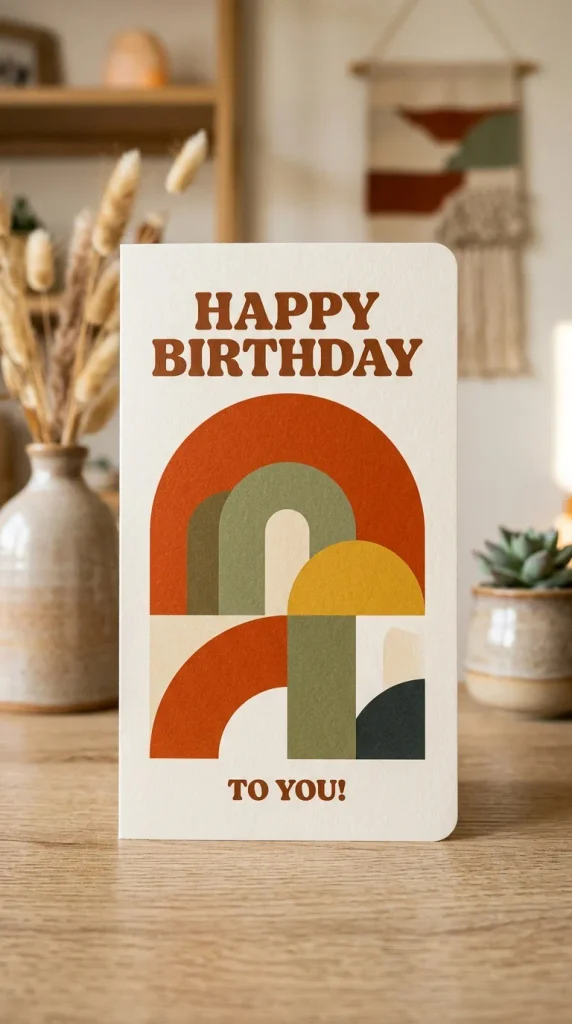
12. Modern Color-Blocked Architectural Card Clean geometric lines, striking color contrasts, and asymmetrical compositions define the modern Bauhaus and mid-century aesthetic. This card is perfect for a sister with an eye for high-end interior design and fashion.
How to make it:
- Choose three complementary, sophisticated cardstock colors, such as rust orange, muted olive, and soft cream.
- Cut out geometric shapes: a large arch, a floating circle, and a solid rectangular base panel.
- Layer these geometric shapes asymmetrically on top of a crisp white card base using foam dimensional adhesive squares to create shadow and depth.
- Type out a birthday message on a vintage manual typewriter on a slip of thin white paper, cut it into a small strip, and affix it across the geometric layers.
- Add a single brushed gold foil geometric accent line.
Tips and variations:
- Stick strictly to a muted, earthy 1970s retro color palette (avocado, mustard, rust, and cream).
- Variation: Incorporate a sliding interactive element where one geometric shape pulls out to reveal a hidden message.
13. Minimalist Seed-Paper Plantable Card Sustainable, eco-friendly, and deeply poetic, this card can be planted directly into soil after her birthday to grow wildflowers, symbolizing a growing sibling bond.
How to make it:
- Purchase or handmade a sheet of plantable seed paper embedded with wildflower seeds (such as daisies, poppies, and forget-me-nots).
- Cut the seed paper to size and mount it onto the front of a recycled kraft cardstock base using minimal adhesive dots so it can be easily peeled off later.
- Stamp a simple line drawing of a potted plant or watering can on the seed paper using eco-friendly black ink.
- Write clear planting instructions on the inside flap of the card alongside your birthday note, such as “Plant me in soil, water me with love, and watch wildflowers bloom!”
- Tie a piece of raw hemp twine around the center of the card.
Tips and variations:
- Include a small custom envelope filled with extra organic wildflower seeds as an attached gift.
- Variation: Stamp the cover with a custom rubber stamp reading “Our roots grow deep.”
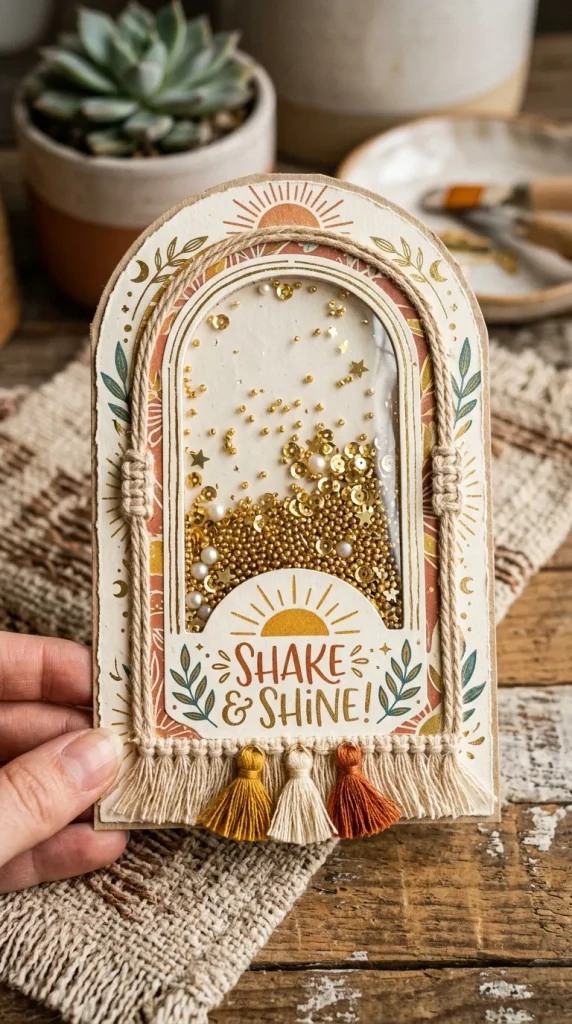
14. Bohemian Sunburst & Arch Shaker Card Whimsical, playful, and tactile, shaker cards feature a sealed transparent window filled with loose decorative elements that move around when shaken.
How to make it:
- Cut a circular window out of the front panel of a heavy cream cardstock base.
- Back the window from the inside with a clear piece of acetate plastic sheet.
- Build a shallow wall around the perimeter of the circle using foam mounting tape to create a capsule chamber.
- Fill the chamber with a mix of loose gold micro-beads, tiny iridescent sequins, and dried golden star flower petals.
- Seal the back of the chamber with a decorative backing paper so the contents are safely trapped inside.
- Draw a stylized bohemian sunburst framing the circular window with warm terracotta and mustard markers.
Tips and variations:
- Use tiny star-shaped confetti pieces inside the shaker window for a magical celebratory effect.
- Variation: Make the shaker window an organic arch shape instead of a classic circle.


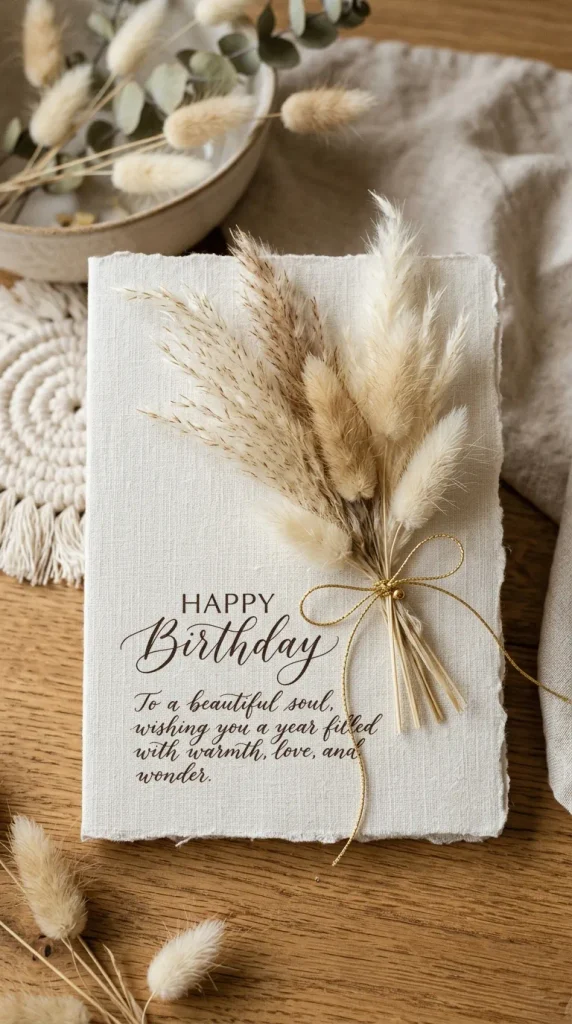
15. Modern Bohemian Pampas Grass Card Capturing the airy, textural beauty of dried pampas grass and bunny tails, this card brings a rustic boho-chic interior styling trend straight to stationery.
How to make it:
- Start with a textured cream linen cardstock base.
- Glue a miniature, real dried pampas grass plume and a couple of fluffy bunny tail stems diagonally across the center of the card face.
- Wrap the stems tightly with a fine knot of metallic gold thread or baker’s twine to make them look like a tiny, tied bouquet.
- Mount a die-cut paper tag underneath the stems bearing a handwritten calligraphy message: “Wild and free, happy birthday to my favorite sister.”
- Splatter faint white gouache paint drops around the bouquet to add an airy, dreamy haze.
Tips and variations:
- Spray the dried grasses lightly with hairspray before attaching them to prevent shedding during shipping or handling.
- Variation: Paint a simple ceramic vase in watercolor beneath the grasses to ground the arrangement.
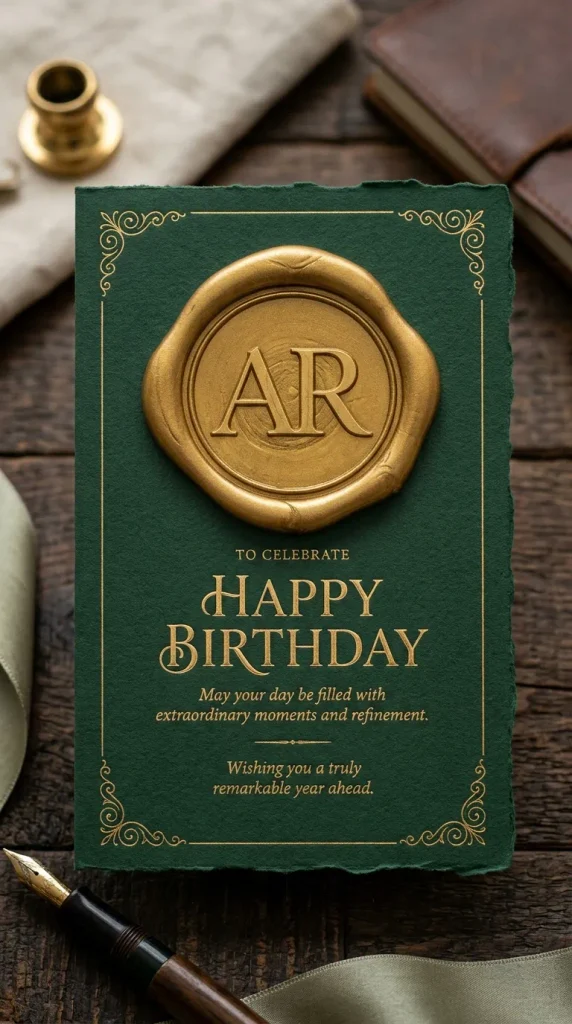
16. Monogram Wax-Seal Botanical Card Timeless, aristocratic, and fiercely personal, wax seals add an undeniable touch of old-world luxury and sophistication to any handmade card design.
How to make it:
- Fold a heavy cardstock base in a rich, moody color like forest green, burgundy, or midnight blue.
- Print or write a large, elegant serif monogram of your sister’s initial right in the center of the cover.
- Melt traditional sealing wax (or flexible glue-gun sealing wax) in your chosen color—such as antique gold or shimmering bronze.
- Pour a small coin-sized pool of melted wax onto the card face and press a metal stamp bearing a floral motif or her initial firmly into the center, holding it still for ten seconds before lifting.
- Frame the wax seal with a delicate hand-drawn gold foil or ink border.
Tips and variations:
- Rub a metallic gold ink pad gently across the raised surface of the cooled wax seal to make the stamped details pop dramatically.
- Variation: Embed a tiny sprig of dried eucalyptus leaves directly into the cooling wax pool before stamping.
17. Delicate Pressed-Gypsophila Wreath Card Wreaths symbolize eternity, wholeness, and celebration. This delicate design features a circular crown crafted from tiny, ethereal white baby’s breath blossoms.
How to make it:
- Draw a faint pencil circle in the center of a soft pastel pink cardstock base using a compass or circular household object as a guide.
- Apply tiny dots of clear liquid craft glue along the pencil line.
- Carefully snip individual small clusters of dried baby’s breath (gypsophila) and press them onto the glue dots, working your way all around the circle until a complete floral wreath is formed.
- Tie a miniature bow out of whisper-thin silk ribbon and glue it to the bottom center of the floral wreath.
- Write a sweet handwritten birthday message right inside the open center of the wreath.
Tips and variations:
- Mix tiny sprigs of green lavender leaves into the white baby’s breath wreath for subtle color contrast.
- Variation: Stamp a birthday quote inside the wreath using tiny individual alphabet rubber stamps.
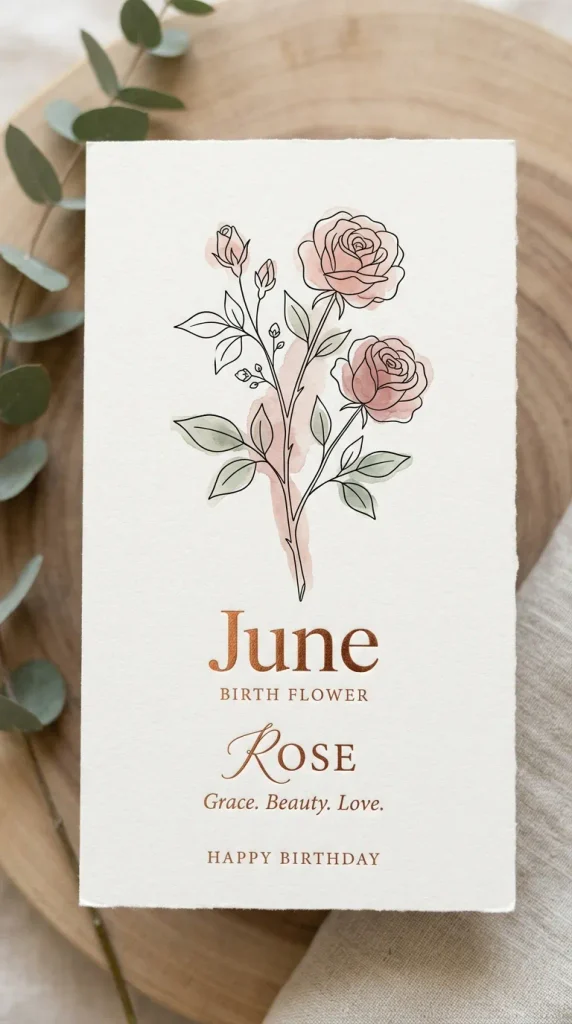
18. Elegant Minimalist Line-Art Birth Flower Card Every birth month is associated with a specific flower carrying unique symbolism. Crafting a card featuring your sister’s specific birth month flower creates a deeply tailored and meaningful greeting.
How to make it:
- Identify your sister’s birth month flower (e.g., Carnation for January, Violet for February, Daffodil for March, Daisy for April, Lily of the Valley for May, Rose for June, Larkspur for July, Gladiolus for August, Aster for September, Marigold for October, Chrysanthemum for November, Holly for December).
- Sketch a clean, elegant single-line drawing of the flower cascading vertically across a heavy cream card base.
- Paint a delicate, translucent watercolor wash behind the flower line art in its natural botanical colors.
- Write her birth month name and the flower’s symbolic meaning (e.g., “Joy, Grace, Strength”) in delicate cursive script along the side of the stem.
- Add her name and birthdate in gold foil lettering at the bottom corner.
Tips and variations:
- Emboss the line art in shimmering metallic copper powder for a stunning tactile finish.
- Variation: Create a bouquet combining your birth flower and her birth flower intertwined together to represent your sibling bond.
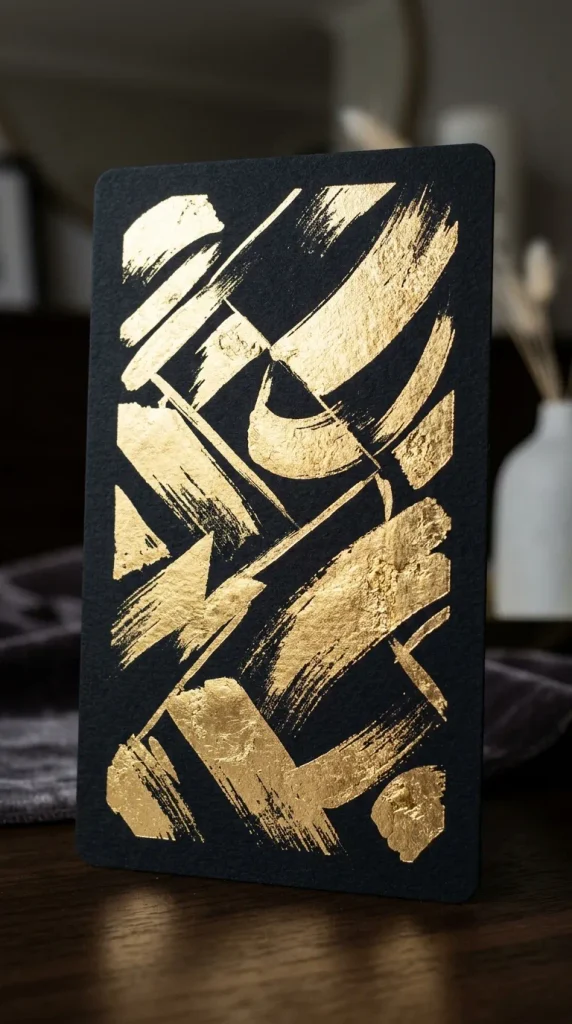
19. Abstract Geometric Gold-Leaf Foil Card Sleek, luxurious, and brilliantly modern, this card uses metallic leafing sheets to create striking abstract geometric blocks that catch the light from every angle.
How to make it:
- Apply gold leaf sizing (special adhesive for metal leaf) onto a heavy black or deep navy cardstock base in bold, angular, abstract brushstroke shapes.
- Let the sizing dry until tacky and transparent (usually about fifteen minutes).
- Carefully lay sheets of genuine imitation gold leaf over the tacky adhesive areas, pressing down gently with a soft dry brush.
- Brush away all the excess gold leaf flakes to reveal brilliant, shimmering metallic geometric facets.
- Pair the striking gold leaf abstract shapes with a crisp white calligraphy sticker or stamped greeting reading “Cheers to You, Sister.”
Tips and variations:
- Use copper or silver leaf instead of gold for a different metallic aesthetic that matches her favorite jewelry.
- Variation: Outline the gold leaf geometric shapes with a fine black marker to give them a stained-glass graphic style.
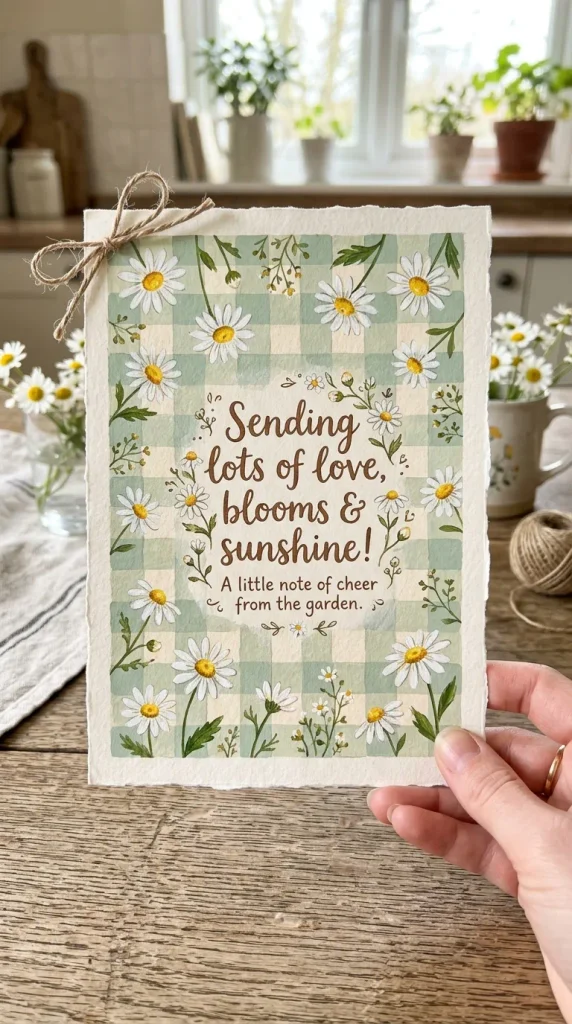
20. Hand-Painted Gingham & Daisy Cottagecore Card Embracing the wholesome, cozy, romantic charm of cottagecore aesthetics, this card features a hand-painted gingham check background topped with cheerful hand-painted daisies.
How to make it:
- Take a thick watercolor cardstock panel and use a ruler and a fine brush to paint a delicate gingham check pattern using a soft pastel color, such as lavender, sage green, or butter yellow.
- Paint horizontal stripes first, let them dry, and then paint intersecting vertical stripes to create the classic woven picnic-cloth check effect.
- Once the background pattern is dry, paint cheerful white daisies with golden yellow centers scattered across the gingham field using gouache paint.
- Mount the finished hand-painted panel onto a thick white card base using dimensional foam tape.
- Stamp a sweet, rustic banner greeting across the center reading “Happy Birthday, Sister.”
Tips and variations:
- Use metallic gold paint for every fourth grid line of the gingham pattern to add a touch of subtle elegance.
- Variation: Press real tiny dried daisies onto the hand-painted gingham background instead of painting them by hand.