Transforming a bedroom into a personal sanctuary does not require a massive budget or professional interior designer. Crafting your own room decor allows you to infuse your personal style directly into your living space, turning everyday materials into stunning aesthetic statements. Whether your vibe is minimalist, boho, retro, or dreamy cottagecore, creating handmade pieces adds warmth, character, and a unique touch that store-bought items simply cannot replicate.
A bedroom should serve as a retreat from the outside world—a place to study, relax, and express creativity. DIY projects offer the ultimate customization, letting you choose exact color palettes, textures, and finishes that match your personality. From mood-boosting lighting fixtures to clever storage solutions that keep clutter at bay, handmade decor makes your space truly yours.
The following guide explores twenty gorgeous, aesthetic DIY room decor ideas specifically curated for teen girls. Each project includes clear step-by-step instructions, essential tips for success, and creative variations to help you tailor the project to your exact aesthetic.
1. Floating Moon Phase Garland
Capture the serene beauty of the night sky by crafting a delicate metallic moon phase garland to hang above your bed or reading nook.
- Materials Needed: Thick black or kraft cardstock, metallic gold or silver spray paint, a metallic sharpie, heavy-duty metallic thread or fishing line, a small tree branch or wooden dowel, and scissors.
- How to Make It:
- Sketch out templates for the moon phases—new moon, waxing crescent, first quarter, waxing gibbous, and full moon—on a piece of scrap paper.
- Trace the templates onto your cardstock and cut out multiple sets of each phase to your desired length.
- Paint or color the edges of the cardstock shapes with your metallic marker or spray paint for an aged, glowing rim.
- Lay out the phases in order on a flat surface. Use the metallic thread and a sewing needle to stitch through the top of each paper shape, spacing them evenly.
- Tie the vertical strands of moons horizontally along your wooden dowel or branch, ensuring they hang securely.
- Hang the entire assembly from the ceiling or wall using clear command hooks.
- Tips: Use heavier watercolor paper instead of standard cardstock so the moon cutouts do not curl or bend over time.
- Variations: Replace cardstock with hammered brass sheets cut with heavy-duty shears for a more permanent, high-end metallic finish.
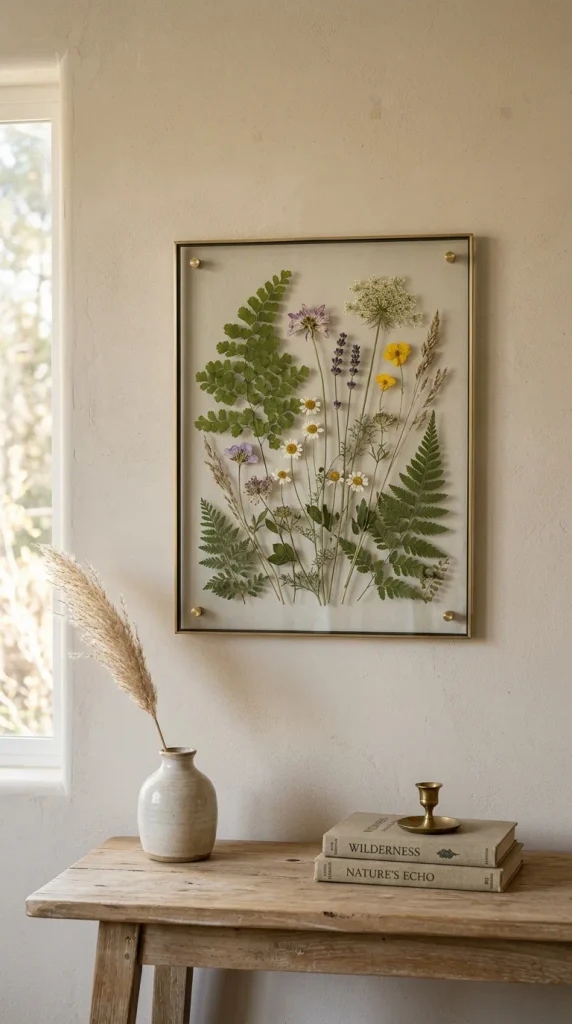
2. Pressed Botanical Floating Frames