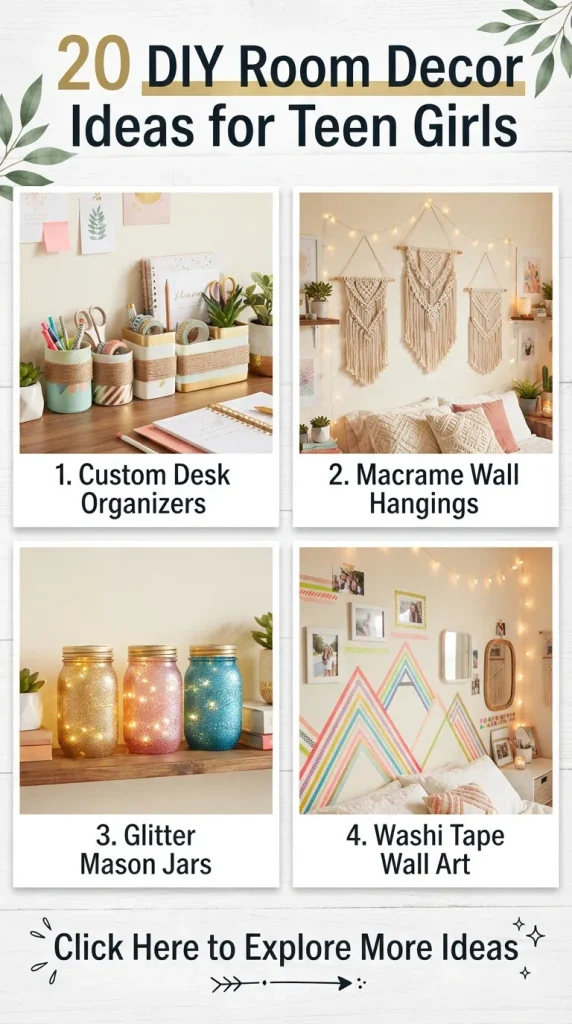
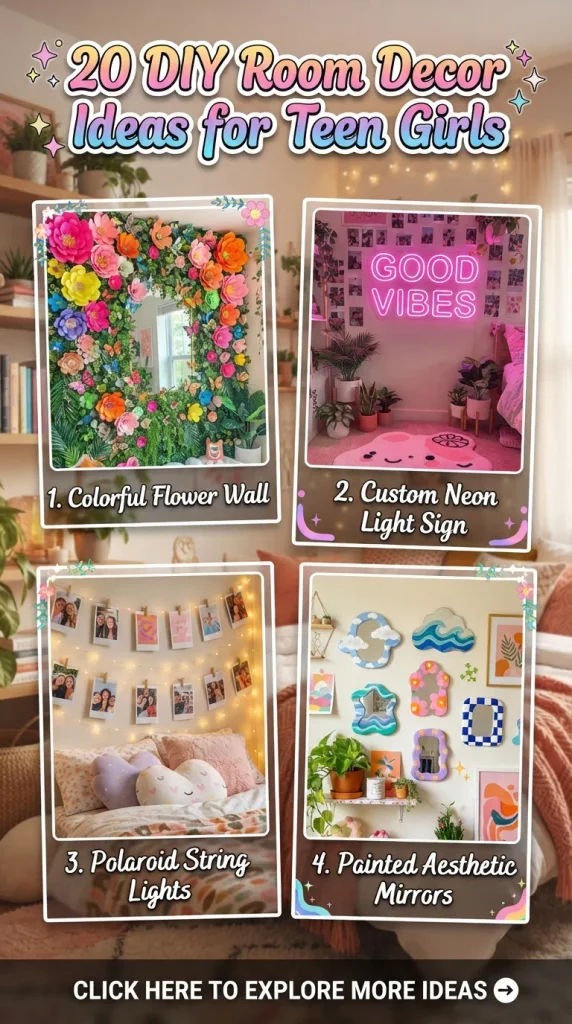
Spell out your favorite inspiring word or personal mantra in vibrant, glowing neon light using flexible EL wire.
- Materials Needed: Colored EL wire (electroluminescent wire) with battery pack, thin craft wire, a pair of wire cutters, and clear mounting clips or command hooks.
- How to Make It:
- Sketch your chosen word (like “dream,” “glow,” or “cosy”) in cursive script on a piece of paper to use as a life-sized template.
- Shape your thin craft wire along the penciled script lines to create a rigid structural backbone for the word.
- Wrap your colorful EL wire carefully around the craft wire backbone, securing it every few inches with tiny clear zip ties or thread.
- Hide the battery pack behind a piece of furniture or mount it discreetly at the base of the wall.
- Hang the finished neon word sculpture on your wall using clear command clips, turn on the battery pack, and enjoy your custom glow.
- Tips: Choose a cool-toned pastel pink, ice blue, or warm sunset orange EL wire to match your bedroom’s color palette.
- Variations: Bend the EL wire into shapes like hearts, lightning bolts, or butterflies instead of text for a playful graphic look.
16. Pressed Leaf and Flower Resin Bookmarks
Make reading your favorite novels even more magical with translucent resin bookmarks embedded with real botanical treasures.
- Materials Needed: Long rectangular silicone bookmark molds, clear UV resin or casting epoxy, a UV curing lamp, dried flower petals, and a colorful tassel cord.
- How to Make It:
- Place your silicone bookmark mold on a level surface.
- Pour a thin base layer of clear UV resin into the mold. If using UV resin, cure it for two minutes under a UV lamp.
- Arrange your dried petals and leaves inside the resin layer, creating a delicate botanical arrangement.
- Fill the mold to the top with more resin, ensuring the botanicals are fully submerged and flat. Cure completely.
- Pop the finished bookmark out of the mold, use a small hand drill to make a hole at the top if needed, and tie a silky tassel through the opening.
- Tips: Make sure your botanicals are 100% dry before putting them in resin; any remaining moisture will cause the flowers to brown and rot inside the clear casing.
- Variations: Add tiny holographic star glitters or gold flakes into the resin along with the leaves for a celestial, magical aesthetic.
17. Minimalist Arch Wooden Bookends
Keep your nightstand reading stack organized with heavy, chic wooden bookends painted with minimalist geometric arches.
- Materials Needed: Two heavy wooden blocks or plain wooden bookend brackets, acrylic paint in earthy tones (terracotta, sage, cream), a pencil, and a paintbrush.
- How to Make It:
- Wipe your wooden blocks clean of any dust.
- Use a pencil and a compass or circular household lid to draw a clean half-circle arch on the front face of each wooden block.
- Paint inside the arch shape using your favorite earthy tone, applying two coats for solid coverage.
- Paint the background portion of the bookend in a contrasting neutral color like soft cream or warm taupe.
- Let the paint dry completely, then place them on your desk or shelf to sandwich your favorite books in style.
- Tips: Use painter’s tape along the border edges of your arches to guarantee razor-sharp paint lines.
- Variations: Paint abstract line-art faces or organic sunburst motifs inside the arches for an artistic mid-century modern look.
18. Aesthetic Clay Mushroom Incense Holder
Sculpt an adorable, whimsical woodland mushroom patch that doubles as a functional incense stick holder and ring dish.
- Materials Needed: Air-dry clay, a rolling pin, acrylic paint (red, white, brown), a small paintbrush, and an incense stick for testing the hole size.
- How to Make It:
- Roll a small ball of air-dry clay into a tapered cylinder to form the mushroom stem, flattening the bottom so it stands upright.
- Shape a separate piece of clay into a small dome or cap, pressing your thumb into the underside to hollow it slightly.
- Attach the cap securely to the top of the stem by scoring both surfaces with water.
- Press the end of an incense stick into the base of the mushroom to create a clean angled slot for burning incense later.
- Sculpt a tiny base tray shaped like a leaf or pebble to catch falling ash. Let everything dry for 48 hours.
- Paint your mushrooms with classic red caps and white polka dots, or keep them natural with earthy brown tones.
- Tips: Test the incense stick in the wet clay hole before it hardens to ensure the angle holds the stick securely without tipping over.
- Variations: Paint a whole family of mini mushrooms clustered together on a moss-green painted tray for a magical fairy forest scene.
19. Hanging Macrame Fruit or Decor Basket
Maximize your vertical space and add boho flair with a woven hanging basket ideal for holding faux plants, plushies, or accessories.
- Materials Needed: Cotton macrame cord, a metal ring or wooden curtain ring, a small lightweight wire or wicker basket, and scissors.
- How to Make It:
- Cut eight long strands of macrame cord of equal length. Fold them in half and loop them through your metal ring using a lark’s head knot.
- Divide the strands into sections of four and tie spiral knots or square knots down the cords, leaving equal spacing.
- Create a net-like cradle structure in the center by interconnecting the knots to securely support the base of your basket.
- Place your lightweight wicker basket inside the woven net cradle, adjusting the tension of the cords so the basket hangs level and secure.
- Gather all the bottom cords together and tie a giant secure gathering knot at the base, leaving a neat fringe tail.
- Tips: Never place heavy items inside hanging macrame baskets; stick to lightweight plushies, faux florals, or soft accessories to ensure wall hook safety.
- Variations: Weave colorful wooden beads into the vertical cords as you knot downwards for a playful retro 70s vibe.
20. Aesthetic Journal and Collage Wall Pocket
Keep your desk clutter-free while adding vintage charm by crafting a hanging fabric wall pocket for your notebooks and pens.
- Materials Needed: A sturdy piece of canvas or denim fabric, a patterned cotton fabric for the pocket, a wooden dowel, twine, fabric glue or sewing machine, and vintage magazine clippings.
- How to Make It:
- Cut your base canvas into a large rectangular panel. Fold and hem the top edge over a wooden dowel, securing it with glue or stitching to create a hanging sleeve.
- Cut a smaller piece of your patterned cotton fabric and fold its top edge over for a clean finish.
- Glue or sew the pocket piece onto the bottom front of your canvas panel on three sides, leaving the top open.
- Decorate the front of the canvas panel with vintage aesthetic collage clippings, pressed stickers, or stamped monograms.
- Tie a length of twine to both ends of the wooden dowel and hang the pocket organizer on your wall to hold pens, journals, and letters.
- Tips: Apply a layer of clear Mod Podge over any paper collage elements on the fabric pocket to seal them and prevent tearing.
- Variations: Sew multiple smaller pockets in a stacked vertical column to organize everything from sunglasses to phone chargers and stationery.