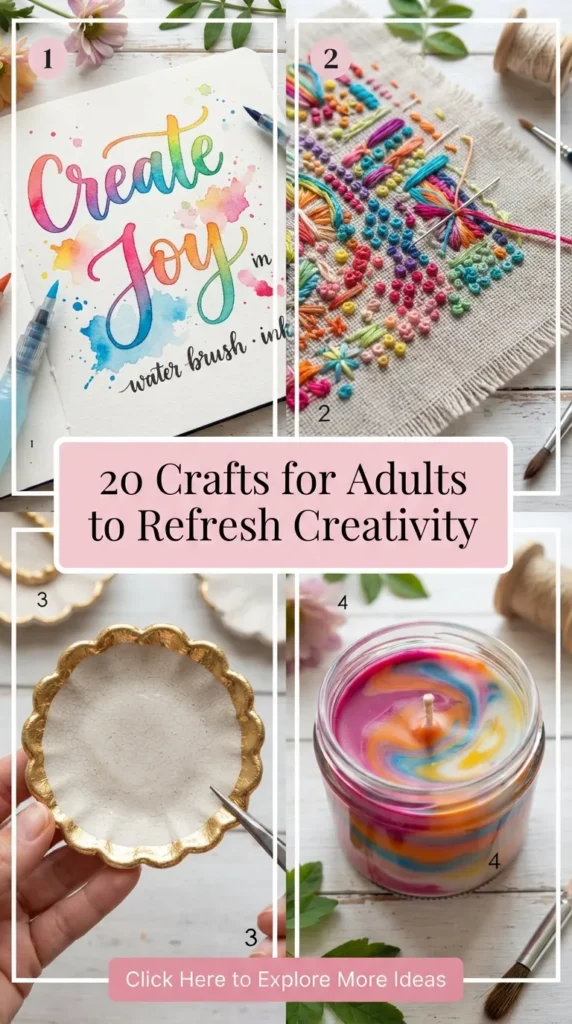
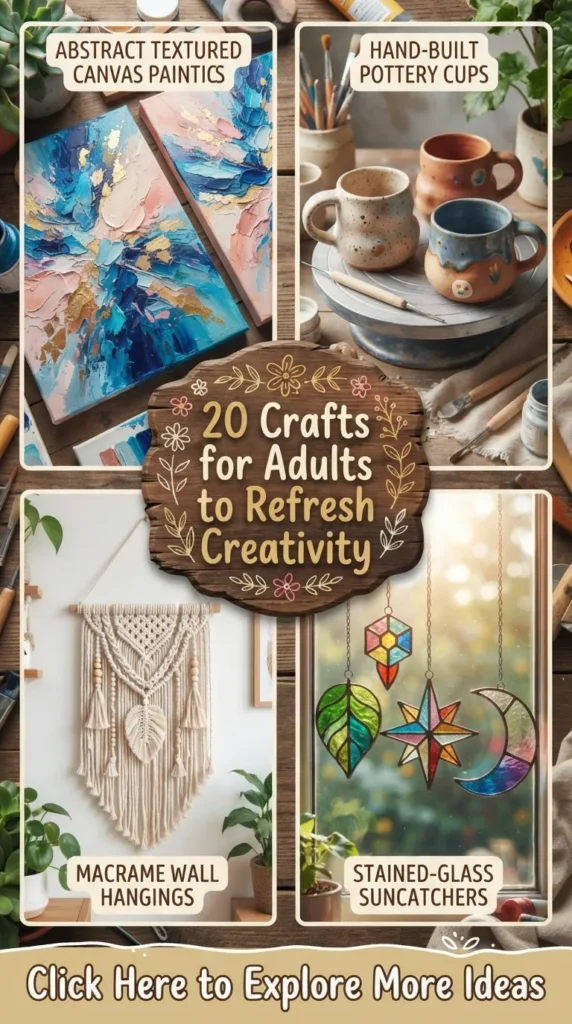
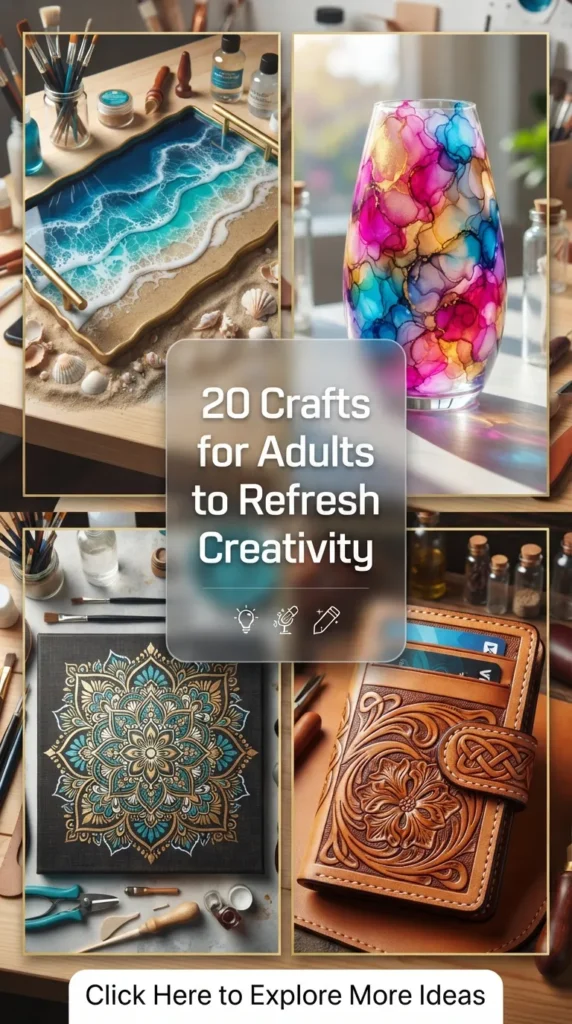
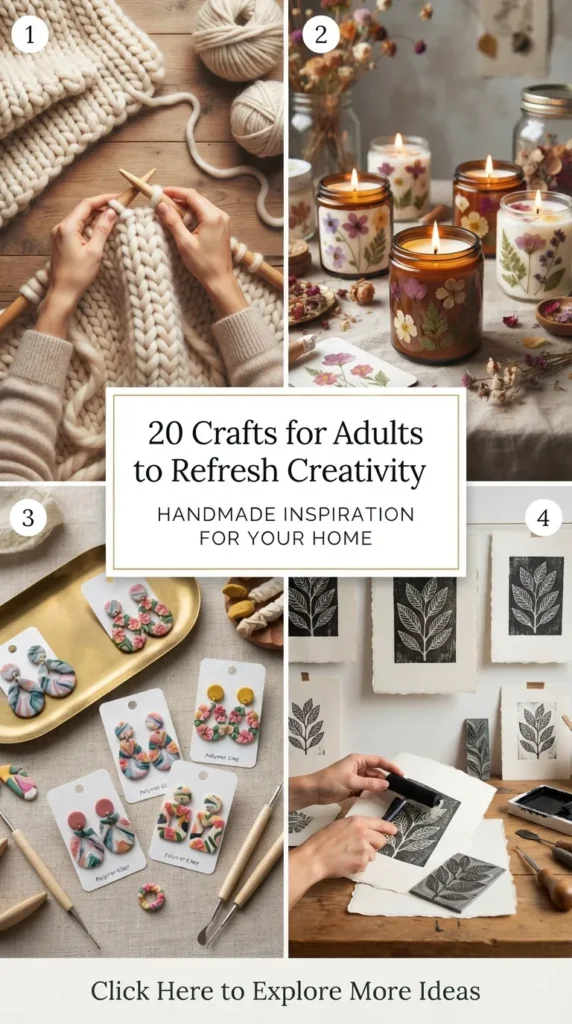
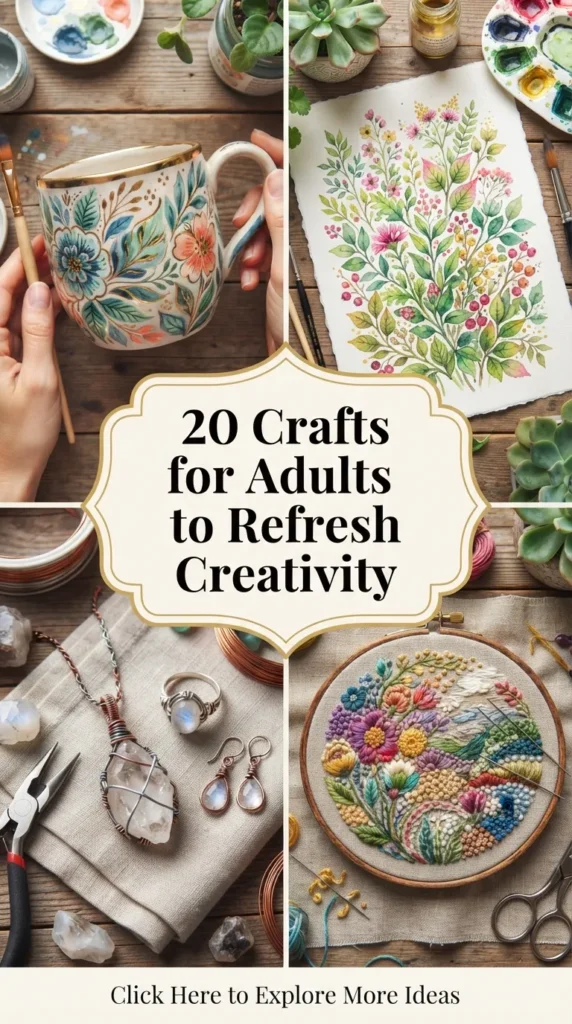
As adults, our daily lives are often consumed by routine, screen time, professional responsibilities, and endless digital notifications. Engaging in creative arts and crafts offers a therapeutic antidote to this modern fatigue. Crafting provides a meditative, tactile space where your mind can unwind, your hands can build, and your creative spirit can feel truly rejuvenated.
Taking up a creative hobby as an adult isn’t about achieving flawless perfection or commercial production; it is about the restorative journey of making something beautiful from scratch. Working with natural textures like clay, linen, botanical dyes, and wood allows you to slow down, practice mindfulness, and reconnect with your inner artist. Whether you are seeking weekend project inspiration, a calming evening ritual, or sophisticated handmade home decor, here are 20 amazing, realistic, and Pinterest-friendly craft ideas designed to refresh your adult creativity, complete with step-by-step guides, helpful tips, creative variations, and essential material lists.
1. Textured Plaster Arch Canvas Relief Art
What This Idea Means
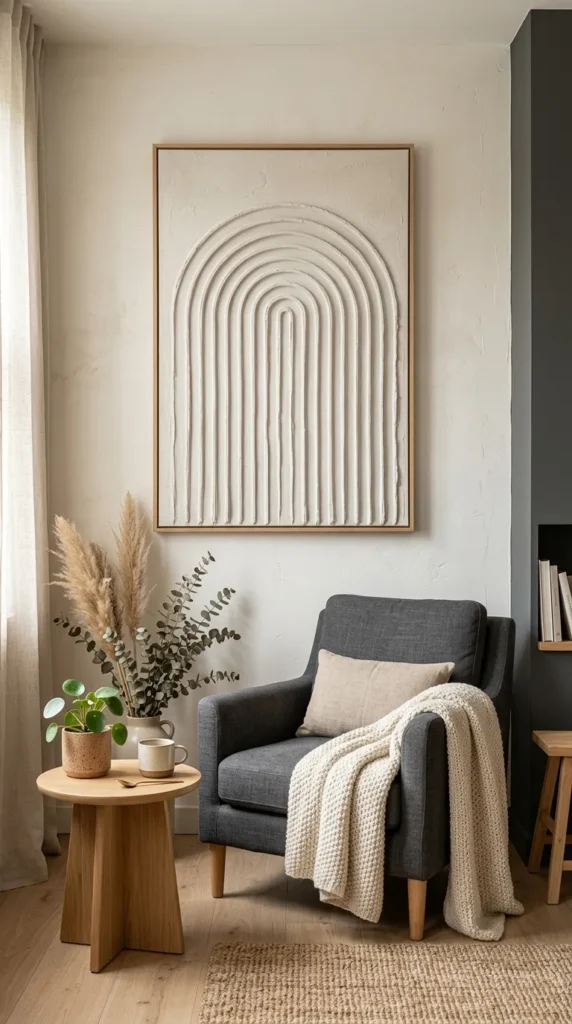
Textured plaster arch art involves applying pre-mixed joint compound onto a stretched canvas to construct minimalist, three-dimensional architectural reliefs. Popularized in high-end Scandinavian and bohemian interior design, this craft brings organic texture and elegant light-and-shadow dynamics to your living room walls without requiring formal fine-art training.
How to Make It
- Prepare Canvas: Lay a blank stretched canvas flat on a protected work surface. Tape the outer wooden edges with painter’s tape if you prefer a clean border.
- Apply Plaster Layer: Scoop pre-mixed wall joint compound or lightweight spackle onto the canvas using a wide putty knife. Spread an even layer approximately 1/4 inch thick.
- Scrape Arch Patterns: Drag a notched plastic comb or trowel in smooth, continuous arching motions across the wet plaster to form concentric semicircular ridges.
- Dry & Finish: Allow the plaster to cure undisturbed for 24 hours. Leave it pristine gallery-white, or coat it with warm beige, sage green, or soft terracotta acrylic paint.
Tips and Variations
- Tips: Keep a water spray bottle nearby; if the plaster sets too quickly while combing, mist it lightly to restore a workable, smooth consistency.
- Variations: Combine two or three smaller canvases together to form a modern gallery triptych featuring flowing interlocking wave patterns.
Needs to Make That Thing
- Stretched cotton canvas (24×36 inches or larger)
- Pre-mixed joint compound or spackle
- Notched plastic trowel or serrated scraper
- Wide putty knife
- Neutral acrylic paints and foam brushes (optional)
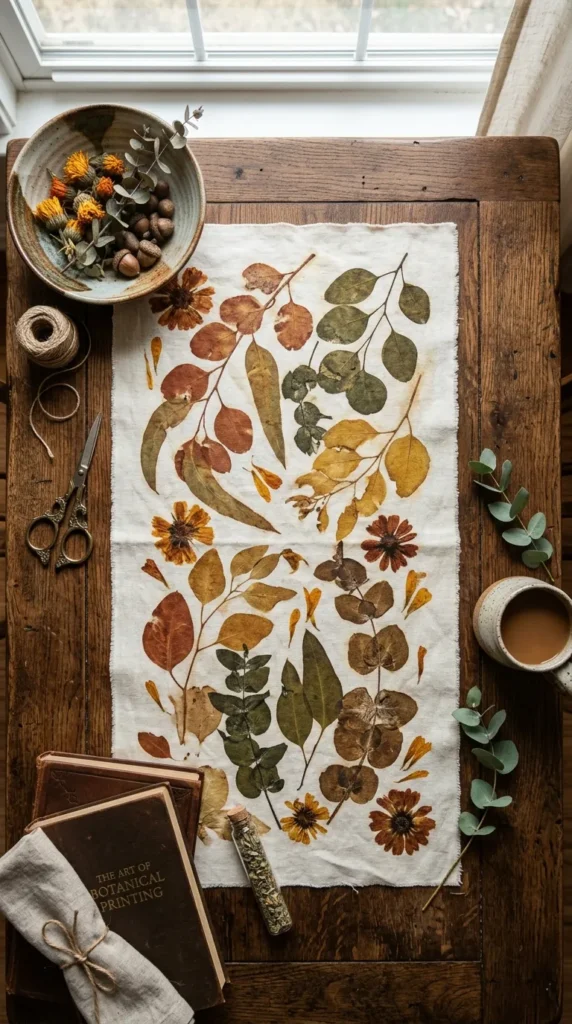
2. Botanical Eco-Printing on Linen Textiles
What This Idea Means
Eco-printing is a sustainable textile craft that transfers natural pigments, tannins, and silhouettes from real leaves and flower petals directly onto natural linen or silk fabric through steaming. It creates delicate, wearable art pieces or home textiles imbued with nature’s unique fingerprints.
How to Make It
- Prepare Linen: Soak a 100% natural linen runner or scarf in a water-and-mordant bath (like soy milk or alum) to prepare fibers to bind with plant dyes.
- Arrange Botanicals: Lay the damp linen flat. Arrange tannin-rich leaves (such as eucalyptus, oak, rose leaves, and marigolds) face-down across the fabric in an artistic layout.
- Bundle Tightly: Fold or roll the linen tightly around a wooden dowel or copper pipe, securing the bundle firmly with natural jute twine.
- Steam & Reveal: Steam the tightly wrapped bundle over boiling water in a dedicated craft pot for 60 to 90 minutes. Allow to cool completely, unwrap, and reveal the printed plant impressions.
Tips and Variations
- Tips: Leaves high in tannins (like eucalyptus, maples, and oak) yield the sharpest, most vibrant natural dye prints.
- Variations: Dip leaves in a diluted iron-water solution before placing them on the fabric to produce dark, moody, charcoal-colored botanical silhouettes.
Needs to Make That Thing
- 100% natural unbleached linen or silk cloth
- Fresh tannin-rich leaves and marigold blooms
- Alum or soy milk (mordant)
- Wooden dowel or copper pipe
- Jute twine
- Steamer pot and basket
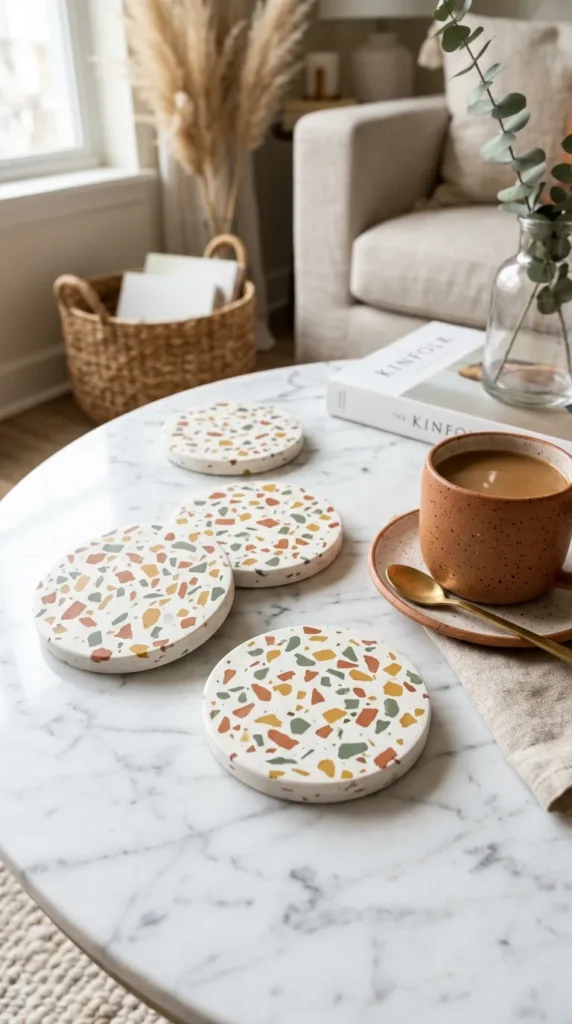
3. Minimalist Hand-Poured Terrazzo Resin Coasters
What This Idea Means
Terrazzo resin casting blends traditional Italian stone aesthetics with modern craft techniques. By embedding colorful crushed resin chips into an opaque resin base, you create luxurious, heat-resistant stone-like coasters that elevate any coffee table setup.
How to Make It
- Make Color Chips: Mix a small batch of eco-resin (such as Jesmonite or water-based acrylic resin), tint with pigments (terracotta, mustard, sage), spread thinly on a silicone mat, let harden, and crush into small irregular chips.
- Mix Base Resin: Mix a new, larger batch of liquid eco-resin according to package directions.
- Combine & Pour: Stir your handmade crushed color chips into the liquid base resin and pour the mixture into round silicone coaster molds.
- Demold & Sand: After 2 hours, demold the coasters. Wet-sand the surface with fine-grit sandpaper (400 to 1000 grit) under water to expose the colorful embedded terrazzo chips, then seal with a waterproof wax paste.
Tips and Variations
- Tips: Always wet-sand under running water to prevent fine mineral dust from clogging the sandpaper or polluting your indoor air.
- Variations: Add tiny flecks of metallic gold leaf alongside color chips for a modern glam touch.
Needs to Make That Thing
- Eco-resin kit (Jesmonite or acrylic composite resin)
- Liquid resin pigments
- Silicone coaster molds
- Wet/dry sandpaper (400, 600, 1000 grit)
- Sealing wax paste and cloth
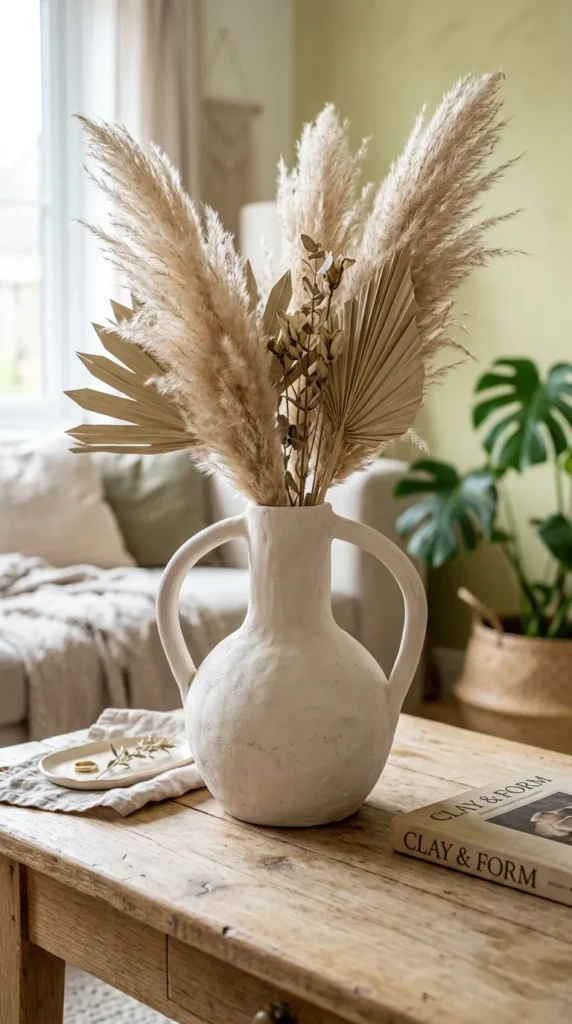
4. Modern Hand-Thrown Air-Dry Clay Vessels
What This Idea Means
Sculpting organic vase silhouettes using air-dry clay allows adults to explore ceramic form and hand-building techniques without needing a high-heat pottery kiln. These decorative vessels make sophisticated displays for dried florals and pampas grass.
How to Make It
- Build Base & Coils: Roll out a circle of air-dry clay to form the flat bottom base. Roll long, even clay snakes (coils) between your palms.
- Stack & Smooth: Stack coils continuously around the base perimeter, smoothing internal and external seams together using your thumbs and a damp pottery sponge to build tall, graceful vase walls.
- Form Neck & Handles: Taper the upper coils inward to form a narrow neck, and attach hand-molded arch handles to the sides using the score-and-slip method.
- Dry & Paint: Allow to cure for 48 hours. Paint with chalky mineral paint or terracotta acrylic, then apply a matte varnish.
Tips and Variations
- Tips: Air-dry clay is not naturally waterproof; insert a narrow glass bottle inside the clay vessel core if you plan to display fresh flowers with water.
- Variations: Mix baking powder into your acrylic paint to create a rough, chalky, hand-thrown ceramic texture.
Needs to Make That Thing
- Professional air-dry modeling clay
- Wooden pottery ribs and smoothing sponges
- Clay scoring tool
- Chalky mineral or acrylic paints
- Glass bottle insert (optional)
- Matte spray sealer
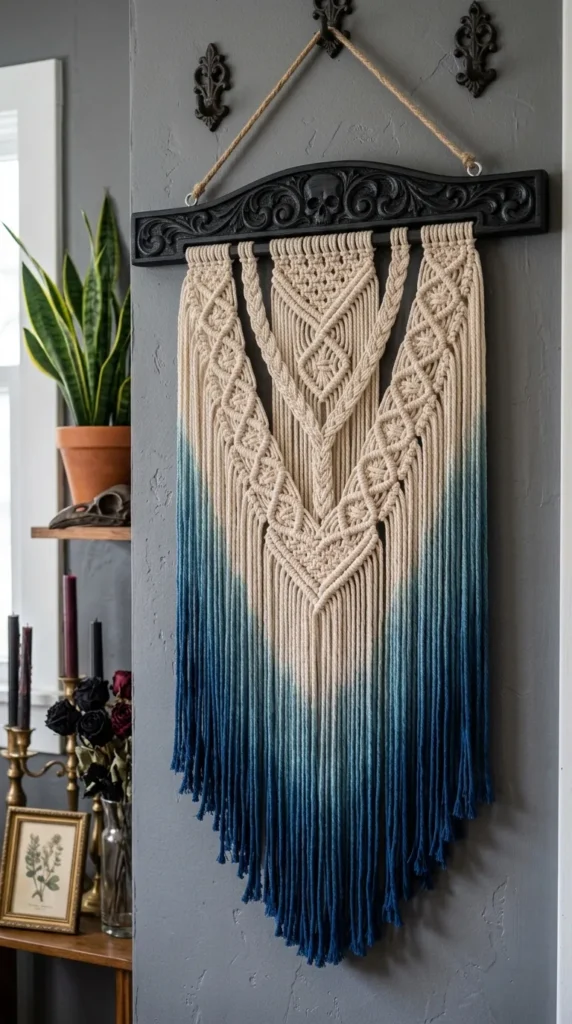
5. Dip-Dyed Modern Macramé Wall Tapestry
What This Idea Means
Elevate classic macramé into a sophisticated fiber art piece by combining structured square knots with a bold fabric dip-dye finish. Hanging voluminous cotton cords from natural driftwood brings warmth, movement, and bohemian elegance to adult bedrooms.
How to Make It
- Mount Cords: Attach 16 to 20 long strands of 4mm single-strand cotton cord onto a smooth natural driftwood branch using lark’s head knots.
- Knot Geometric Pattern: Tie a series of alternating square knots and diagonal clove hitch knots across the upper half to form a structured geometric chevron pattern.
- Comb Fringe: Leave the lower cord lengths flowing free, untwisting fibers and combing them out smooth with a fine wire brush.
- Dip-Dye Gradient: Submerge the bottom third of the hanging cords into a liquid dye bath (such as deep indigo or warm rust) for 10 minutes to create a rich ombre color gradient. Hang to dry completely.
Tips and Variations
- Tips: Spray the back of the brushed fringe with fabric stiffener spray to ensure the tapestry keeps its neat shape against the wall.
- Variations: Mix metallic brass rings or large wooden beads into the upper knotwork for added structural accent.
Needs to Make That Thing
- 4mm single-strand cotton macramé cord
- Natural driftwood branch
- Liquid fabric dye (indigo or terracotta)
- Wire pet slicker brush or comb
- Fabric stiffener spray
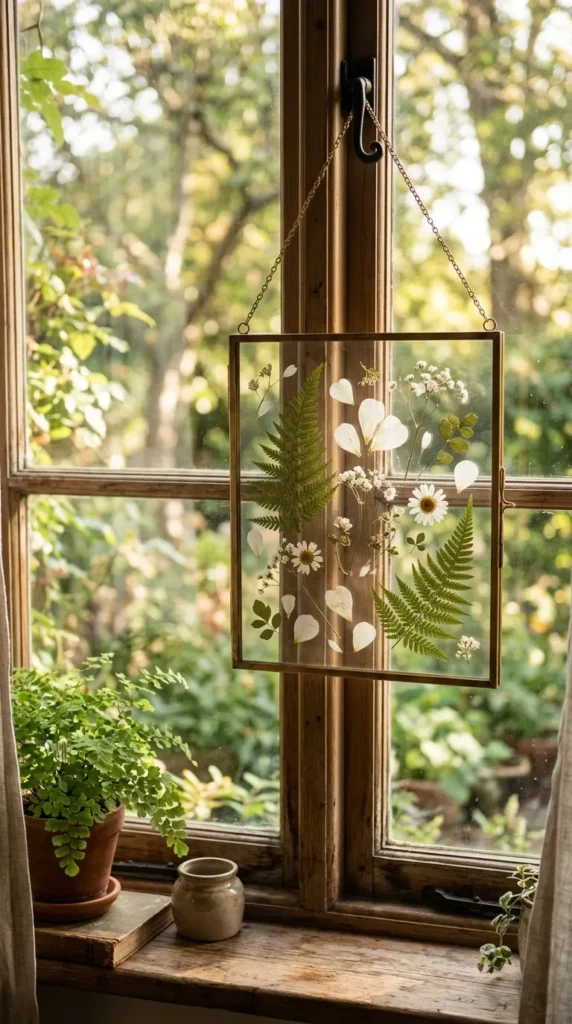
6. Pressed Botanical Floating Glass Art Panels
What This Idea Means
Preserving delicate ferns, leaves, and press-dried floral specimens inside floating glass frames turns garden treasures into timeless wall art. Suspended between transparent glass panes, these panels showcase intricate plant structures illuminated by natural light.
How to Make It
- Forage & Press: Collect flat leaves, delicate fern fronds, and thin flower petals. Press them inside heavy books lined with parchment paper for 7 to 10 days until completely dry.
- Clean Glass: Disassemble a brass double-sided floating glass frame and clean both glass panes thoroughly with rubbing alcohol.
- Compose Layout: Arrange dried botanicals artfully onto the bottom glass pane using fine tweezers. Apply microscopic dots of clear craft glue onto the backs of stems to secure their position.
- Seal & Display: Lay the top glass pane carefully over the arrangement, lock frame clips, and hang near a window to let natural light filter through.
Tips and Variations
- Tips: Choose thin, flat botanicals; thick flower centers hold residual moisture that will cause clouding or fading inside sealed glass.
- Variations: Add calligraphed poetry quotes on clear acetate sheets alongside the botanical arrangement.
Needs to Make That Thing
- Double-sided floating glass frames (brass or black)
- Pressed dried leaves and flowers
- Precision tweezers
- Clear quick-dry craft glue
- Rubbing alcohol and microfiber cloth
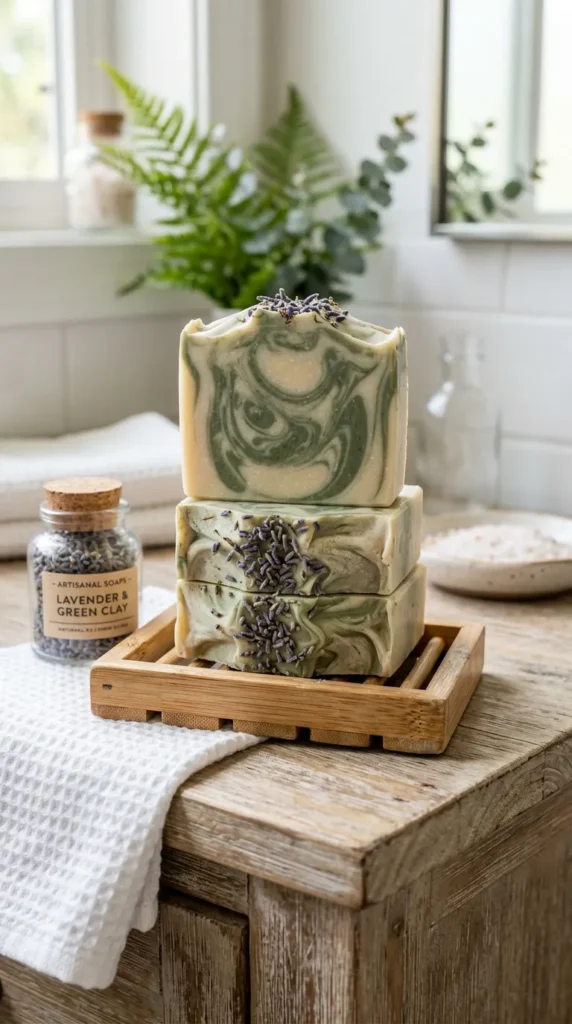
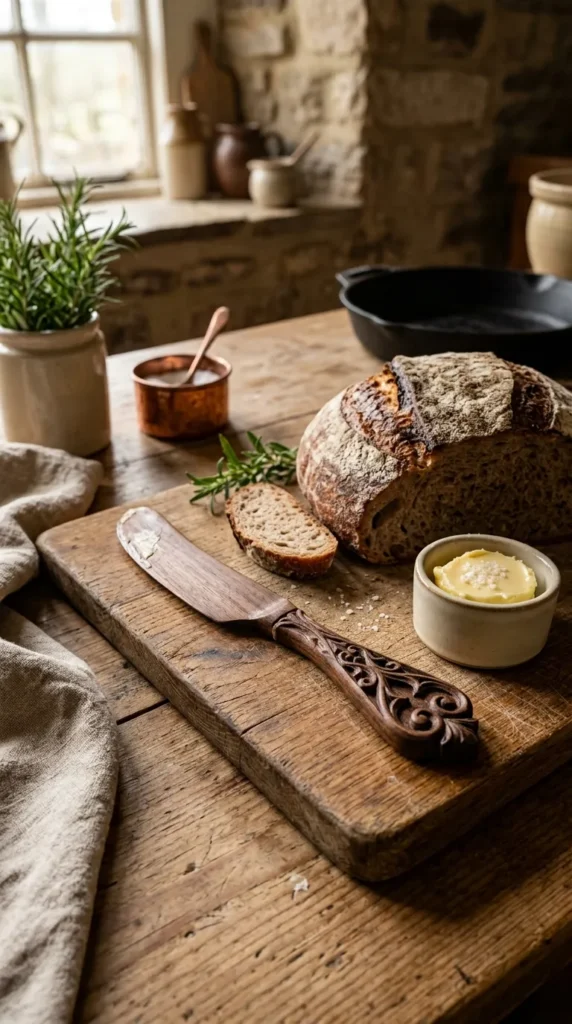
7. Artisanal Cold-Process Scented Soap Bars
What This Idea Means
Artisanal soap making blends botanical ingredients, natural clays, and essential oils to create luxurious, skin-nourishing bath bars. Swirling mineral clays and topping bars with dried botanicals transforms daily self-care into a spa-like sensory ritual.
How to Make It
- Mix Lye Solution: In a well-ventilated area, safely dissolve sodium hydroxide (lye) in distilled water. Allow solution to cool to 100°F (38°C).
- Combine Oils: Melt solid plant oils (shea butter, coconut oil, olive oil) together in a heat-resistant pot to 100°F (38°C).
- Emulsify: Carefully pour the lye solution into the melted oils and blend with an immersion stick blender until it reaches a thin “trace” consistency.
- Scent & Pour: Stir in essential oils (lavender, cedarwood) and natural french green clay. Pour into a silicone loaf mold, swirl the surface with a skewer, and sprinkle dried lavender buds on top.
- Cure: Let harden for 24 hours, slice into bars, and allow to cure in a cool, dry space for 4 to 6 weeks.
Tips and Variations
- Tips: Always wear safety goggles and nitrile gloves when handling active lye solutions.
- Variations: Use melt-and-pour soap bases for a beginner-friendly, zero-lye alternative that sets in just 2 hours.
Needs to Make That Thing
- Plant oils (olive, coconut, shea butter)
- Sodium hydroxide (lye) and distilled water
- Essential oils (lavender, cedarwood, eucalyptus)
- Natural cosmetic clays (french green or pink clay)
- Silicone loaf soap mold and stick blender
- Dried lavender or rose petals
8. Hand-Carved Wooden Butter Knives & Spoons
What This Idea Means
Whittling and woodcarving are deeply grounding traditional crafts that turn raw timber blocks into functional kitchen heirlooms. Carving smooth butter knives or tasting spoons connects you directly to natural materials and mindful handiwork.
How to Make It
- Trace Blank: Trace a knife or spoon silhouette onto a small hardwood blank (cherry, walnut, or maple).
- Rough Cut: Use a coping saw or heavy carving knife to pare away excess outer wood around the traced silhouette.
- Whittle & Shape: Use a sharp sloyd knife and hook knife to pare smooth wood shavings, shaping the handle curves, blade bevels, or spoon bowl.
- Sand & Food-Seal: Sand the carved piece smoothly through progressive sandpaper grits (80 up to 400 grit). Treat generously with food-grade mineral oil and beeswax paste.
Tips and Variations
- Tips: Always wear a cut-resistant safety glove on your non-carving hand to prevent accidental knife slips.
- Variations: Kolrosing is a traditional Scandinavian technique where fine lines are incised into carved wood and rubbed with coffee grounds for dark contrast.
Needs to Make That Thing
- Hardwood blanks (cherry, walnut, or basswood)
- Whittling knife (sloyd knife) and hook knife
- Cut-resistant safety glove
- Sandpaper (80 to 400 grit)
- Food-grade mineral oil and beeswax sealer
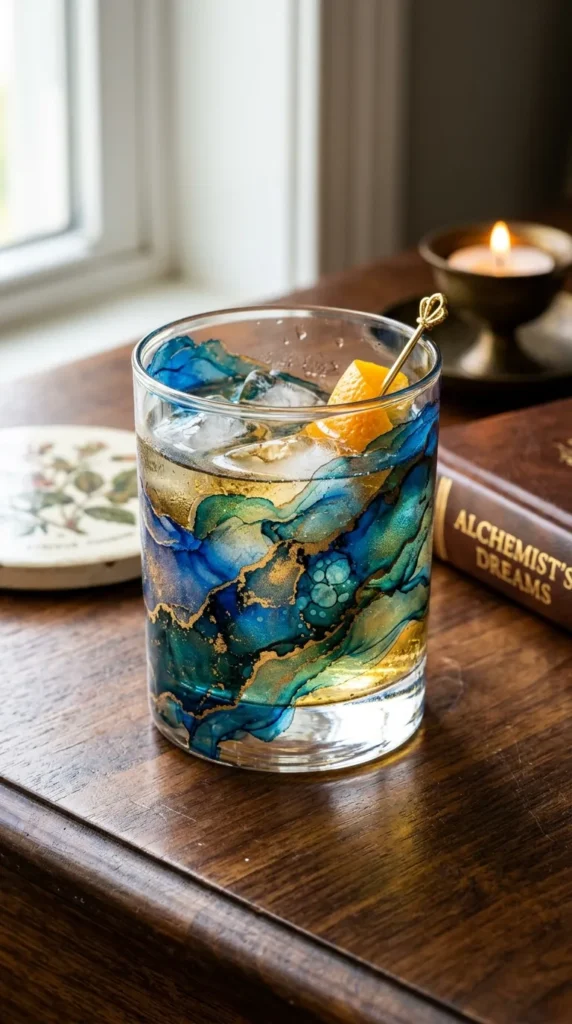
9. Abstract Alcohol Ink Fluid Glassware
What This Idea Means
Alcohol inks are fast-drying, highly pigmented fluid dyes that react with alcohol to create ethereal, marbleized color flows on non-porous glass surfaces. Transforming plain glass stemware or vases creates striking, contemporary entertainer pieces.
How to Make It
- Clean Glass Surface: Thoroughly clean clear glass tumblers, wine glasses, or vases with rubbing alcohol to remove grease and dust.
- Drip Inks: Drip 2 to 3 complementary colors of alcohol ink alongside several drops of 91%+ Isopropyl Alcohol or blending solution onto the glass exterior.
- Manipulate Flow: Use a handheld air blower, straw, or small fan to blow and swirl the floating ink across the glass surface, creating feathery layers and gold alloy cell structures.
- Seal: Once dry, seal the painted glass exterior with multiple thin coats of dishwasher-safe gloss spray varnish.
Tips and Variations
- Tips: Keep paint on the outer glass walls only; avoid applying alcohol inks near the top rim or interior surfaces where lips or food touch.
- Variations: Drop alcohol inks onto glazed white ceramic tiles to craft matching fluid-art coaster sets.
Needs to Make That Thing
- Clear glass tumblers or vases
- Assorted alcohol inks (including metallic gold)
- 91%+ Isopropyl alcohol or Blending Solution
- Handheld air blower or straw
- Dishwasher-safe clear sealant spray
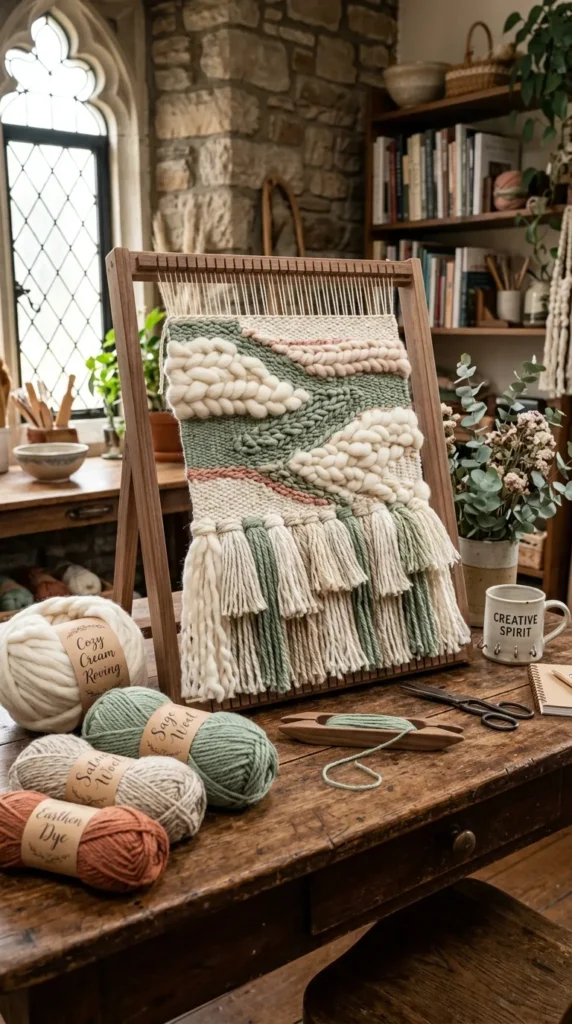
10. Modern Hand-Woven Tapestry on Frame Loom
What This Idea Means
Lap-loom weaving is a meditative fiber art craft where threads are woven horizontally through vertical warp threads. Combining roving wool, cotton yarns, and velvet ribbon creates tactile modern wall tapestries rich in texture and color.
How to Make It
- Warp the Loom: Thread strong cotton warp thread vertically across a wooden frame lap loom under even tension.
- Weave Base: Pass a wooden shuttle carrying base yarn horizontally over and under alternating warp threads (plain weave) to form a sturdy bottom border.
- Add Texture: Build rich texture using thick unspun wool roving for fluffy cloud-like bands, and tie rya knots to create soft tassel fringes.
- Finish & Mount: Carefully unhook warp loops from the loom frame, secure open ends, and slide a smooth wooden dowel through top loops to hang on your wall.
Tips and Variations
- Tips: Avoid pulling horizontal weft threads too tight while weaving, or the middle of your tapestry will bow inward.
- Variations: Incorporate brass metallic wire or leather strips alongside wool yarns for an industrial modern aesthetic.
Needs to Make That Thing
- Wooden frame lap loom
- Cotton warp thread
- Assorted yarns, unspun wool roving, and velvet ribbon
- Weaving needle and wooden shuttle
- Wooden dowel for hanging
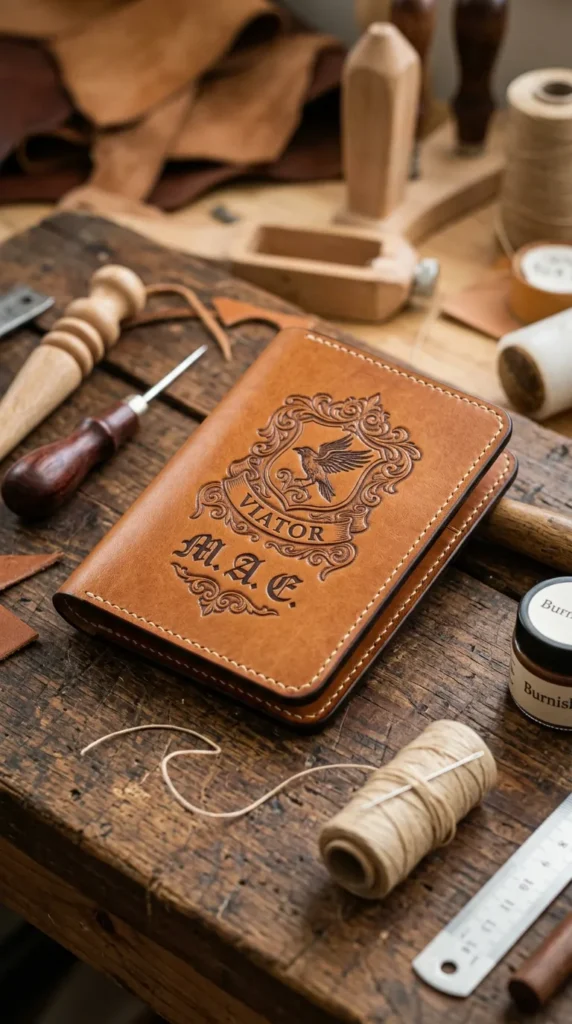
11. Custom Leather Passport Wallet & Card Holder
What This Idea Means
Crafting bespoke leather accessories introduces adults to traditional leatherworking skills such as cutting, edge burnishing, hand-stitching with saddle stitches, and hardware setting. The result is an enduring leather travel piece that patinas beautifully over time.
How to Make It
- Cut Patterns: Cut full-grain vegetable-tanned leather pieces using a sharp craft knife, steel ruler, and self-healing mat according to wallet templates.
- Punch Stitching Holes: Mark seam lines and pierce clean, aligned stitching holes using a pricking iron and wooden mallet.
- Saddle Stitch: Thread two needles onto waxed linen thread and hand-sew seams using a traditional two-needle saddle stitch for maximum durability.
- Burnish Edges: Dampen raw leather edges with water or gum tragacanth, then rub vigorously with a smooth wooden edge slicker until smooth and glossy.
Tips and Variations
- Tips: Apply a light coat of mink oil or leather conditioner after burnishing to soften leather fibers and highlight natural grain.
- Variations: Personalize leather goods by stamping initials or dates into the leather surface using brass letter stamps before stitching.
Needs to Make That Thing
- Full-grain vegetable-tanned leather sheet
- Pricking irons and wooden mallet
- Waxed linen thread and leather harness needles
- Wooden edge slicker and gum tragacanth
- Craft knife and steel ruler
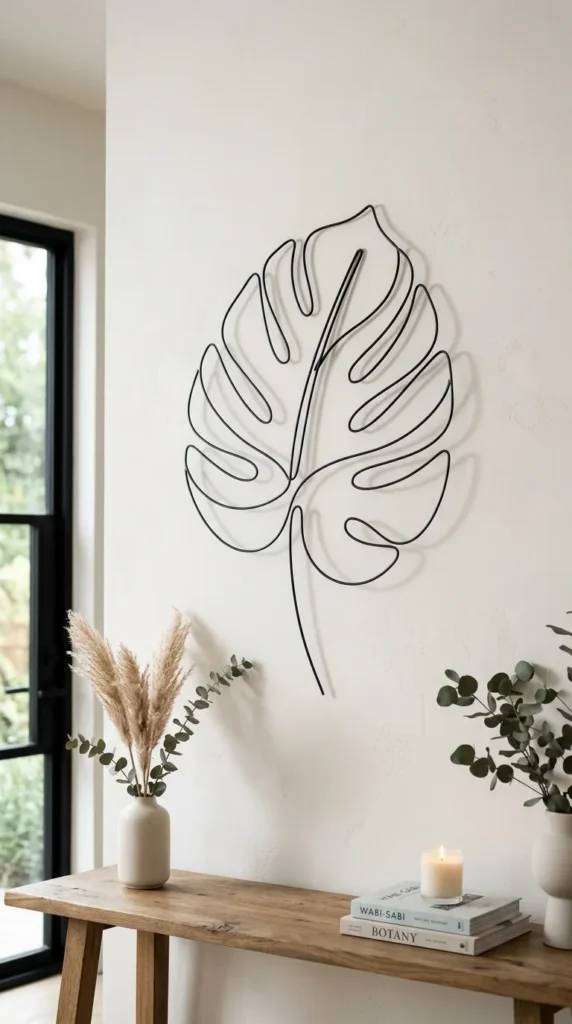
12. Minimalist Bent-Wire Contour Wall Sculptures
What This Idea Means
Bending flexible continuous wire strands into minimalist single-line face profiles or botanical silhouettes creates modern continuous-line art. Mounted slightly off the wall, these sculptures cast dramatic line shadows when illuminated.
How to Make It
- Draw Line Art: Sketch a continuous single-line face profile or botanical stem onto a large piece of paper as a full-scale bending guide.
- Bend Main Wire: Using round-nose pliers, bend 16-gauge aluminum, copper, or black-coated craft wire along your drawn lines, forming continuous facial contours or leaf stems.
- Secure Ends: Wrap fine 24-gauge wire around overlapping wire junctions or secure with a discreet drop of clear epoxy.
- Mount Artwork: Insert small standoff wall mounts or subtle nails to float the wire sculpture 1 inch away from the wall surface.
Tips and Variations
- Tips: Soft aluminum craft wire bends smoothly by hand without leaving tool marks, whereas steel wire requires firm plier pressure.
- Variations: Attach small translucent pieces of stained glass or acrylic film inside wire voids to catch and color room light.
Needs to Make That Thing
- 16-gauge and 24-gauge craft wire (black, copper, or brass)
- Round-nose and flat-nose jewelry pliers
- Wire cutters
- Continuous line-art drawing guide
- Standoff wall nails or clips
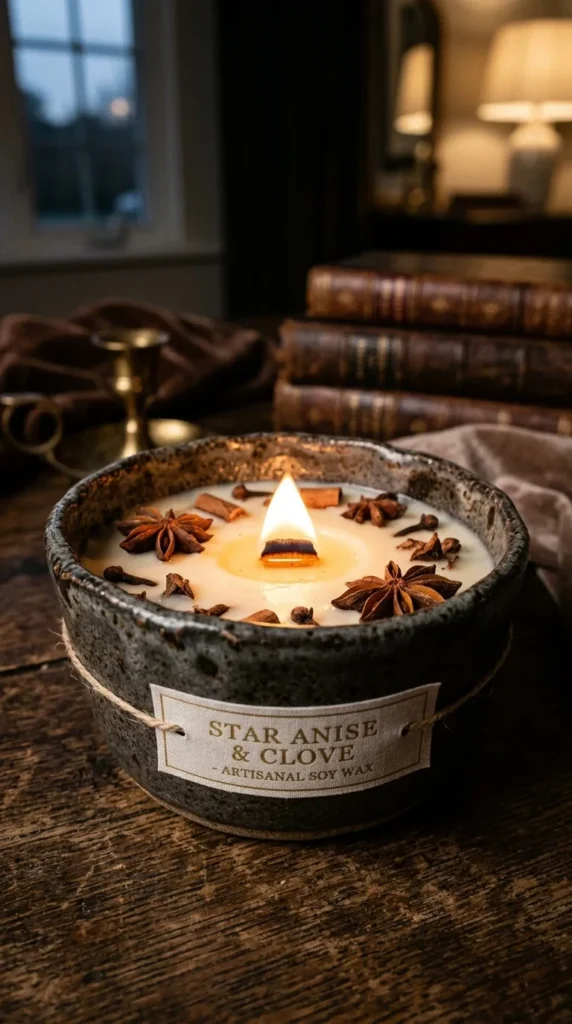
13. Artisanal Botanical Soy Wax Candles in Ceramic Vessels
What This Idea Means
Hand-pouring custom scented candles into artisanal ceramic bowls or upcycled stone cups creates warm, fragrant lighting for adult living spaces. Infused with pure essential oils and topped with dried botanicals, these candles offer a clean, eco-friendly burn.
How to Make It
- Anchor Wick: Secure a wooden ribbon wick or cotton wick tab to the inside bottom center of a ceramic cup using a heat-resistant wick sticker.
- Melt Soy Wax: Melt natural soy wax flakes in a pouring pitcher placed inside a simmering water bath until it reaches 185°F (85°C).
- Add Scent: Stir in high-quality candle fragrance oils or essential oils (such as amber, sandalwood, and bergamot) for 2 full minutes, then let cool to 135°F (57°C).
- Pour & Decorate: Carefully pour wax into the ceramic vessel. When the top layer becomes slushy and semi-opaque, gently place dried botanicals (star anise, rose petals) onto the surface with tweezers. Allow to harden for 24 hours.
Tips and Variations
- Tips: Wooden wicks produce a cozy, soft crackling sound as they burn, enhancing the sensory experience.
- Variations: Use concrete or terrazzo vessels instead of ceramics for an industrial modern aesthetic.
Needs to Make That Thing
- Natural soy wax flakes
- Wooden wicks with metal bases (or cotton wicks)
- Handmade ceramic cups or stoneware vessels
- Fragrance oils or essential oils (amber, sandalwood)
- Pouring pitcher and thermometer
- Dried botanicals (star anise, rose petals)
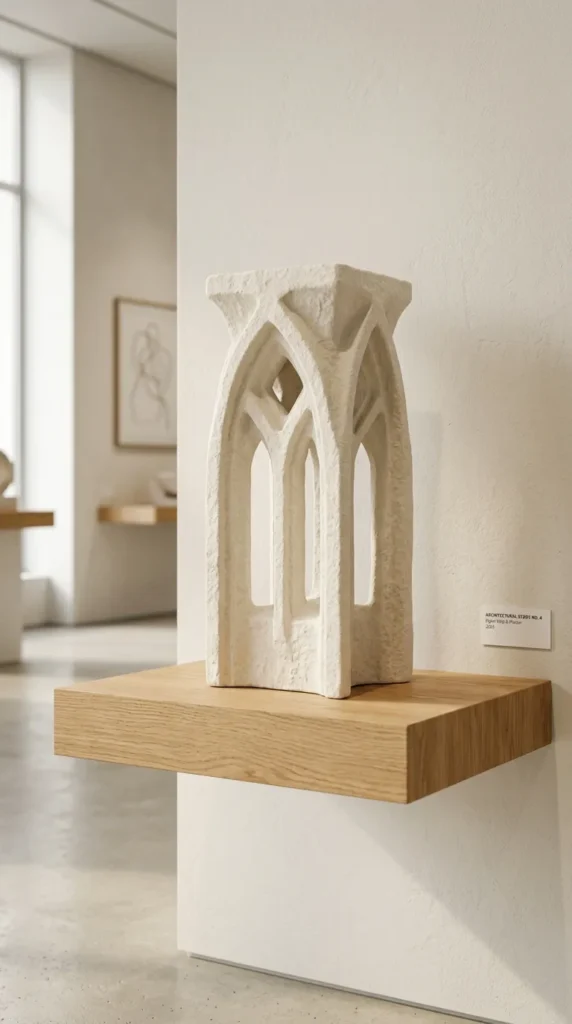
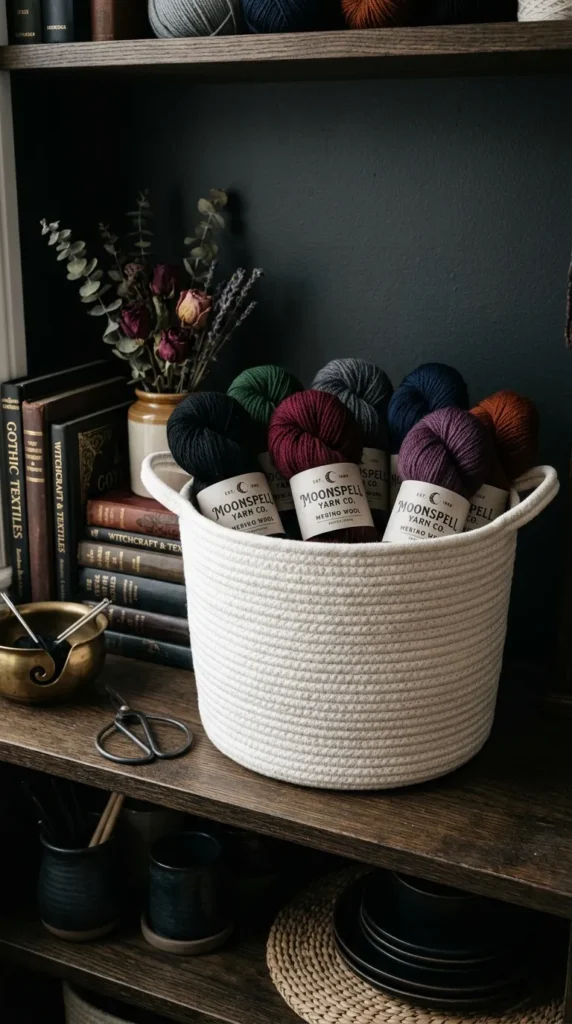
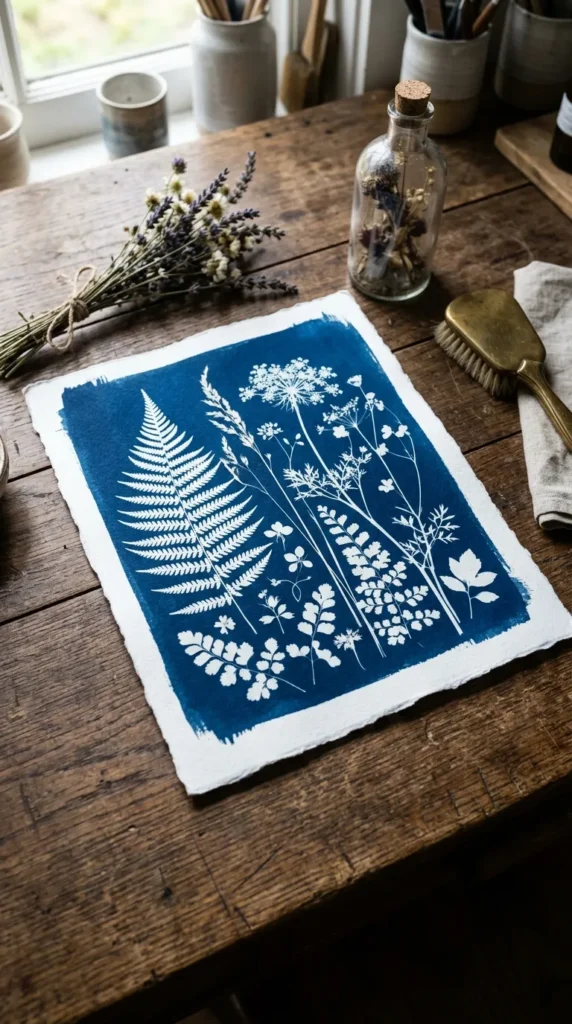
14. Cyanotype Botanical Solar Prints on Paper
What This Idea Means
Cyanotype is an historic, chemical-free photographic printing process that uses sunlight to capture rich silhouettes of plants and objects. The result is striking Prussian blue artwork featuring crisp white plant silhouettes, ideal for gallery wall displays.
How to Make It
- Prepare Workspace: In a dim room, lay a pre-treated cyanotype paper sheet flat on a sturdy backing board.
- Arrange Botanicals: Lay fresh or pressed leaves, fern fronds, and wildflower stems flat onto the sensitized paper, securing them beneath a sheet of clear glass.
- Solar Exposure: Carry the board into direct sunlight for 2 to 4 minutes until the exposed paper turns a bronze-grey shade.
- Rinse & Dry: Bring indoors, remove plants, and submerge the paper sheet in a tray of cool water for 5 minutes. Watch the plant silhouettes turn bright white against a deep Prussian blue background as it air-dries.
Tips and Variations
- Tips: Use a heavy glass plate from an old picture frame over botanicals so wind doesn’t shift plant leaves during outdoor exposure.
- Variations: Create cyanotype prints on cotton canvas tote bags or linen pillow covers for functional textile art.
Needs to Make That Thing
- Pre-treated cyanotype paper sheets
- Fresh or pressed fern leaves and wildflowers
- Clear glass pane and backing board
- Tray of cool water
- Direct sunlight
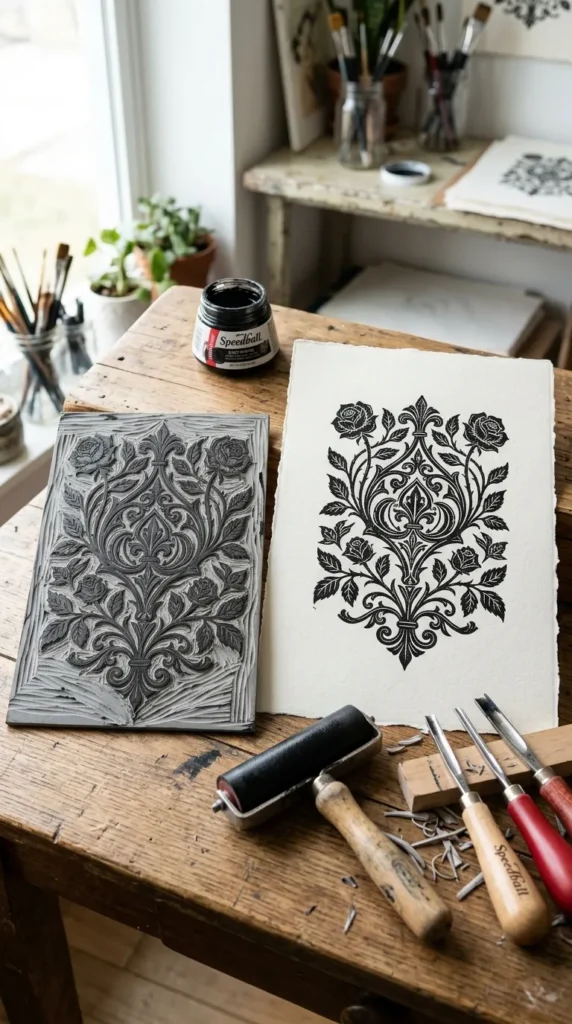
15. Hand-Carved Linocut Block Printmaking
What This Idea Means
Linocut block printmaking involves carving designs into linoleum blocks using sharp gouges, rolling ink over the carved block, and stamping the image onto paper or fabric. It allows adults to reproduce custom illustrations with rustic graphic charm.
How to Make It
- Transfer Design: Draw or trace a high-contrast botanical or geometric illustration onto a linoleum block.
- Carve Block: Use V-shaped and U-shaped linoleum carving gouges to carefully cut away all background areas, leaving your illustration lines raised.
- Roll Ink: Squeeze oil-based or water-based block printing ink onto a glass plate and roll it out with a rubber brayer until tacky. Roll an even layer of ink over the raised linoleum block.
- Press Print: Lay heavy printmaking paper over the inked block, press firmly with a baren or wooden spoon, and peel back the paper to reveal your print.
Tips and Variations
- Tips: Always carve away from your body and non-dominant hand to prevent accidental gouge slips.
- Variations: Stamp your carved block onto plain cotton tea towels or tote bags using fabric printing ink to create custom housewares.
Needs to Make That Thing
- Linoleum block (battleship grey or soft-cut)
- Linoleum carving handle with V and U gouge blades
- Block printing ink
- Rubber brayer (roller) and glass ink plate
- Heavy printmaking paper or cotton fabric
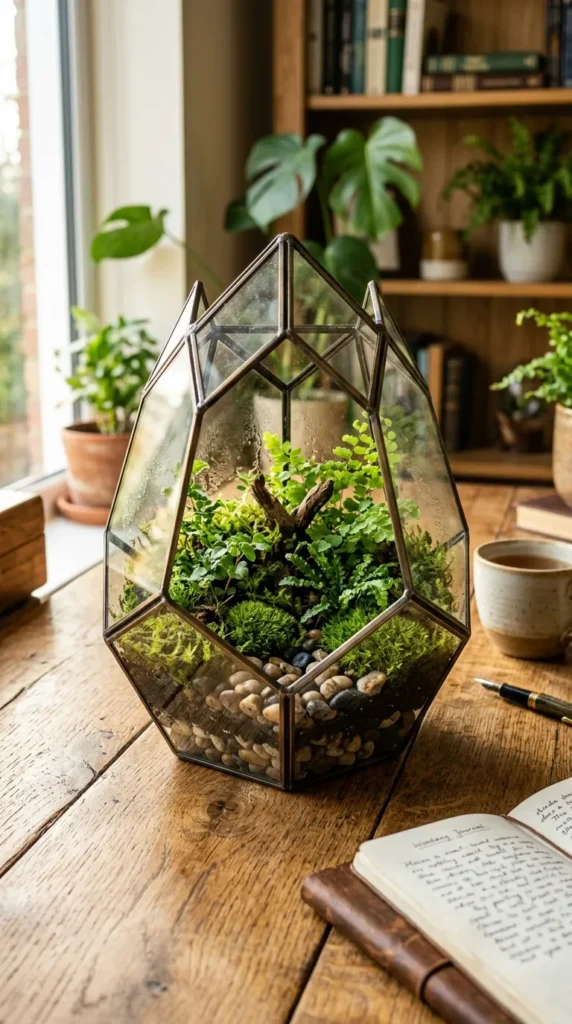
16. Upcycled Brass & Glass Terrarium Miniature Gardens
What This Idea Means
Designing miniature glass terrarium gardens inside geometric brass glass vessels brings living botanical landscapes onto indoor desks. Layering drainage stones, activated charcoal, soil, and slow-growing mosses creates a self-sustaining ecosystem.
How to Make It
- Base Drainage Layer: Pour a 1-inch layer of small pea gravel or river stones into the bottom of a clean geometric brass glass vessel.
- Charcoal & Soil: Add a thin layer of activated charcoal to absorb odor and prevent mold, followed by 2 inches of succulent or tropical potting soil.
- Plant Greenery: Use long tweezers or chopsticks to plant miniature slow-growing plants (fittonia, miniature ferns, mosses, air plants) into the soil.
- Top-Dress: Decorate open soil spaces with smooth river pebbles, bark bits, or small quartz crystals. Lightly mist with water and close or position near indirect sunlight.
Tips and Variations
- Tips: Do not overwater closed glass terrariums; a light misting every few weeks is sufficient to maintain moisture cycles.
- Variations: Create arid desert terrariums using sands, gravels, and mini succulents instead of tropical mosses.
Needs to Make That Thing
- Geometric brass and glass vessel
- Pea gravel and activated charcoal
- Potting soil (succulents or tropical mix)
- Miniature houseplants and sheet moss
- Long tweezers and misting spray bottle
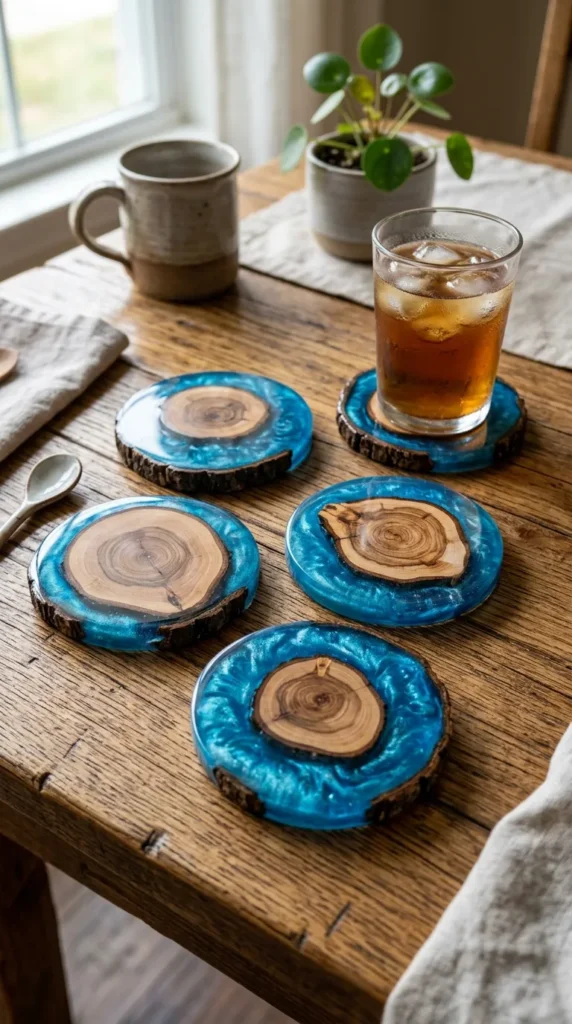
17. Hand-Poured Epoxy Resin & Wood Coasters
What This Idea Means
Combining raw natural wood branch slices with crystal-clear epoxy resin tinted with mica pigments produces rich, ocean-like or agate-inspired drink coasters that showcase the harmony between raw timber and glossy resin.
How to Make It
- Prep Wood Slices: Place dried natural wood branch slices inside round silicone coaster molds.
- Mix Epoxy Resin: Thoroughly mix equal parts of 2-part clear epoxy resin (Part A and Part B) in a cup for 3 full minutes.
- Tint & Pour: Tint resin with metallic ocean-blue mica powders or alcohol inks. Pour the tinted resin into open mold cavities around the wood slices.
- Pop Bubbles & Cure: Pass a heat gun quickly over the liquid surface to pop surface air bubbles. Let cure undisturbed for 24 hours before demolding.
Tips and Variations
- Tips: Ensure wood slices are completely dry and sealed with a thin glue coat before pouring resin to prevent air bubbles from emerging from wood grain.
- Variations: Embed real sea glass, tiny shells, or gold leaf flakes into the resin alongside wood slices.
Needs to Make That Thing
- 2-part clear epoxy resin kit
- Round silicone coaster molds
- Dried natural wood branch slices
- Mica powder pigments or resin dyes
- Heat gun or mini torch
- Mixing cups and craft sticks
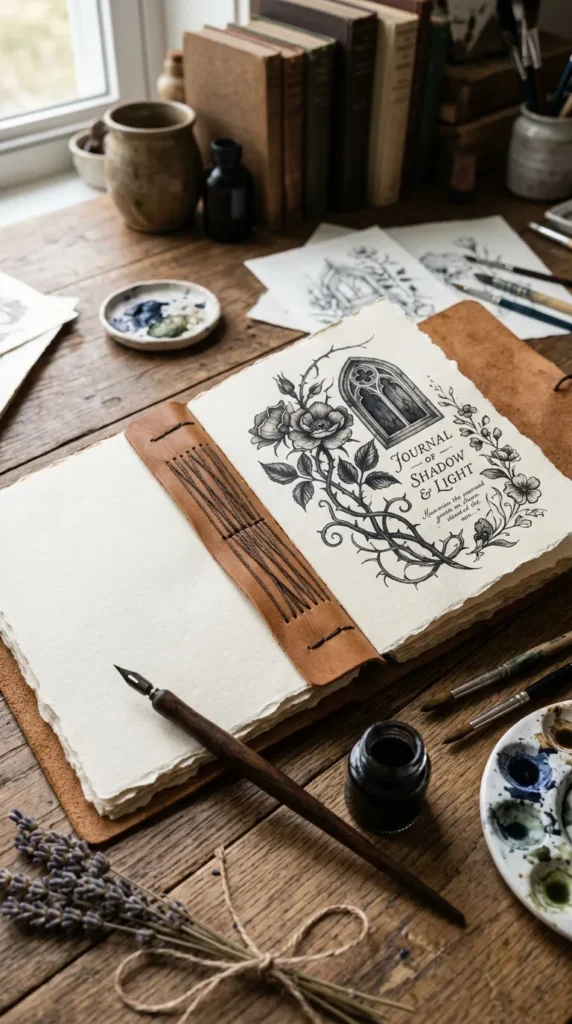
18. Modern Hand-Bound Leather Sketchbook Journal
What This Idea Means
Hand-binding a custom leather journal using Coptic stitch or long-stitch bookbinding techniques produces an exquisite keepsake notebook. Opening completely flat, these handmade journals are ideal for sketching, watercoloring, or daily creative writing.
How to Make It
- Prepare Paper Signatures: Fold heavy 300gsm watercolor paper sheets in half, grouping them into 4 to 6 paper booklets (signatures).
- Punch Stitching Holes: Punch evenly spaced holes along the folded spines of all paper signatures using an awl and hole template.
- Prepare Leather Cover: Cut a leather wrap-around cover piece and punch corresponding holes along its spine.
- Sew Long-Stitch: Thread a tapestry needle with waxed linen thread and sew signatures directly to the leather spine using a long-stitch binding technique. Tie off inside and attach a leather wrap closure strap.
Tips and Variations
- Tips: Use a bone folder to burnish paper folds sharply so signature booklets lie perfectly flat before sewing.
- Variations: Use handmade deckle-edge rag paper instead of standard watercolor paper for an antique, romantic journal feel.
Needs to Make That Thing
- Soft leather wrap cover sheet
- Heavy watercolor paper or deckle-edge paper
- Bookbinding awl and bone folder
- Waxed linen thread and tapestry needle
- Leather wrap strap or button clasp
19. Architectural Plaster & Paper Pulp Sculptures
What This Idea Means
Molding modern architectural forms using paper pulp, plaster, and wire armatures offers an expressive modern sculpting craft. Building abstract pedestal bowls, archways, and organic forms creates museum-style decor for home shelves.
How to Make It
- Build Wire Armature: Shape 16-gauge aluminum wire or chicken wire into an abstract pedestal, vessel, or arch framework.
- Apply Paper Pulp: Mix paper clay or paper pulp with water and craft glue. Pack the pulp firmly around the wire framework to build up organic volume and thickness.
- Coat with Plaster: Smooth a thin coat of plaster or joint compound over the dried paper pulp shape to create a smooth, stone-like outer shell.
- Sand & Paint: Once dry, lightly sand rough spots and paint with warm chalky mineral paint or leave raw plaster white.
Tips and Variations
- Tips: Build up paper pulp layers gradually, allowing each layer to dry partially to avoid structural sagging.
- Variations: Mix coarse silica sand into your top paint coat to produce a rough, sandstone-like architectural finish.
Needs to Make That Thing
- 16-gauge wire or chicken wire armature
- Paper clay or paper pulp
- Plaster of Paris or joint compound
- Sandpaper (220 grit)
- Chalky mineral paint and brushes
20. Textured Woven Rope & Twine Storage Baskets
What This Idea Means
Coiling thick cotton piping cord and securing it layer by layer with hot glue or simple hand stitching creates a sturdy, structured rope basket. It offers practical, elegant storage for craft supplies, blankets, or indoor potted plants.
How to Make It
- Start Base Spiral: Apply a bead of hot glue to the end of a 3/8-inch cotton piping rope and roll it tightly into a flat spiral disk.
- Build Flat Base: Continue gluing and coiling the rope flat on a silicone work mat until the base reaches a 7-inch diameter.
- Build Walls Upward: Transition to building vertical basket walls by gluing each new coil layer directly on top edge of the outer rim rather than alongside it.
- Form Handles & Finish: On the final top coil, leave two unglued rope loops on opposite sides to form handles before gluing the rope end flush inside the top rim.
Tips and Variations
- Tips: Work with a low-temperature glue gun setting to avoid burning fingers while pressing rope coils together firmly.
- Variations: Dip the lower half of the finished rope basket into liquid fabric dye to create a soft ombre color accent.
Needs to Make That Thing
- 3/8-inch thick natural cotton rope or piping cord
- Hot glue gun and glue sticks
- Silicone work mat
- Sharp fabric scissors
- Liquid fabric dye (optional)