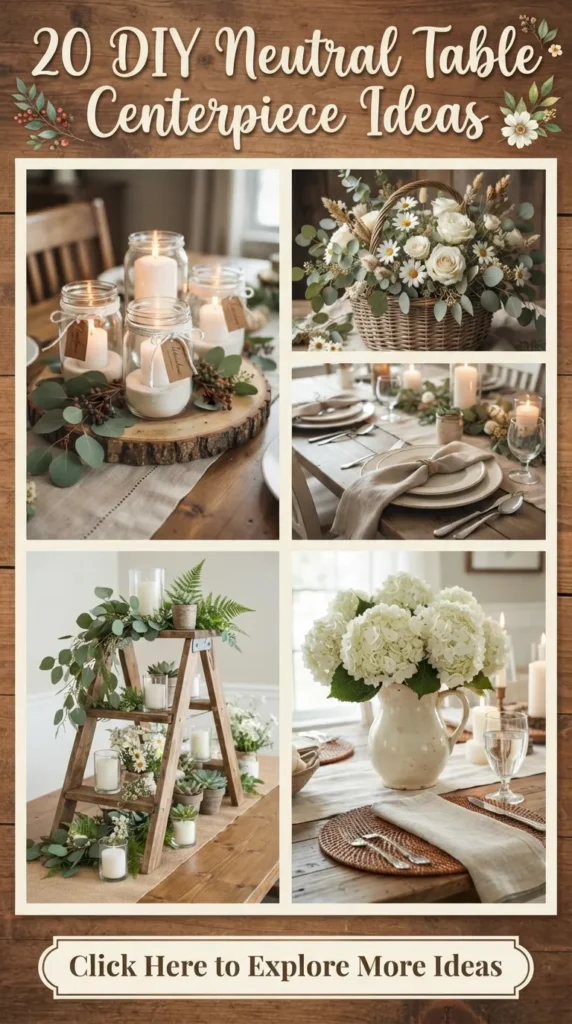
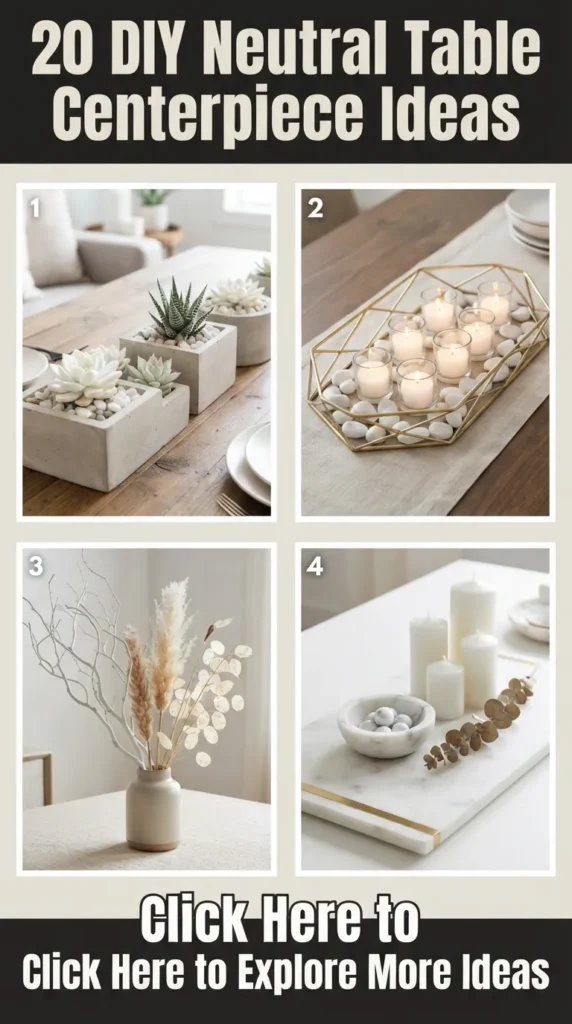
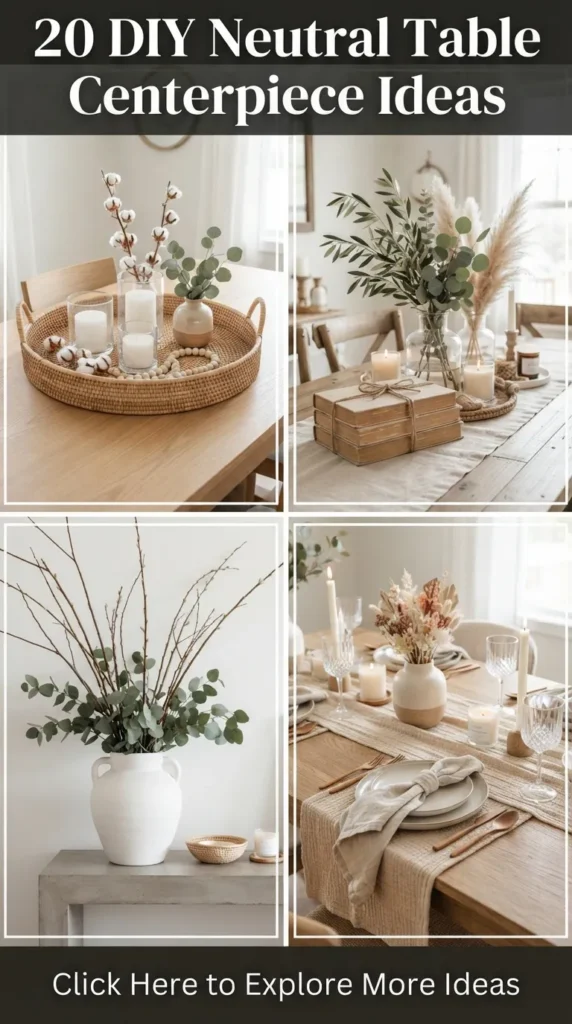
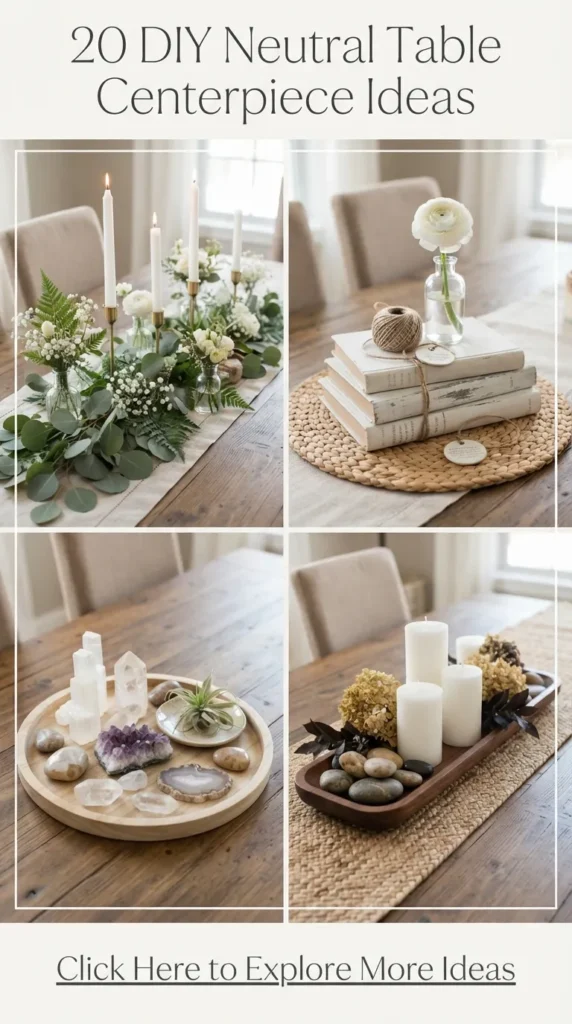
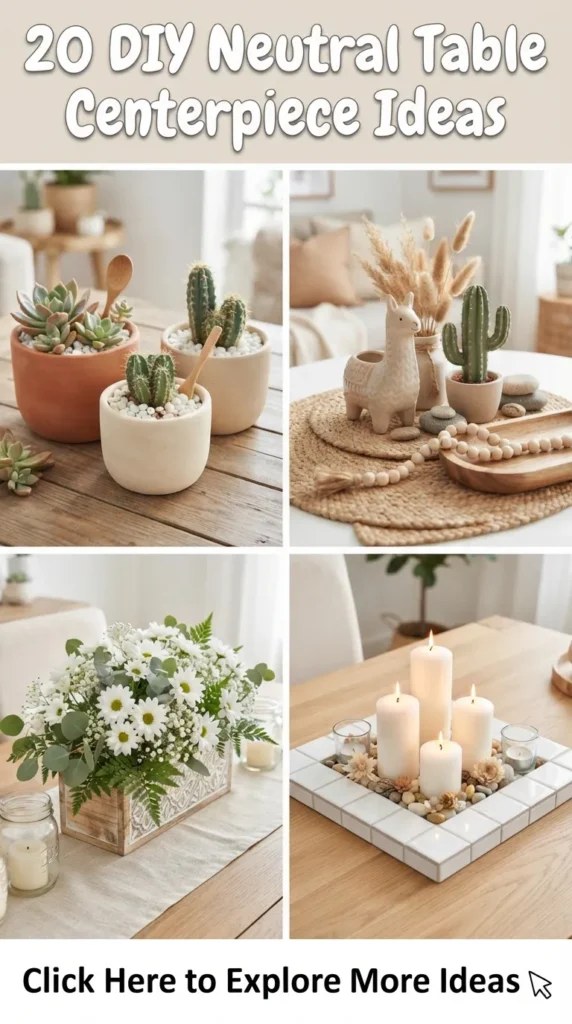
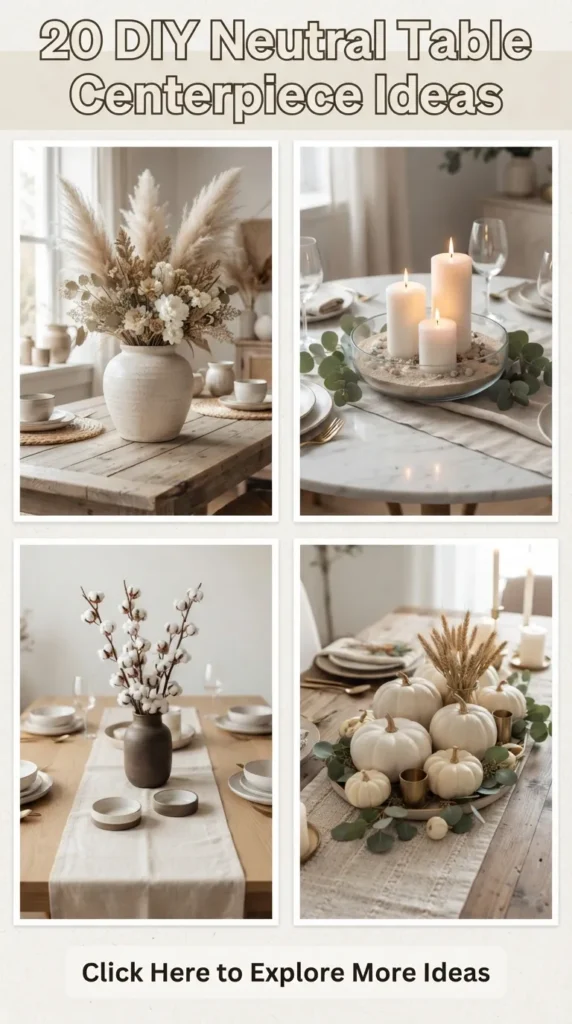
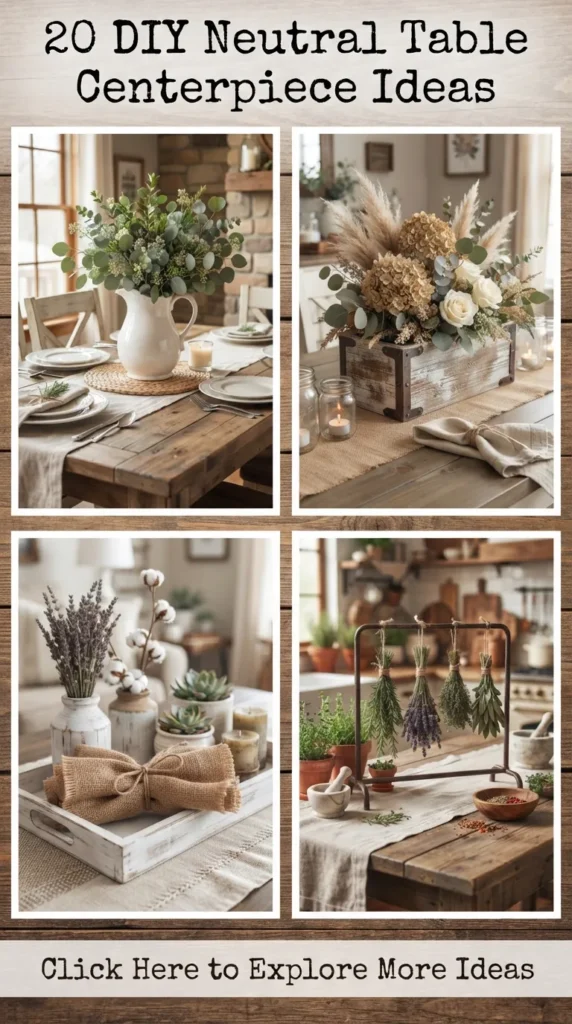
A well-crafted table centerpiece anchors a room, creating an atmosphere that feels inviting, curated, and effortlessly calm. While bold, vibrant colors have their place, neutral centerpieces offer a timeless versatility that adapts across seasons, architectural styles, and interior aesthetics. From warm minimalist lofts to modern organic dining rooms, Japandi retreats, and rustic farmhouse spaces, a neutral centerpiece brings sophisticated texture without visual clutter.
Neutral design is far more than shades of plain white. It is a rich dialogue between raw textures, tactile materials, delicate earth tones, muted clays, unvarnished woods, warm creams, oatmeal linens, and stone elements. By styling centerpieces with intentional neutral palettes, you shift the focus from loud contrasts to the subtleties of form, light, shadow, and architectural balance.
Creating high-end, Pinterest-worthy centerpieces does not require designer budgets or complex floral arrangements. With deliberate material choices, secondhand treasures, raw organic elements, and simple crafting techniques, you can make centerpieces that look bespoke and editorial.
Below are 20 DIY neutral table centerpiece ideas, complete with material checklists, design breakdowns, step-by-step instructions, styling variations, and professional curation tips.
1. Textured Plaster-Coated Ceramic Vessel with Dried Lagurus
A sculptural plaster vessel paired with airy, dried bunny tails (Lagurus ovatus) merges brutalist architectural texture with soft botanical movement.
- What This Idea Means: This concept balances raw, tactile stone finishes with ethereal softness. Upcycling an outdated thrifted vase with joint compound creates an artisanal, handcrafted stone finish reminiscent of high-end Mediterranean or Wabi-Sabi ceramics.
- Materials Needed:
- Outdated thrifted ceramic vase (round or urn silhouette)
- Joint compound or plaster of Paris
- Coarse paintbrush or putty knife
- Fine-grit sandpaper (120-grit)
- Matte bone-white or limestone-beige acrylic paint
- Matte clear sealant spray
- Dried natural bunny tails (Lagurus ovatus)
- How to Make It:
- Clean and degrease the exterior of the ceramic vase thoroughly.
- Mix a generous dollop of joint compound with a splash of matte bone-white paint to tint the plaster evenly.
- Using a coarse brush or small putty knife, spread the compound over the entire vase surface, creating horizontal sweeping strokes or vertical ridges.
- Allow the plaster to cure completely for 24 hours.
- Lightly sand sharp burrs while keeping the rich texture intact.
- Spray an even coat of matte sealant to prevent future flaking.
- Trim dried bunny tails to varying heights (1.5 times the height of the vase) and arrange them loosely inside.
- Styling Tips & Variations:
- Tip: Keep the arrangement asymmetrical to emphasize the organic form of the vessel.
- Variation: Swap bunny tails for dried flax stems, bleached ruscus, or minimalist dried lunaria seed pods.

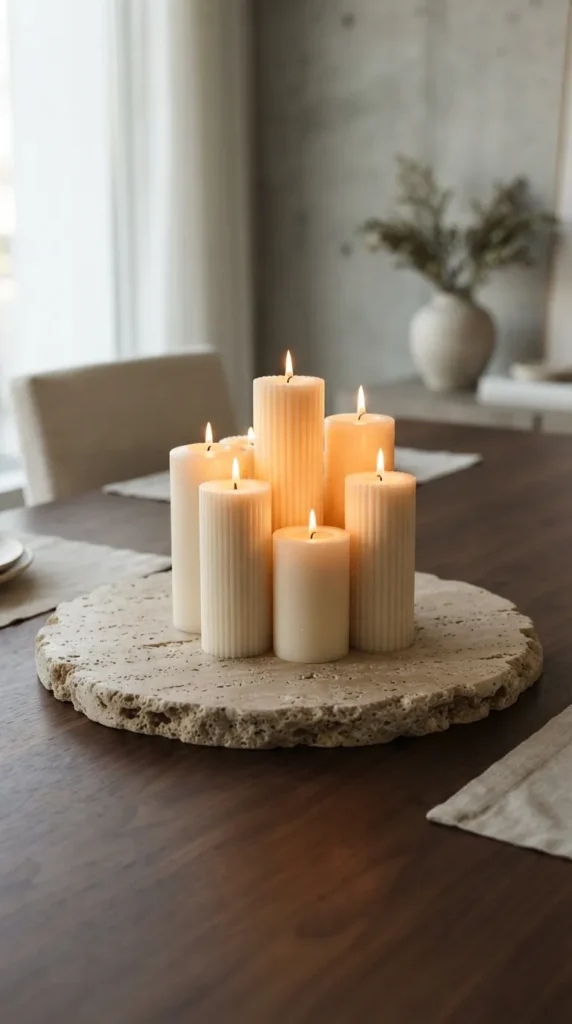
2. Low-Profile Raw Travertine Slab with Clustered Pillar Candles
A flat, Honed travertine stone tile serves as an understated architectural plinth for an organic grouping of ribbed and smooth ivory pillar candles.
- What This Idea Means: Low-profile centerpieces allow uninterrupted sightlines across the dining table. The porous, tactile surface of unfilled travertine stone offers an earthy, grounded base that elevates simple candle groupings.
- Materials Needed:
- 1 Honed, unfilled travertine tile or slab (approx. 12×24 inches or 8×16 inches)
- Self-adhesive felt or silicone protective pads
- 5–7 Unscented pillar candles of varying heights and diameters (ivory, cream, and warm taupe)
- Micro-fiber cloth
- How to Make It:
- Wipe down the raw travertine slab to remove stone dust and let dry.
- Adhere felt or silicone pads to all four corners and the center of the slab’s underside to protect your tabletop from scratches.
- Place the stone slab squarely in the center of your table.
- Cluster your pillar candles tightly in an organic triangle or diagonal layout, grouping taller pillars toward the center and shorter ones toward the outer edges.
- Styling Tips & Variations:
- Tip: Use candles made from soy or beeswax blends for an authentic, matte surface finish rather than glossy paraffin wax.
- Variation: Scatter three to four smooth river rocks or tumbled limestone chunks among the candle bases for added mineral texture.
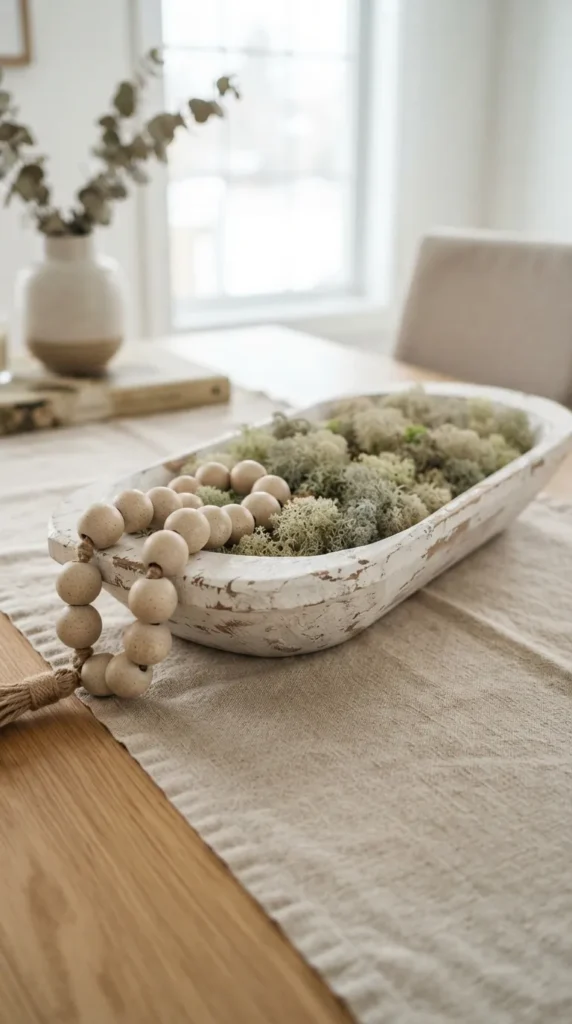
3. Whitewashed Dough Bowl Filled with Ceramic Beads and Textured Moss
An elongated wooden dough bowl washed in a subtle chalky white glaze, layered with oversized matte ceramic beads and preserved cream reindeer moss.
- What This Idea Means: This project softens rustic farmhouse motifs into a refined, modern organic centerpiece. The horizontal length of a dough bowl anchors rectangular tables cleanly without feeling empty.
- Materials Needed:
- Long paulownia or pine wooden dough bowl (20–30 inches)
- White chalk paint or milk paint
- Spray bottle with water and a lint-free cloth
- Preserved off-white or muted sage reindeer moss
- Extra-large handmade clay or unglazed ceramic beads strung on jute twine
- How to Make It:
- Dilute white chalk paint with equal parts water (1:1 ratio).
- Brush the paint mixture lightly across the wooden dough bowl in sections.
- Immediately wipe away excess paint with a damp cloth, leaving pigment settling into the grain to highlight natural grooves.
- Once dried, line the interior base of the bowl with small clumps of preserved neutral moss.
- Artfully loop the strand of ceramic beads over the moss bed, allowing one end to drape casually over the bowl’s edge.
- Styling Tips & Variations:
- Tip: Keep the moss low so the wooden lip remains the primary architectural boundary.
- Variation: Replace ceramic beads with bleached dried seed pods, carved wooden chain links, or chalk-painted faux artichokes.
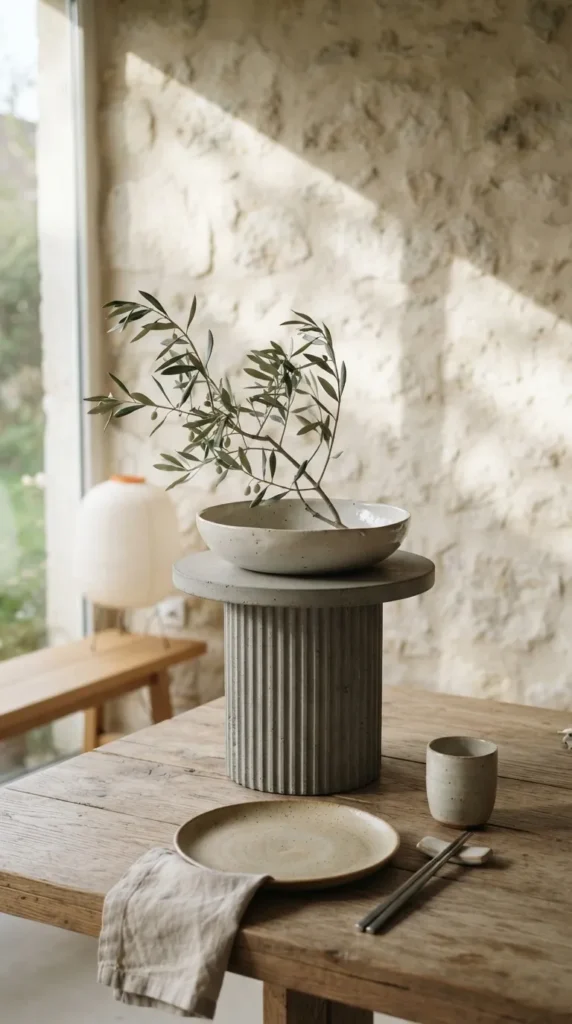
4. Minimalist Fluted Concrete Pedestal with a Single Olive Branch
A fluted DIY architectural concrete riser topped with an unglazed ceramic shallow bowl cradling a single, dramatic pruned olive branch.
- What This Idea Means: Inspired by Japanese wabi-sabi and modern Mediterranean interiors, this arrangement relies on restraint, negative space, and architectural line work.
- Materials Needed:
- 1 Small cardboard cylinder or PVC pipe section (approx. 6 inches high, 4 inches wide)
- Flexible ribbed craft foam or fluted wood molding dowels
- Quick-dry fine casting cement
- Water and mixing bucket
- Heavy-duty craft glue or silicone adhesive
- Shallow matte stoneware bowl
- 1 Fresh or realistic faux architectural olive branch
- How to Make It:
- Line the interior of your cylindrical mold with flexible ribbed foam to impart a fluted column texture, sealing the seams with hot glue.
- Mix the quick-dry cement to a pancake-batter consistency and pour it into the mold.
- Tap the sides firmly to release air bubbles and let cure for 48 hours.
- Demold the column, sand the top and bottom flat, and apply a drop of silicone adhesive to join the shallow stoneware bowl to the top of the column.
- Position a single gracefully curved olive branch across the shallow bowl, letting it lean naturally without floral foam.
- Styling Tips & Variations:
- Tip: Look for an olive branch with an interesting zigzag or natural arch in the stem to create visual tension.
- Variation: Swap the olive branch for an architectural magnolia branch with velvety brown-backed leaves or a sculptural bare manzanita twig.
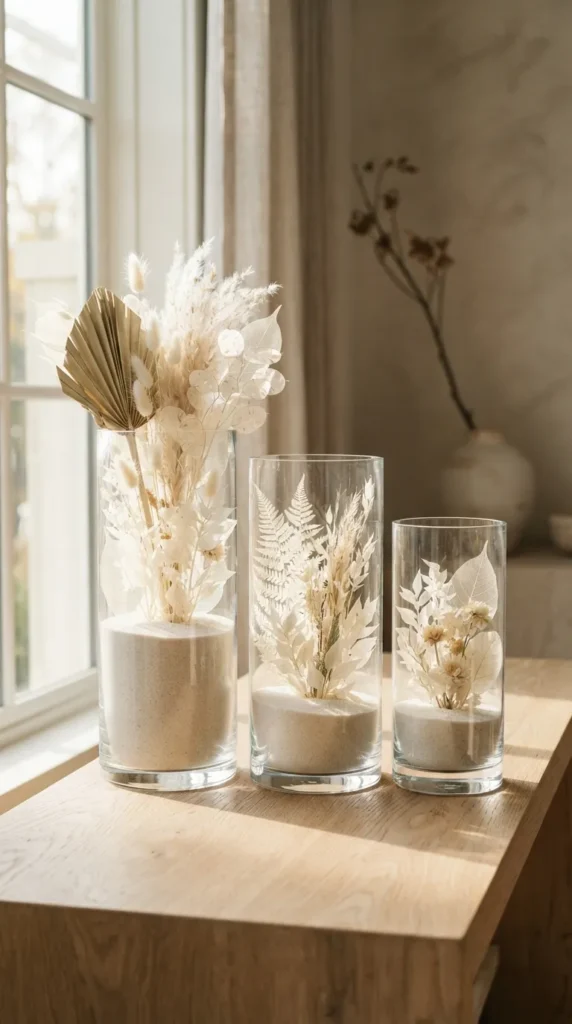
5. Bleached Botanical Terrarium in Footed Clear Glass Cylinders
A curated sequence of three graduated clear glass hurricane cylinders housing preserved, sun-bleached botanicals and sand-toned river pebbles.
- What This Idea Means: This dry terrarium reimagines traditional green floral glass enclosures through an airy, museum-specimen lens. Glass brings clarity and reflections that brighten darker wood tables.
- Materials Needed:
- 3 Footed or straight-sided clear glass hurricane cylinders of staggered heights (8″, 10″, 12″)
- Fine cream silica sand or crushed sandstone
- Bleached dried star flowers, skeleton leaves, and miniature dried ferns
- Long tweezers for precision placement
- How to Make It:
- Thoroughly wash and polish both the interior and exterior of each glass cylinder with glass cleaner.
- Pour 1.5 inches of fine cream silica sand into the bottom of each glass vessel, smoothing the layer flat with the back of a spoon.
- Using tweezers, anchor the stems of bleached botanicals into the sand, placing taller stems toward the center-back and delicate smaller fronds toward the front.
- Arrange the three cylinders down the table runner in a tight linear formation.
- Styling Tips & Variations:
- Tip: Keep botanical volume airy inside the glass; crowding the stems reduces the luminous transparency.
- Variation: Add a single mini raw quartz crystal point or a geode slice half-buried in the sand beside the botanicals.
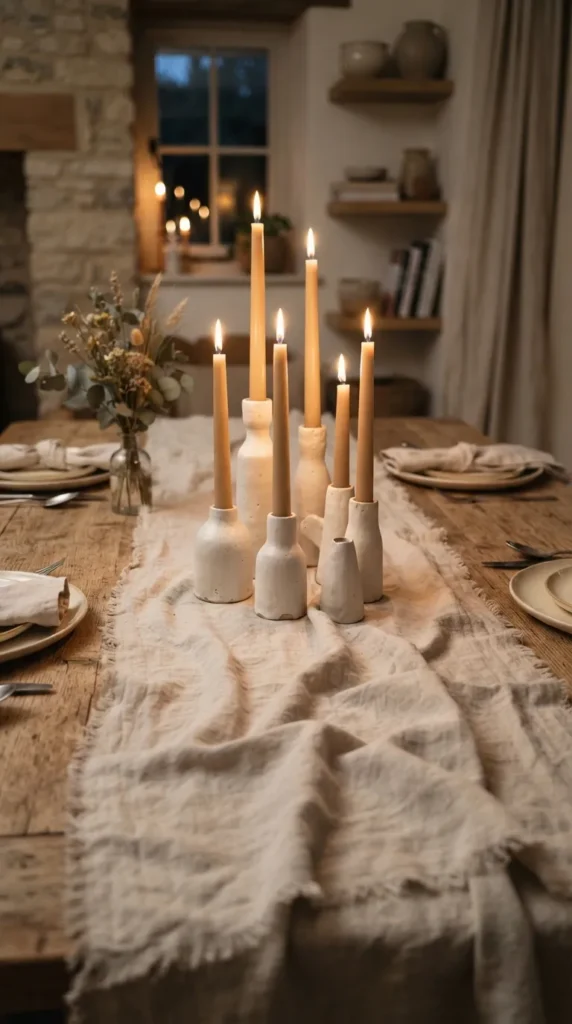
6. Layered Raw Linen Runner with Ribbed Ceramic Taper Holders
A relaxed, frayed-edge natural flax runner styled with an organic cluster of unglazed matte cream taper candle holders and flax-toned taper candles.
- What This Idea Means: Tactile textiles soften hard surface lines. Pairing frayed linen with architectural stoneware taper holders produces casual, refined elegance perfect for everyday dining.
- Materials Needed:
- 2–3 yards of 100% natural, unbleached, heavy-weight flax linen fabric
- Fabric scissors
- 5–7 Matte stoneware or ceramic taper holders of varied geometric shapes
- Unscented beeswax or soy taper candles in oatmeal, ivory, or sand
- How to Make It:
- Cut your linen fabric to the desired runner width (approx. 14–16 inches) and length (allowing a 6–8 inch overhang on each table edge).
- Pull 4–5 warp and weft threads carefully along all raw edges using a needle to produce a 1/4-inch soft fringe.
- Loosely scrunch and drape the linen runner along the center of the table rather than laying it taut.
- Disperse ceramic taper candle holders across the length of the linen, clustering them tighter at the center and spreading them out toward the ends.
- Insert the neutral taper candles, ensuring all stems stand plumb.
- Styling Tips & Variations:
- Tip: Wash the raw linen on a delicate cycle and air dry without ironing to preserve its rich, relaxed, wrinkled texture.
- Variation: Layer two contrasting runners—a narrow ivory linen runner over a broader oat-toned burlap or jute strip.



7. Faux Limestone Arch Sculpture with Preserved Pampas Grass
A geometric arch centerpiece made from lightweight wood cutouts coated with a textured faux-limestone finish and backed by a spray of mini pampas grass.
- What This Idea Means: Modern architecture meets organic floral styling. Arches add structural verticality, while textured masonry paint replicates the look of carved sandstone without the extreme weight.
- Materials Needed:
- 1 Pre-cut wooden crafting arch (8–10 inches tall)
- 1 Small rectangular wooden craft base
- Wood glue
- Textured masonry paint (or stone-texture spray paint mixed with baking soda)
- Small bundle of bleached mini pampas grass plumes
- Neutral floral tape or thin jute cord
- How to Make It:
- Attach the wooden arch upright to the wooden rectangular base using wood glue, clamping it until fully set.
- Paint two heavy coats of textured masonry paint over the entire arch assembly, using a stippling motion with a stiff brush to create pitting and stone grains.
- Let dry for 12 hours.
- Bind a compact fan of mini pampas plumes together at the stems using neutral floral tape.
- Position the pampas bouquet neatly behind the arch opening, gluing the stem base behind the pedestal base so the plumes plume out through the archway.
- Styling Tips & Variations:
- Tip: Use high-grit sandpaper to knock off any synthetic-looking shine from the stone finish.
- Variation: Replace the pampas plumes with dried palm spears or bleached thistle for sharper geometry.
8. Hand-Molded Terracotta Clay Vessel with Bleached Fan Palms
A handcrafted, organic coil-style clay bowl finished in a sun-baked chalky oatmeal wash, displaying dried, bleached sun palms.
- What This Idea Means: The charm of handmade ceramics lies in gentle imperfections, finger marks, and asymmetrical contours. Air-dry clay makes sculptural vessel fabrication accessible to anyone.
- Materials Needed:
- 2–3 lbs of off-white air-dry clay (e.g., DAS or Crayola Air Dry)
- Clay sculpting tools or smooth wooden kitchen implements
- Sponge and water cup
- Chalk paint in warm sandstone or off-white
- Matte ceramic sealer
- 3 Bleached dried fan palm leaves (sun palms)
- How to Make It:
- Roll a 1/2-inch thick clay slab to form a round base (approx. 6 inches in diameter).
- Roll long clay ropes (coils) and stack them sequentially onto the base, smoothing the interior while keeping gentle organic coil textures visible on the exterior.
- Flare the rim slightly outward for a relaxed, wide-mouth silhouette.
- Smooth the outer rim using a damp sponge, leaving organic undulating variations.
- Let the clay cure undisturbed for 48–72 hours.
- Brush a diluted sandstone chalk wash over the vessel, followed by a light spray of matte sealer.
- Insert three dried bleached fan palms trimmed to graduated lengths inside the bowl.
- Styling Tips & Variations:
- Tip: Do not make the coils too uniform; visible hand-molding gives the finished piece authentic artisan character.
- Variation: Add dried bleached bunny tails or lunaria stems tucked around the base of the fan palms for volume.
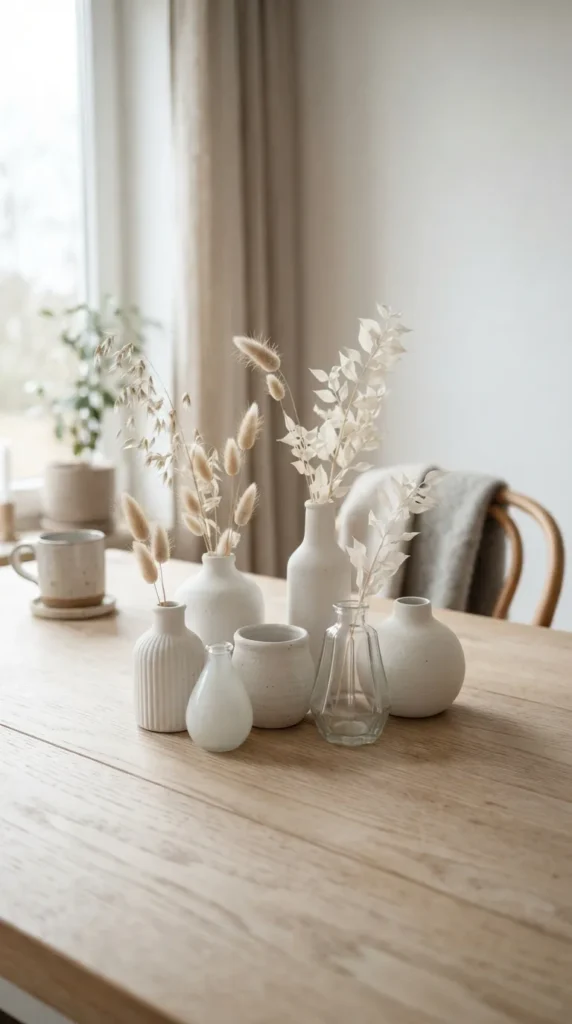
9. Monochromatic White Ceramic Vase Cluster with Architectural Dried Branches
A cluster of 5 to 7 thrifted mismatched glass and ceramic vases, unified with an ultra-matte white spray coat and holding architectural dried foliage.
- What This Idea Means: Unifying different vase shapes, heights, and neck profiles with a single monochromatic finish creates a high-impact centerpiece that feels curated over time.
- Materials Needed:
- 5–7 Thrifted vases, bottles, and bud vases of diverse heights (4″ to 11″)
- 1 Can of matte textured white or stone-finish spray paint
- Dried natural foliage (quaking grass, oats, bleached eucalyptus, and single curly willow twigs)
- How to Make It:
- Remove all labels and clean the thrifted bottles with rubbing alcohol.
- Apply two light coats of textured matte spray paint, keeping the spray nozzle 10 inches away to prevent runs.
- Once completely dry (approx. 3 hours), arrange the bottles on the table in an asymmetrical cluster, interlocking the varying neck heights.
- Place one or two stems of dried botanicals into each vase, keeping the botanical density light and sculptural.
- Styling Tips & Variations:
- Tip: Keep the color temperature of the spray paint warm (e.g., biscuit white, bone white, or warm chalk) rather than cool, stark blue-white.
- Variation: Add single dried floral elements—such as a single dried ivory peony or protea—to the central vase for a distinct focal point.
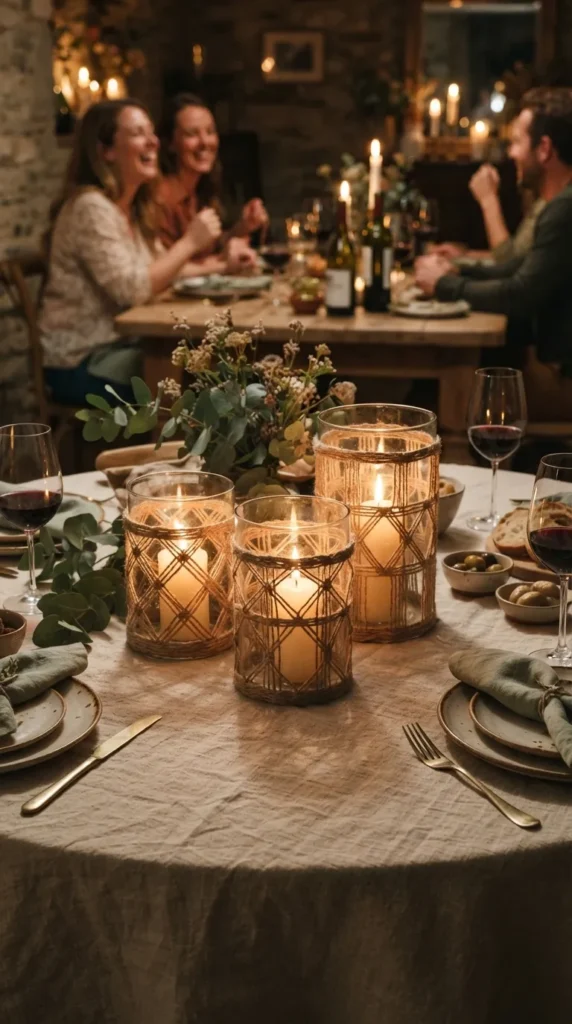
10. Carved Burlap and Jute Wrapped Floating Hurricane Lanterns
Glass cylinder vases wrapped in tailored, open-weave natural jute webbing, casting soft, textured ambient light when illuminated with LED or paraffin candles.
- What This Idea Means: Woven fibers create an organic interplay of light and shadow on the tabletop, introducing coastal, Mediterranean warmth without bright coloring.
- Materials Needed:
- 3 Straight-sided glass cylinders of varying diameters
- Natural open-weave jute webbing or woven burlap fabric
- Hot glue gun and fabric scissors
- Unscented ivory pillar candles or flickering battery-operated LED candles
- How to Make It:
- Measure the circumference and height of each glass cylinder.
- Cut a strip of open-weave jute webbing to fit around the middle two-thirds of the glass, leaving the top and bottom clear.
- Pull the ends taut around the glass and secure them cleanly along the back seam with fine beads of hot glue.
- Place a pillar candle inside each wrapped hurricane vase.
- Line the three lanterns down the table runner or cluster them on a flat stone base.
- Styling Tips & Variations:
- Tip: Select a loose, basket-weave jute so candle glow filters cleanly through the woven strands.
- Variation: Wrap a secondary thin strip of frayed cream linen ribbon around the center of the jute band for subtle mixed-material layering.
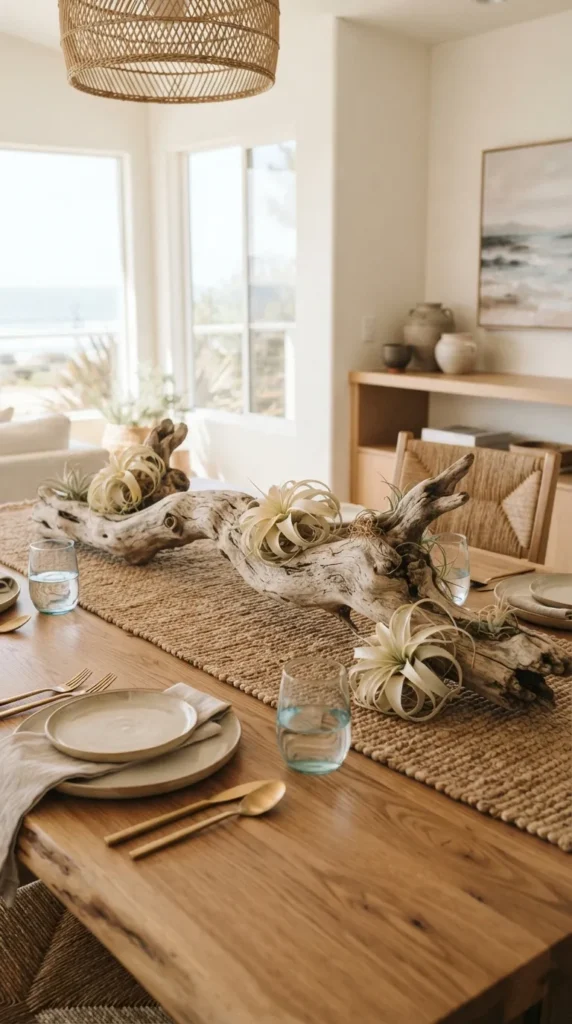
11. Sculptural Bleached Driftwood Branch with Miniature Air Plants
A naturally weathered piece of coastal or river driftwood, cleaned and bleached, styled with preserved cream-colored tillandsia air plants and textured stone beads.
- What This Idea Means: Bringing sculptural, wind-swept driftwood indoors celebrates the raw, unaltered beauty of nature. The horizontal profile stretches comfortably down long dining surfaces.
- Materials Needed:
- 1 Large piece of weathered driftwood (approx. 24–36 inches with interesting branches and gnarls)
- Household chlorine bleach and water (1:10 dilution)
- Stiff wire brush
- 3–5 Real or preserved pale Tillandsia air plants
- Matte clear spray lacquer
- How to Make It:
- Scrub the driftwood thoroughly with a wire brush to remove debris, loose bark, and dirt.
- Submerge or brush the wood with the diluted bleach solution to sanitize it and brighten its gray-tan tone, then dry completely in direct sunlight for two days.
- Apply a light coat of matte clear lacquer to seal the wood fibers.
- Rest the driftwood flat on the dining table, identifying natural hollows and notches.
- Tuck miniature pale air plants into the natural crevices of the branch, securing them with discreet dots of floral adhesive if necessary.
- Styling Tips & Variations:
- Tip: Choose a branch with low elevation so it does not block eye contact across the dining table.
- Variation: Rest 2–3 ivory votive candle holders directly beside the driftwood curves to illuminate the natural grain.
12. Geometric Raw Plaster Pedestals with Ribbed Pillar Candles
A set of three cubic and cylindrical cast-plaster plinths arranged as geometric stepped risers for sculpted sculptural pillar candles.
- What This Idea Means: Contemporary, minimalist galleries rely on stepped geometric plinths to showcase artifacts. This project translates that museum-style balance to the home table.
- Materials Needed:
- Small cardboard gift boxes (square, rectangle, and cylinder shapes)
- Plaster of Paris and cold water
- Mixing bowl and rubber spatula
- Fine sandpaper (220-grit)
- Sculptural ribbed or bubble pillar candles in neutral wax shades
- How to Make It:
- Mix Plaster of Paris according to package instructions until smooth and pourable.
- Pour the plaster into the cardboard mold boxes, tapping the surfaces against a table to remove air pockets.
- Allow the plaster to fully cure for 24 hours until the molds feel cool and solid.
- Tear away the cardboard packaging to reveal the crisp geometric blocks.
- Sand the edges slightly to soften sharp corners, revealing a silky, chalk-matte stone finish.
- Arrange the three pedestals closely in the table center and top each with a sculptural candle.
- Styling Tips & Variations:
- Tip: Leave intentional micro-pinholes on the plaster surface for a cast-concrete architectural look.
- Variation: Tint one of the plaster blocks with a pinch of dry taupe powdered pigment during mixing to create subtle tonal contrast.
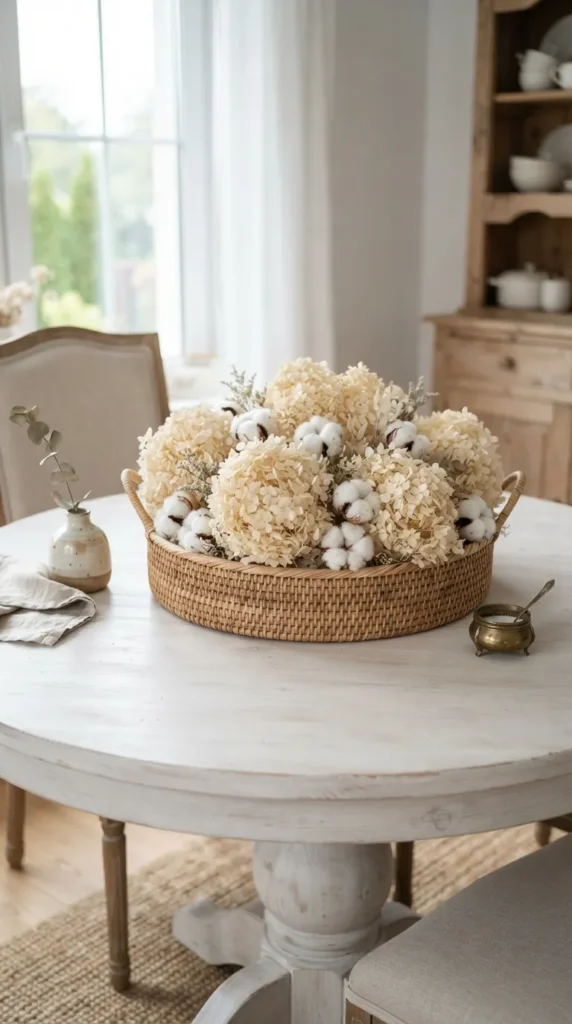
13. Woven Rattan Basket Centerpiece with Cream Hydrangeas and Dried Cotton Stems
A shallow, wide-rimmed natural rattan tray filled with dense, voluminous dried cream hydrangeas, bleached cotton bolls, and soft dried oats.
- What This Idea Means: Soft, cloud-like botanical textures bring warmth and fullness to a dining table. Pairing woven wicker or rattan with dense cream florals creates approachable, cozy charm.
- Materials Needed:
- 1 Shallow round woven rattan basket or woven seagrass tray (12–14 inches wide)
- Dry floral foam disc
- 4–5 Dried cream hydrangea blossom heads
- 3 Stems of natural dried cotton bolls
- Dried bleached wheat or oat stems
- How to Make It:
- Place the dry floral foam disc into the center of the rattan tray (secure with floral adhesive if needed).
- Insert dried hydrangea stems into the center and sides of the foam, clustering them closely to hide the foam completely.
- Trim cotton stems to short lengths and nestle them in between the hydrangea petals.
- Scatter dried oat stems throughout the perimeter, letting the feathery tips extend slightly past the edge of the woven basket.
- Styling Tips & Variations:
- Tip: Use naturally dried hydrangeas instead of synthetic silk flowers to maintain a realistic, matte, organic look.
- Variation: Add a single large ivory pillar candle encased in glass in the center, surrounded by the hydrangea ring.
14. Modern Stoneware Ribbed Pedestal Bowl with Wooden Sphere Accents
An elevated off-white ceramic pedestal fruit bowl filled with hand-turned blonde wood spheres and tumbled marble spheres.
- What This Idea Means: Smooth geometric shapes create visual calm. Combining warm blonde wood with cold, matte stone spheres introduces tactile variety while staying strictly neutral.
- Materials Needed:
- 1 Ceramic or resin pedestal fruit bowl with fluted or ribbed detailing (off-white, bone, or almond)
- 3–4 Solid blonde unfinished beechwood crafting spheres (2–3 inches diameter)
- 2–3 Tumbled white or cream marble spheres
- 1 Unfinished light wood chain link (2 or 3 links)
- How to Make It:
- Wipe the inside of the ceramic pedestal bowl clean.
- Place the small wooden chain link in the base of the bowl, allowing one link to spill casually over the bowl’s rim.
- Arrange the blonde wood and marble spheres in an asymmetrical, stacked grouping within the bowl bowl.
- Place the pedestal bowl directly in the center of the dining table.
- Styling Tips & Variations:
- Tip: Use raw, unfinished wooden spheres rather than varnished ones to keep the centerpiece completely matte.
- Variation: During autumn, replace the wooden spheres with velvet-covered or chalk-painted white and tan craft pumpkins.



15. Raw Marble Tile Riser with Fluted Glass Tea Light Holders
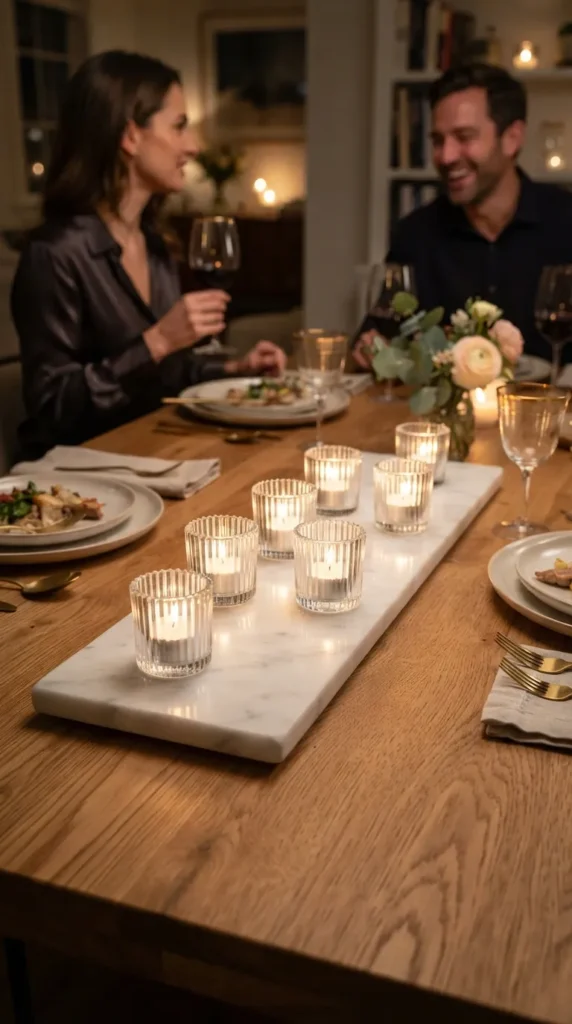
A thick slab of unpolished Honed Carrara or Calacatta marble tile, topped with a constellation of fluted clear glass tea light cups.
- What This Idea Means: Low-profile elegance. Natural stone veining paired with shimmering candlelight gives any dinner party an upscale, intimate ambience without taking up excess table space.
- Materials Needed:
- 1 Long marble baseboard tile or rectangular marble cutting slab (unpolished/honed finish)
- Silicone protective feet
- 6–8 Fluted or ribbed heavy glass tea light cups
- Natural soy or coconut wax tea lights in clear cups
- How to Make It:
- Affix silicone feet to the underside of the marble tile.
- Center the slab onto the table.
- Arrange the fluted tea light holders along the length of the marble slab in a gentle zigzag layout.
- Insert clean-burning, clear-cup tea lights into each glass holder.
- Styling Tips & Variations:
- Tip: Choose clear plastic-cup tea lights rather than metal-cup tea lights so the flame shines down through the glass base.
- Variation: Add a small bundle of bleached dried baby’s breath tucked flat along one corner of the marble slab.
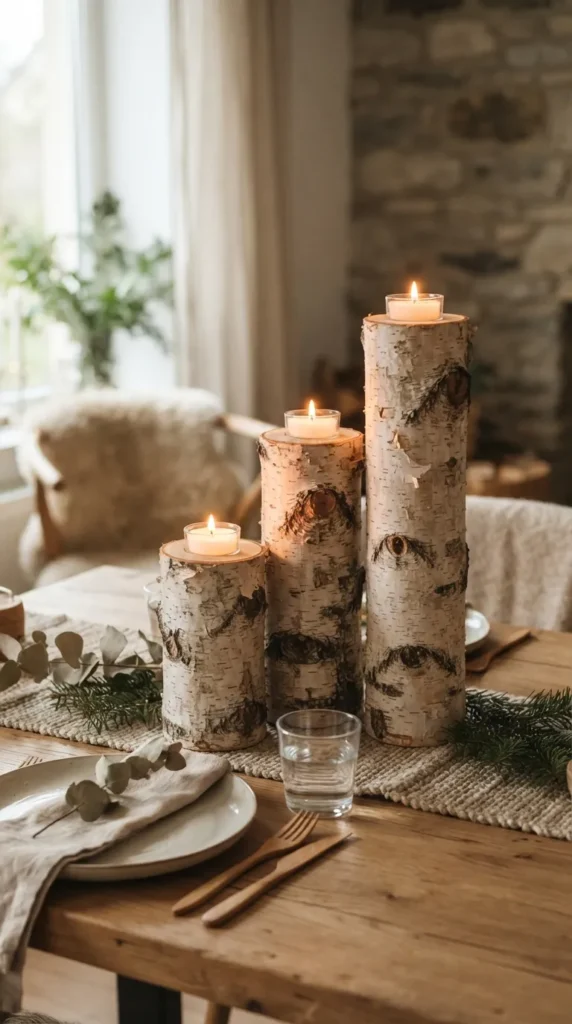
16. Natural Raw Birch Branch Trio with Inset Candle Wells
A trio of raw natural white birch log sections of stepped heights, hollowed at the top to securely hold flickering tea lights or votives.
- What This Idea Means: White birch bark offers a rich organic palette of chalk whites, charcoal striations, and soft papery textures. It bridges rustic warmth and clean Scandinavian minimalism.
- Materials Needed:
- 3 Clean natural white birch logs (approx. 3–4 inches in diameter, cut to 3″, 5″, and 7″ heights)
- 1.5-inch spade drill bit (paddle bit)
- Power drill
- Sandpaper
- Metal tea light cups or glass inserts
- 3 Tea light candles
- How to Make It:
- Ensure both ends of each birch log are cut flat and level.
- Using the 1.5-inch spade bit, drill a 1/2-inch deep well in the center of the top face of each birch log.
- Lightly sand the rim of the drilled hole to remove rough wood splinters.
- Press metal protective cups into the drilled wells.
- Insert tea light candles and group the three birch logs together at the center of the table.
- Styling Tips & Variations:
- Tip: Preserve the peeling, papery bark on the sides of the logs; avoid tearing it away.
- Variation: Cluster five birch logs of varying heights along a rectangular table for a more expansive runner effect.
17. Terracotta Pot Cluster in Muted Chalk Wash with Dried Lunaria
A collection of small traditional terracotta pots treated with an aged French lime or chalk wash, holding luminous, translucent dried lunaria (honesty seed pods).
- What This Idea Means: Lunaria pods (money plant) have an iridescent, translucent silver-white quality that reflects ambient light beautifully, adding lightness to earthy, chalk-washed clay pots.
- Materials Needed:
- 3–4 Mini terracotta pots of varying sizes (3″ to 5″)
- White chalk paint or garden lime powder
- Coarse paintbrush and sandpaper
- Floral putty or clay
- 1 Bundle of dried, peeled lunaria branches
- How to Make It:
- Dry-brush white chalk paint unevenly over the terracotta pots, letting portions of the warm orange clay peek through.
- Sand away heavy paint spots to mimic the aged, salty patina of antique garden pottery.
- Secure a marble-sized ball of floral putty in the bottom of each pot.
- Push 3–4 lunaria stems into each pot, allowing the delicate seed disks to fan outward like translucent coins.
- Cluster the pots in a gentle triangle at the center of your table.
- Styling Tips & Variations:
- Tip: Peel away the outer brown husks and seeds of the lunaria before styling to expose the shimmering white central membrane.
- Variation: Pair with small dried seed pods or bleached poppy pods at the base of the stems to ground the arrangement.
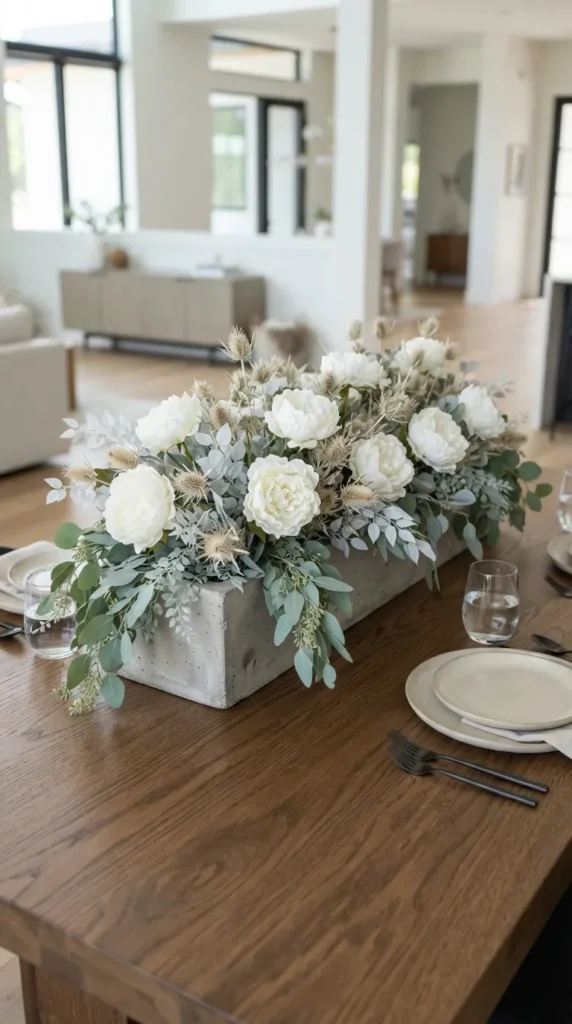
18. Modern Concrete Trough Planter with Faux White Peonies and Thistle
A long, cast concrete trough planter styled with crisp faux white peonies, dried ivory thistles, and bleached eucalyptus leaves.
- What This Idea Means: Concrete troughs provide solid, horizontal visual weight that complements modern dining tables. Filling them with a mix of creamy botanicals softens the hard industrial look.
- Materials Needed:
- 1 Long rectangular concrete trough planter (18–24 inches long, 4 inches wide)
- Floral foam block cut to fit interior
- 3 High-quality faux real-touch white/cream open peonies
- 4 Dried bleached globe thistles (Echinops)
- 3 Stems of dried cream-bleached eucalyptus
- Spanish moss (neutral beige)
- How to Make It:
- Place the fitted floral foam block inside the concrete trough.
- Cover the top of the foam with a thin layer of beige Spanish moss.
- Trim faux peony stems short and insert them along the center of the trough at slight alternating angles.
- Intersperse the spiky bleached thistles between the soft peonies to add structural contrast.
- Add bleached eucalyptus foliage along the ends of the trough so the leaves trail naturally toward the tabletop.
- Styling Tips & Variations:
- Tip: Choose faux florals made from “real-touch” latex or high-grade silk to keep the look realistic and refined.
- Variation: In winter, swap the peonies for dried cream proteas or oversized pine cones dry-brushed with white chalk paint.
19. Woven Seagrass Mat Base with Stacked White Ceramic Bowls and Dried Grasses
A flat woven circular seagrass charge mat anchoring a stack of shallow artisan ceramic bowls, topped with dried oat stems and a mini ceramic jug.
- What This Idea Means: Layering everyday tableware into a centerpiece is a relaxed, functional styling approach popular in rustic European and farmhouse dining spaces.
- Materials Needed:
- 1 Round woven natural seagrass or rush placemat/mat (approx. 14–16 inches)
- 2 Unglazed, handmade ceramic shallow bowls (one medium, one small)
- 1 Miniature unglazed ceramic bud jug or pitcher (approx. 4 inches high)
- A small handful of dried natural wheat, oats, or foxtail stems
- How to Make It:
- Place the woven seagrass mat flat in the center of the dining table.
- Stack the smaller ceramic bowl inside the larger one, offsetting it slightly.
- Rest the miniature bud jug inside the top bowl.
- Place a small, trimmed spray of dried oat stems inside the mini jug, letting the stems fan outward naturally.
- Styling Tips & Variations:
- Tip: Look for ceramics with earthy speckles (iron flecks) to add artisanal character.
- Variation: Fill the surrounding space in the bowl with miniature smooth white river pebbles or pale raw walnuts in their shells.
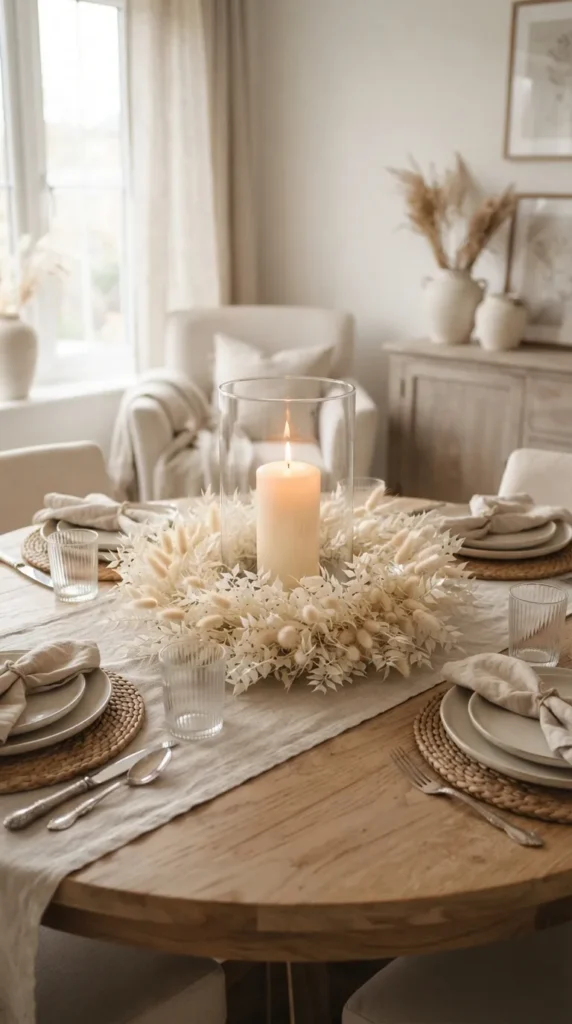
20. Layered Matte White Floating Ring Wreath with Central Hurricane Pillar
A flat, table-hugging ring wreath crafted from woven grapevine, wrapped with bleached ruscus, cream lagurus, and dried flax, encircling a tall glass hurricane candle.
- What This Idea Means: A modern take on the classic wreath centerpiece. Keeping the foliage low and circling a central glass hurricane creates a cozy, balanced focal point suitable for round and square tables alike.
- Materials Needed:
- 1 Flat 10-inch natural grapevine or wire wreath form
- Natural floral wire
- Bleached dried ruscus stems
- Cream dried bunny tails (Lagurus) and dried flax pods
- 1 Clear glass hurricane cylinder (approx. 8–10 inches tall, 4–5 inches wide)
- 1 Large ivory pillar candle
- How to Make It:
- Fasten small bundles of bleached ruscus flat against the wreath form using thin floral wire, working in a continuous clockwise direction.
- Layer in dried bunny tails and flax pods to fill empty gaps and soften the outer edges.
- Place the finished botanical ring flat on the center of the table.
- Slide the clear glass hurricane cylinder into the open center of the wreath ring.
- Place the ivory pillar candle inside the hurricane cylinder.
- Styling Tips & Variations:
- Tip: Keep the dried botanicals flat against the wreath form so they do not creep too close to the top of the glass cylinder.
- Variation: Add delicate loops of sheer cream chiffon ribbon tucked between the botanicals for a softer romantic touch.