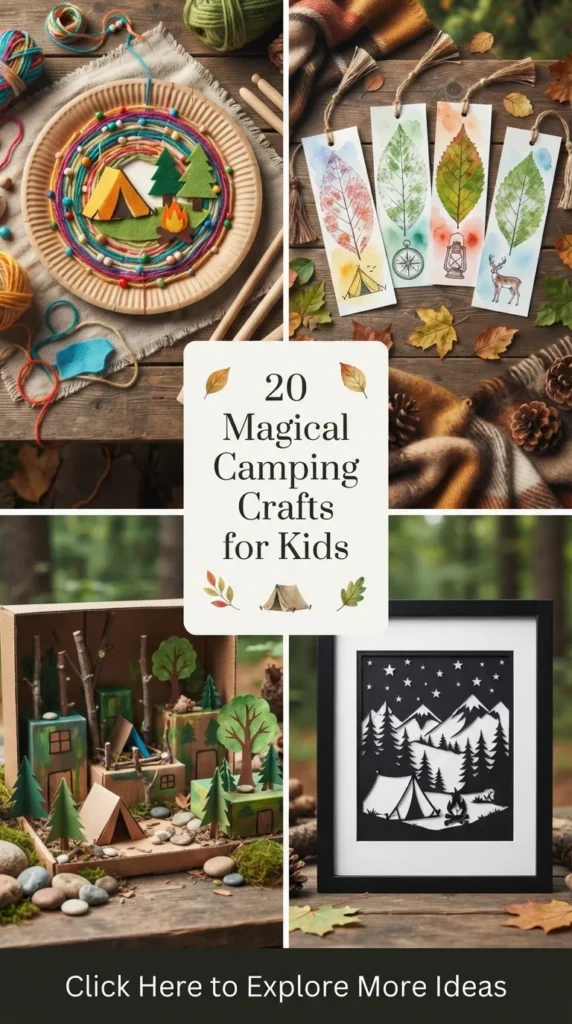
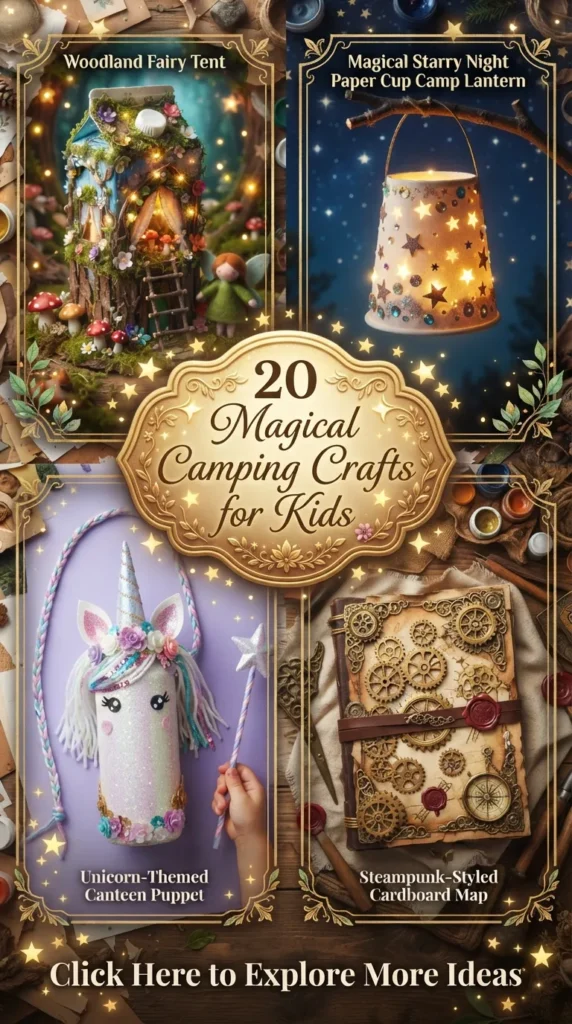
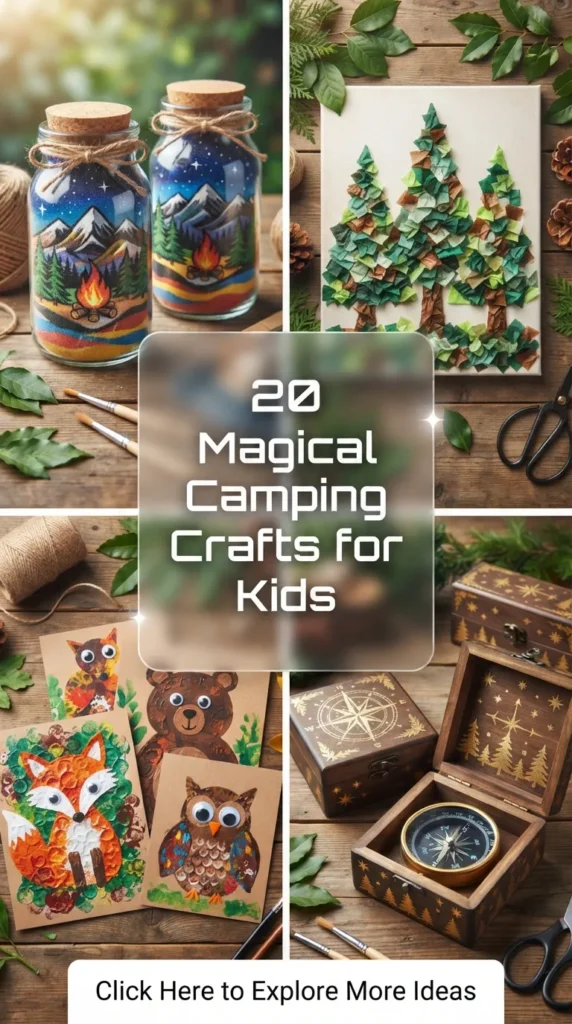
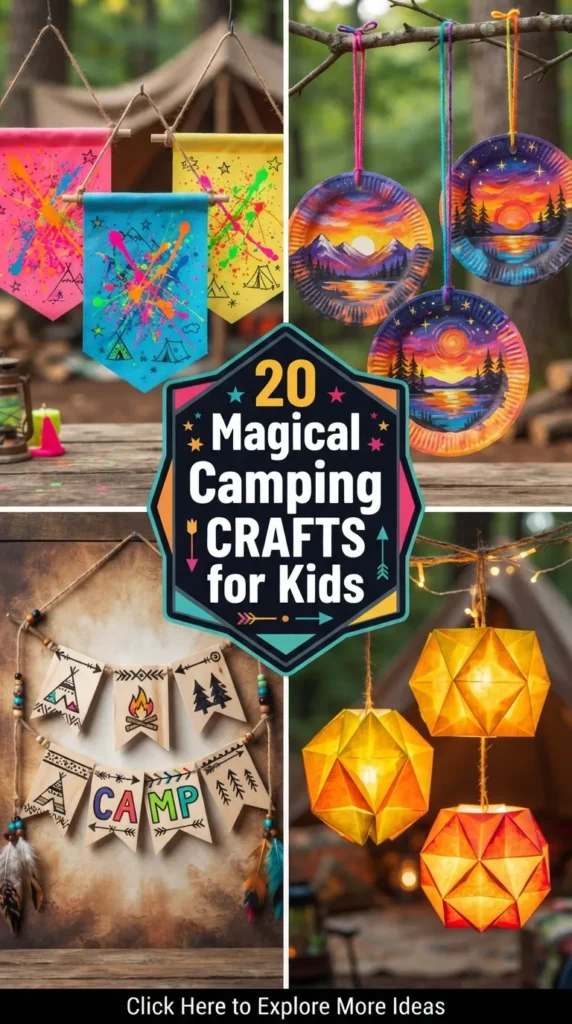
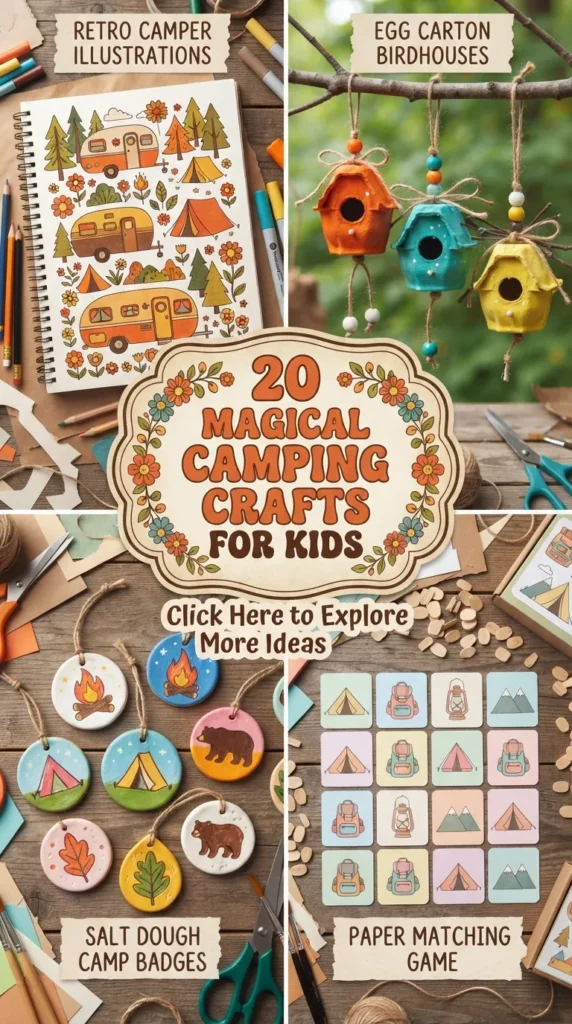
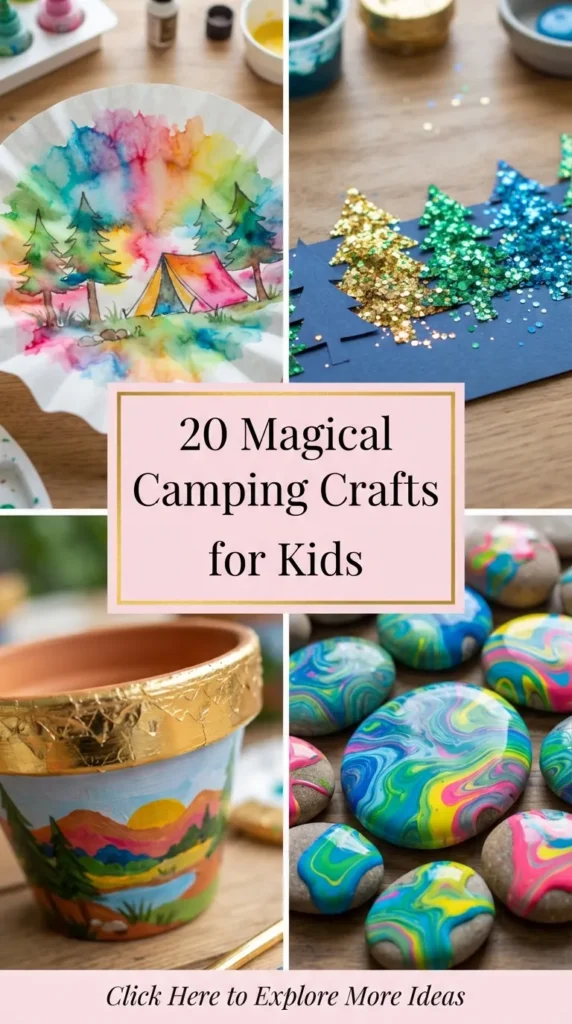
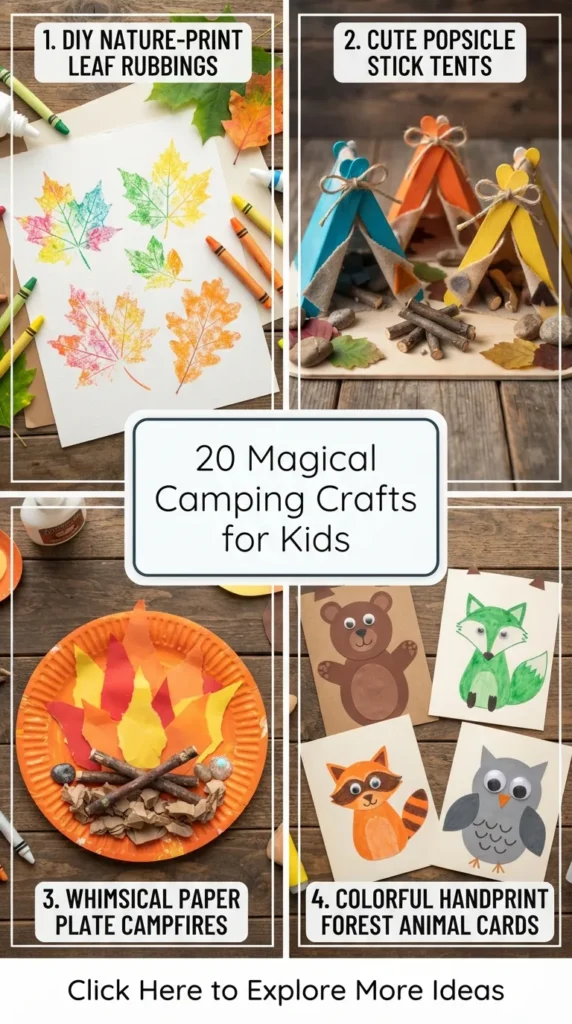
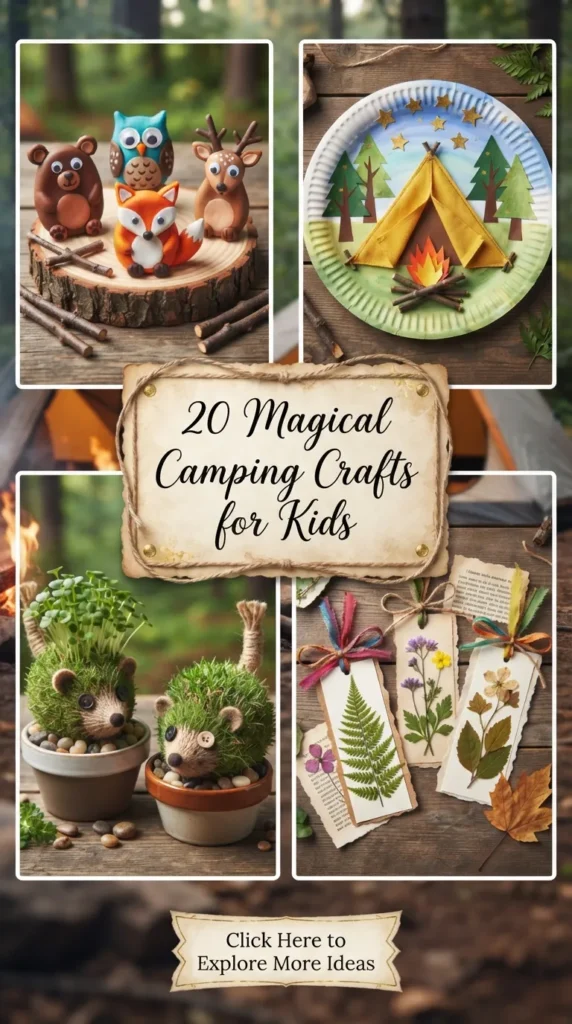
Camping is one of the most enchanting experiences a child can have. The crackle of a evening campfire, the rustle of leaves underfoot, and the glittering expanse of a starlit night sky create an atmosphere brimming with wonder. Combining the beauty of nature with hands-on crafting allows children to connect deeply with the outdoors while sparking their imagination.
Whether you are planning a weekend trip into the wilderness, camping out in your own backyard, or setting up a cozy summer camp at home, this guide to 20 Amazing & Inspiring Magical Camping Crafts for Kids offers whimsical, nature-inspired, and Pinterest-worthy DIY projects that transform basic outdoor materials into enchanting keepsakes.
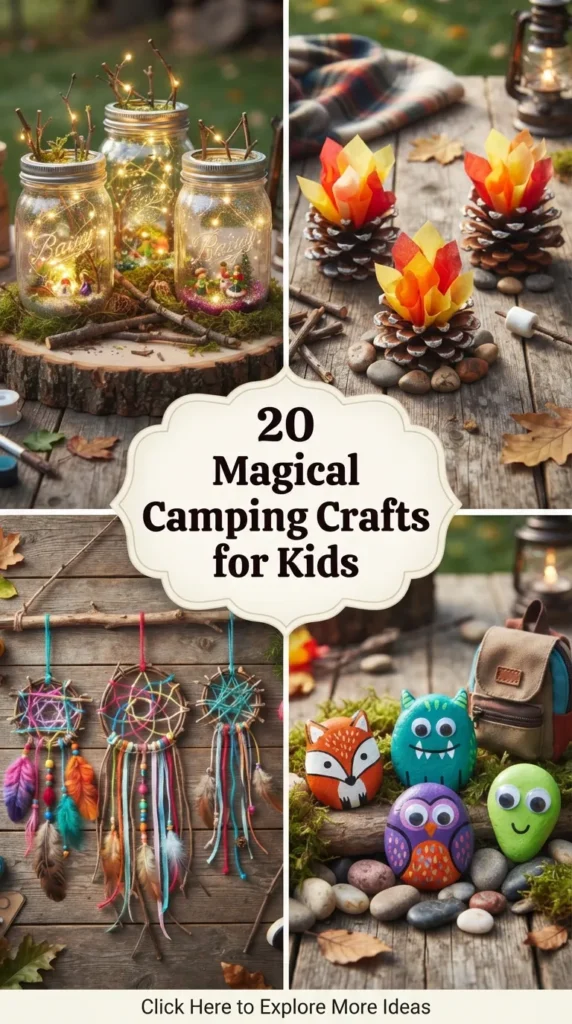
1. Glowing Fairy Mason Jar Lanterns
Introduction
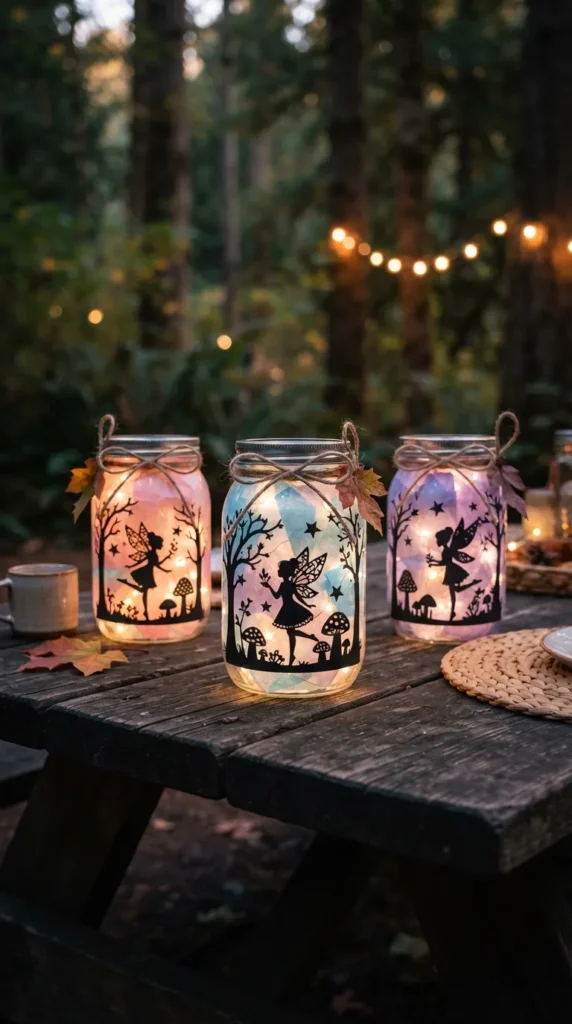
Illuminate your campsite at twilight with magical fairy mason jars that emit a warm, ethereal glow. These enchanting lanterns serve as friendly nightlights inside tents and add whimsical charm to campsite picnic tables.
What This Idea Means
This project combines light art with botanical silhouettes. It teaches kids how to harness simple LED technology and translucent materials to create functional, cozy outdoor lighting.
Materials Needed
- Glass mason jars or durable clear plastic jars
- Flameless LED tealight candles or wire fairy lights
- Tissue paper (white, pastel pink, or pale blue)
- Mod Podge or PVA craft glue
- Silhouettes cut from black cardstock (fairies, stardust, woodland creatures)
- Twine or burlap ribbon for the jar neck
- Sponge paintbrushes
How to Make It
- Brush a thin layer of Mod Podge over the entire outer surface of a clean glass jar.
- Glue your black cardstock fairy silhouettes onto the sticky surface.
- Apply torn pieces of pastel tissue paper over the entire jar, layering them slightly to create a soft, frosted backdrop.
- Coat the outside with a final layer of Mod Podge to seal the paper and let it dry completely.
- Tie rustic jute twine around the glass rim of the jar.
- Drop an LED flameless candle inside to watch the silhouette cast a magical shadow.
Tips and Variations
- Tip: Avoid using real candles with flame; battery-operated LED lights keep this craft completely safe inside fabric tents.
- Variation: Add a sprinkle of fine eco-glitter inside the jar before inserting the fairy lights for an extra magical shimmer.
2. Enchanted Woodland Nature Wand
Introduction
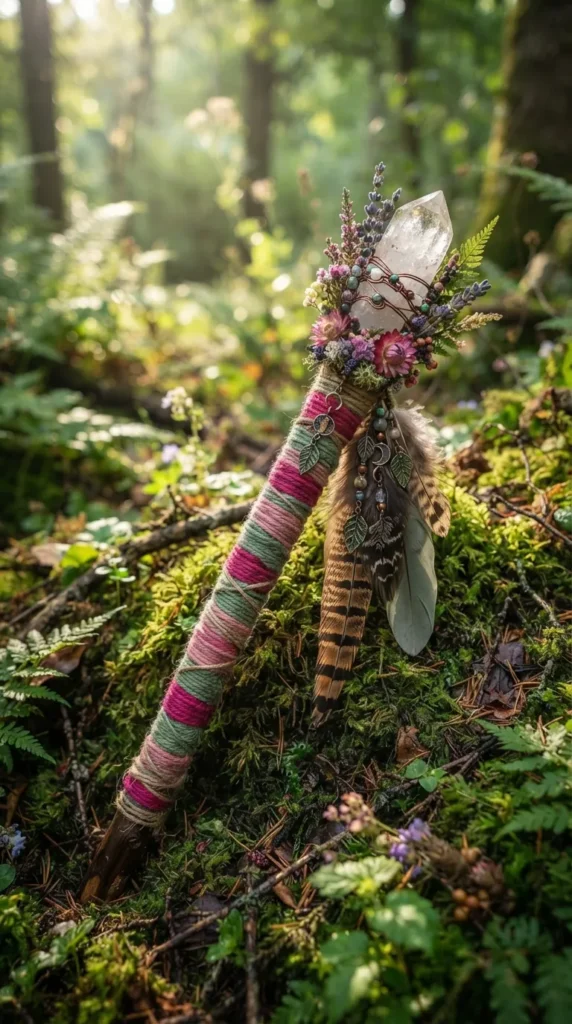
Every outdoor adventure needs a touch of magic! An enchanted nature wand allows young explorers to gather fallen forest treasures and weave them into a wizard or fairy staff.
What This Idea Means
Nature gathering encourages mindful exploration. Kids observe textures, shapes, and colors along trail paths, transforming simple fallen sticks into imaginative play tools.
Materials Needed
- Sturdy fallen tree sticks (12 to 18 inches long)
- Colorful yarn, embroidery floss, or metallic ribbon
- Forest findings (pinecones, colorful leaves, feathers, wildflowers)
- Clear craft glue or floral wire
- Small quartz crystals or glass beads
How to Make It
- Smooth away sharp knots or bark pieces on a sturdy fallen branch.
- Secure the end of a long piece of yarn near the top of the stick with a simple knot.
- Wrap colorful yarn tightly down the handle, alternating thread colors to create bright stripe patterns.
- Use soft wire or yarn to bind pinecones, colorful feathers, and dried wildflowers securely near the wand tip.
- Glue a polished quartz crystal or shiny glass bead to the top point of the stick.
- Let all adhesive set fully before setting out on forest quest adventures.
Tips and Variations
- Tip: Choose fallen sticks off the ground rather than breaking fresh branches from living trees to preserve forest ecosystems.
- Variation: Wrap metallic wire and small brass bells around the wand so it makes a gentle magical chime when waved.
3. Whimsical Painted Campfire Kindness Stones
Introduction
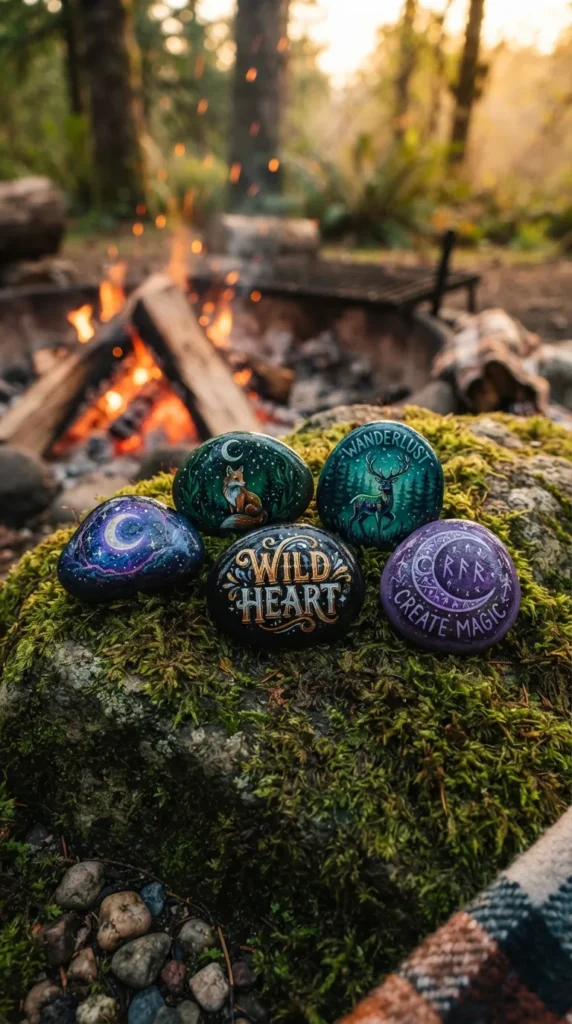
Spread positivity along hiking trails and around campsite firepits by painting smooth river rocks with vibrant magical symbols, inspiring quotes, and friendly woodland animals.
What This Idea Means
Kindness rocks foster empathy and community spirit. Kids experience the joy of leaving hidden treasures for future campers and hikers to discover along forest paths.
Materials Needed
- Smooth, flat river rocks or beach stones
- Acrylic paint sets and fine detail paintbrushes
- Waterproof paint pens (Posca pens)
- Outdoor acrylic sealer or clear varnish
- Water cup and paper towels
How to Make It
- Wash river stones with warm water and soap to remove dirt and let them dry thoroughly.
- Paint a solid acrylic base coat over the top of the stone (white or pastel colors work best) and let dry.
- Use fine paintbrushes or paint pens to draw magical designs, like glowing moons, woodland foxes, mushrooms, or uplifting words like “Explore” and “Magic”.
- Allow the paint to dry completely for 1 hour.
- Spray or brush a coat of outdoor waterproof sealer across the rock to protect the artwork from rain and weather.
- Hide the painted stones along campsite trails for other campers to find!
Tips and Variations
- Tip: Use paint pens for fine lines and lettering; they give kids much better control than soft paintbrushes.
- Variation: Paint story-starter icons (tent, campfire, star, bear) onto a set of stones to create interactive campsite story dice.
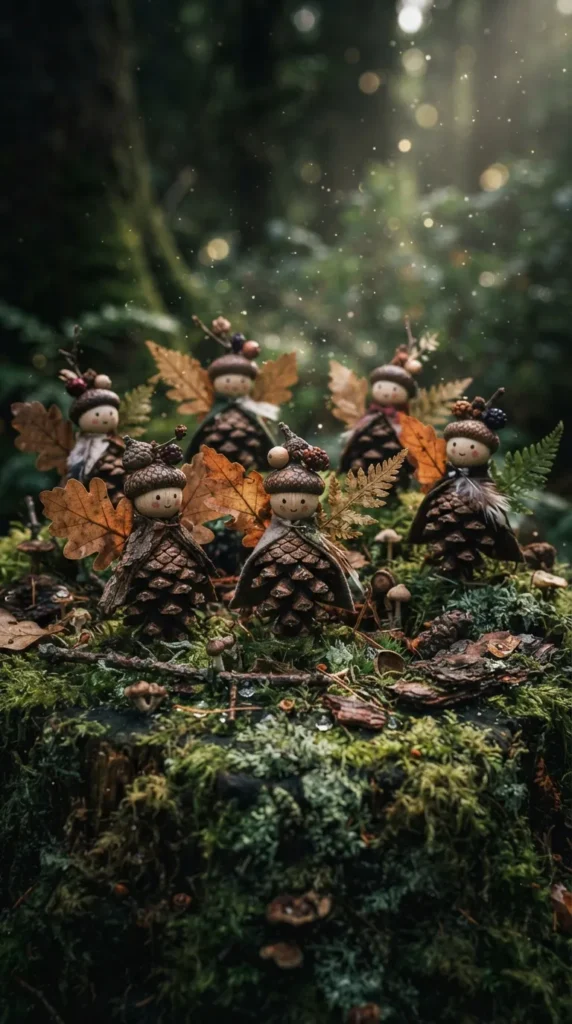
4. Magical Forest Pinecone Elves & Fairies
Introduction
Transform ordinary pinecones collected around the campsite into charming little forest elves and woodland fairies complete with felt wings and acorn cap hats.
What This Idea Means
Character crafting with natural elements brings storybook fantasy to life. It combines tactile outdoor foraging with soft fiber arts to construct miniature woodland figurines.
Materials Needed
- Clean fallen pinecones
- Wooden wooden beads or mini wooden balls (for heads)
- Felt sheets (green, brown, burgundy, and forest tones)
- Real acorn caps
- Fine-tip black and pink markers
- Craft glue or low-temp hot glue gun (with adult supervision)
- Small dried leaves or feathers for wings
How to Make It
- Brush away any pine needle debris or loose dirt from your collected pinecone.
- Draw sweet simple eyes and rosy cheeks onto a wooden bead using fine markers.
- Glue the wooden bead head securely to the top point of the pinecone base.
- Glue an acorn cap onto the top of the wooden bead to act as a cute forest hat.
- Cut wing shapes from felt sheets or select two matching dried leaves and glue them to the back of the pinecone body.
- Add a tiny felt scarf or leaf collar around the neck for a finished look.
Tips and Variations
- Tip: Bake wild-collected pinecones on a foil-lined baking sheet at 200°F (90°C) for 30 minutes before crafting to dry out sticky sap and clear away tiny bugs.
- Variation: Attach a loop of jute twine behind the acorn hat so these forest figures can hang from tent poles or tree branches.
5. Celestial Solar Printed Leaf Art
Introduction
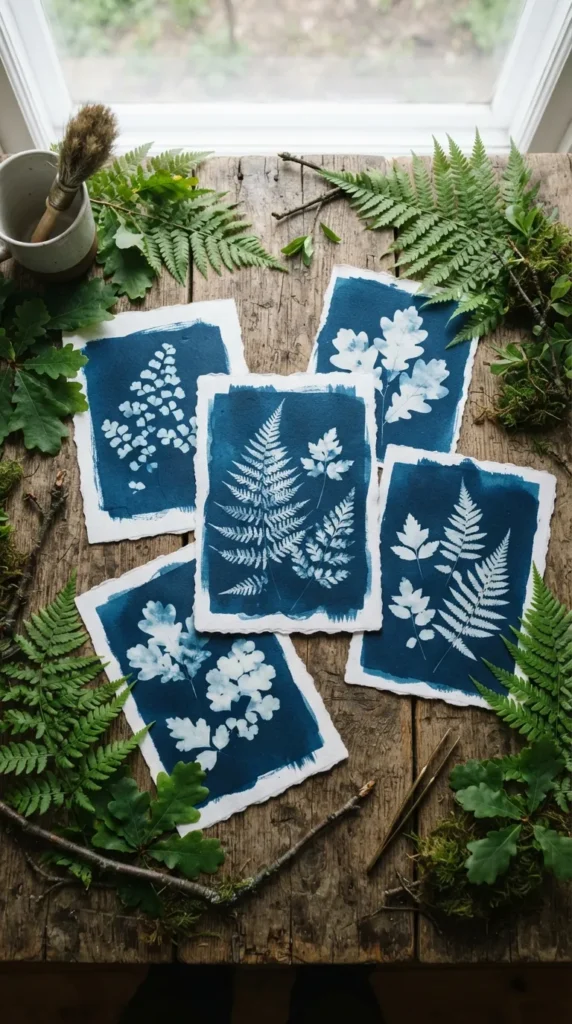
Harness the power of sunlight to create magical indigo-blue botanical prints using real leaves, ferns, and wild blossoms gathered around your campsite.
What This Idea Means
Solar printing introduces children to early photographic chemistry and light reactions, capturing the intricate shapes and vein patterns of forest plants using solar energy.
Materials Needed
- Sun print paper (Sianotype solar paper)
- Freshly picked forest leaves, ferns, and flat wildflowers
- Acrylic sheet or clear glass panel
- Shallow pan filled with water
- Cardboard backing board
How to Make It
- Set up your workspace in a shaded spot away from direct sunlight.
- Place a piece of sun print paper blue-side-up on top of a flat piece of cardboard.
- Arrange your gathered leaves and ferns carefully on top of the paper in an artistic pattern.
- Place a clear acrylic sheet over the plants to press them flat against the paper.
- Take the setup into direct bright sunlight for 2 to 4 minutes until the paper turns light bronze.
- Bring the paper back into the shade, remove the plants, and submerge the paper in water for 1 minute to lock in the bright blue contrast print.
Tips and Variations
- Tip: Work fast when arranging plants outdoors so ambient sunlight doesn’t expose the paper before you are ready.
- Variation: Frame finished sun prints inside rustic twigs bound with twine for campsite tent decor.
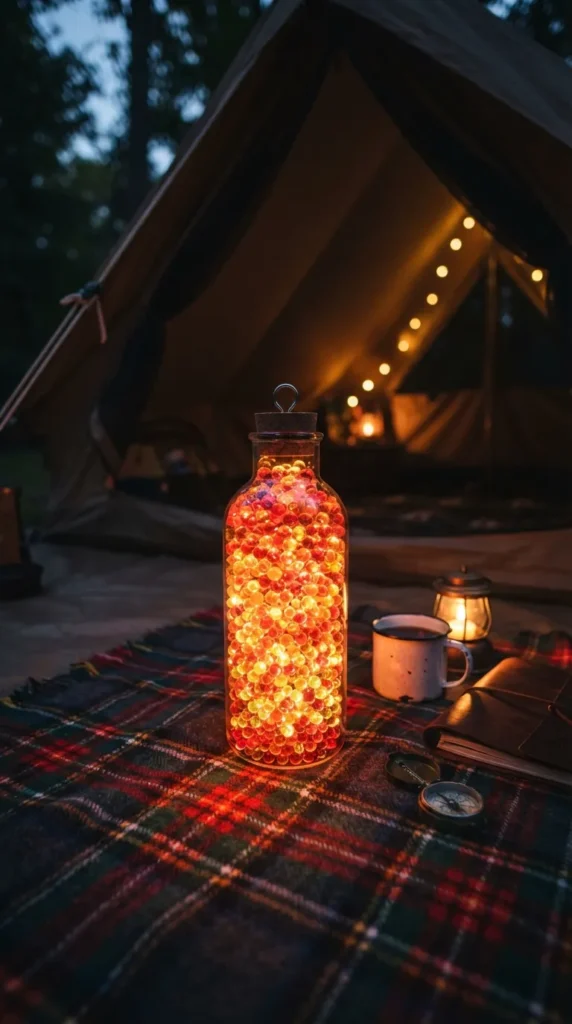
6. Luminous Campfire Glow Sticks & Lanterns
Introduction
Capture the magic of dancing campfire flames in a safe, mess-free glow lantern made from upcycled plastic bottles and water beads.
What This Idea Means
Sensory bottle crafting creates calming visual focus tools. The floating water beads and internal glow mimic the movement of rising campfire embers under the night sky.
Materials Needed
- Clear plastic water bottles or mason jars
- Water beads (red, orange, yellow, and golden shades)
- Waterproof mini LED submersible lights or glow sticks
- Clear water
- Strong glue for bottle caps
How to Make It
- Soak yellow, orange, and red water beads in a bowl of water until fully expanded.
- Fill a clear plastic bottle with the expanded glowing campfire-colored water beads.
- Pour clear water into the bottle until all gaps between the beads are filled.
- Drop a waterproof LED submersible light or activated mini glow stick down into the center of the beads.
- Apply strong glue inside the cap threads and screw the cap onto the bottle tightly to prevent leaks.
- Shake or turn the bottle to see warm light diffuse through the embers!
Tips and Variations
- Tip: Glue the cap shut securely so younger children cannot open the bottle during play.
- Variation: Add golden glitter and star sequins to simulate rising sparks floating above a campfire.
7. Twig & String Star Catchers
Introduction
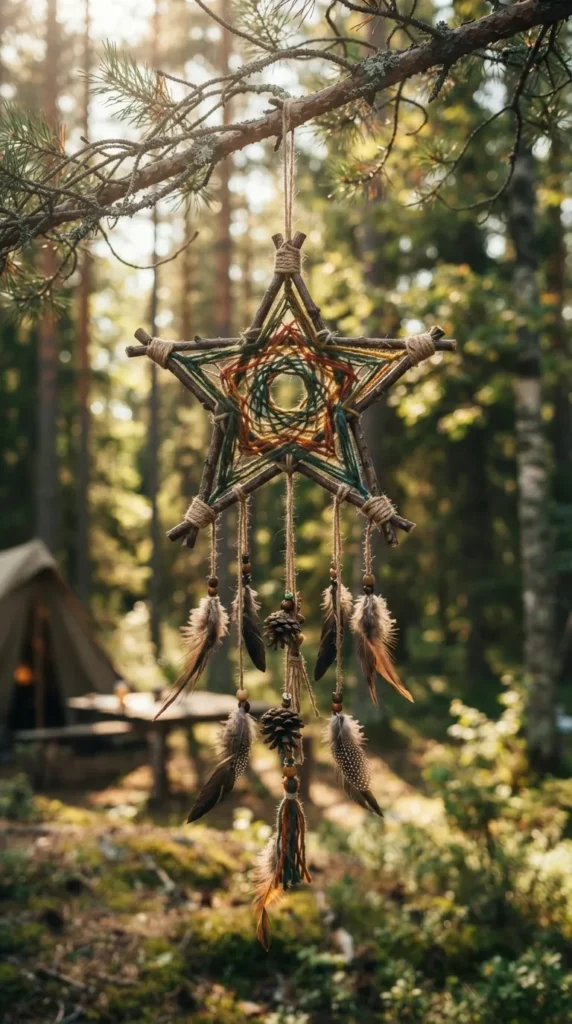
Craft rustic star-shaped dreamcatchers out of forest twigs and colorful yarn to hang from your tent ceiling or campsite tree branches to catch sweet campsite dreams.
What This Idea Means
Geometric twig construction develops spatial understanding and fine knotting control while bringing traditional native-inspired fiber art to outdoor camping settings.
Materials Needed
- 5 straight fallen twigs of equal length (about 8 inches long)
- Colorful yarn or embroidery thread
- Natural jute twine
- Feathers, wooden beads, and small pinecones
- Scissors
How to Make It
- Arrange 5 twigs on a flat surface into a classic 5-point star outline.
- Tie the overlapping twig corners together securely using jute twine, wrapping diagonally to lock the star shape.
- Tie a long strand of colorful yarn to one point of the star.
- Weave and criss-cross the yarn randomly back and forth between all five points to build a web pattern inside.
- Tie long pieces of yarn hanging down from the bottom two points of the star.
- Thread wooden beads and tie natural feathers onto the dangling yarn tails.
Tips and Variations
- Tip: Use twigs of similar thickness so your star frame stays flat and balanced when hanging.
- Variation: Wrap glow-in-the-dark yarn through the central web so the star catcher glows softly when tent lights go out.
8. Enchanted Moss & Bark Fairy Houses
Introduction
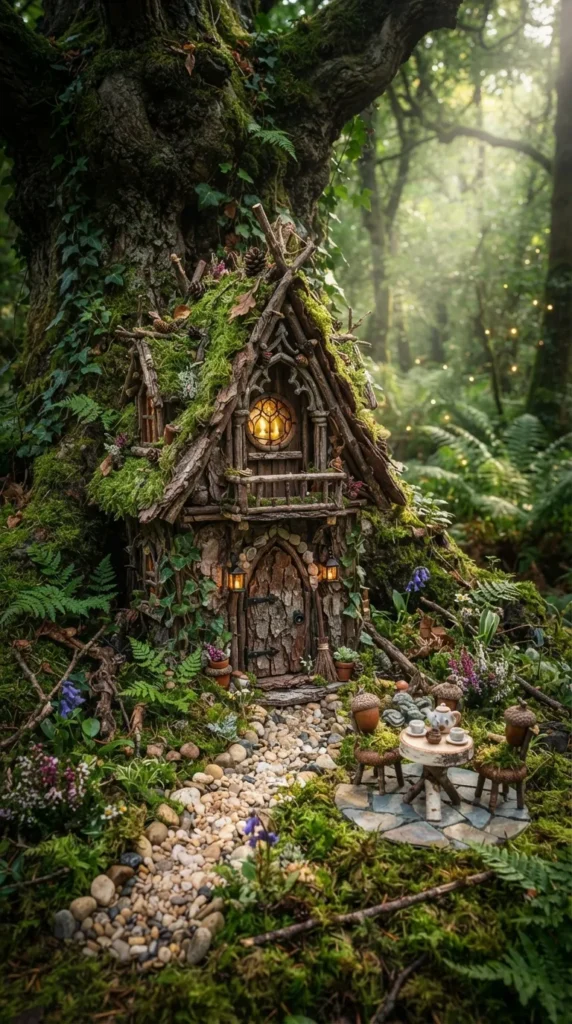
Build whimsical miniature fairy homes nestled at the base of campsite trees using natural materials found directly on the forest floor, such as bark, moss, pebbles, and twigs.
What This Idea Means
Eco-building encourages architecture, design, and environmental appreciation. Constructing fairy dwellings fosters imaginative storytelling using 100% natural, biodegradable forest items.
Materials Needed
- Strips of fallen tree bark, driftwood, and sturdy twigs
- Wild sheet moss, lichen, and soft pine needles
- Smooth pebbles, acorn caps, and nut shells
- Mud or non-toxic clay (for natural mortar)
- Wildflowers and leaf petals
How to Make It
- Select a quiet, safe spot at the base of a large tree trunk or rock outcrop around your campsite.
- Lay a flat stone foundation for your fairy dwelling floor.
- Lean sturdy bark slabs and thick twigs against the tree trunk or each other to form walls and a slanted roof.
- Use wet mud or natural clay as mortar to stick stones and wall twigs together securely.
- Cover the roof with soft green sheet moss to make a waterproof fairy roof.
- Create mini furniture inside, like an acorn cap table and leaf bedding.
Tips and Variations
- Tip: Never harvest living moss or peel bark directly off growing trees; use only fallen natural items from the ground.
- Variation: Construct a tiny twig fence and pebble pathway leading up to the front door of the fairy house.
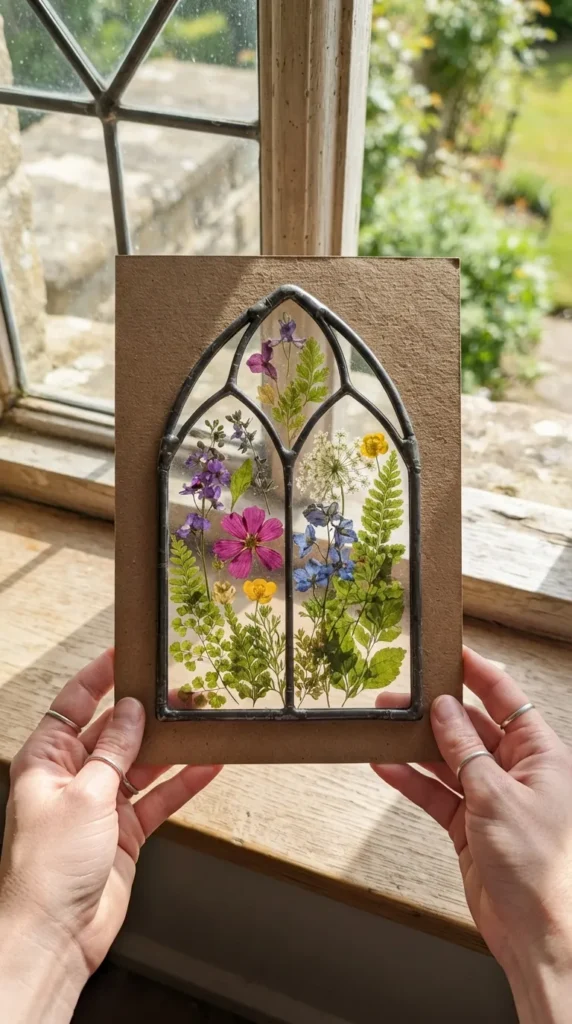
9. Magical DIY Nature Stained Glass Frames
Introduction
Capture the vibrant colors of forest leaves and petals by framing them inside clear self-adhesive contact paper to create sun-catching outdoor art frames.
What This Idea Means
Transparency art demonstrates how light interacts with natural colors. Mounting delicate flowers inside frames turns plant specimens into radiant window art.
Materials Needed
- Clear self-adhesive contact paper
- Sturdy cardstock or cereal box cardboard
- Collected forest blossoms, colorful leaves, ferns, and petals
- Jute twine for hanging
- Hole punch and scissors
How to Make It
- Cut a geometric frame shape (square, circle, or rectangle) out of sturdy cardstock.
- Cut a piece of clear contact paper slightly larger than your cardboard frame and peel off the backing.
- Stick the cardboard frame onto the sticky side of the contact paper.
- Press thin leaves, flower petals, and ferns onto the sticky center window area.
- Cut a second matching sheet of clear contact paper and press it firmly over the flowers to seal them inside.
- Trim off excess contact paper, punch a hole at the top, and tie a loop of twine for hanging.
Tips and Variations
- Tip: Choose flat, thin petals and leaves; thick flower centers like whole clover buds contain moisture that prevents full sealing.
- Variation: Use black cardstock for the frame border to create a high-contrast vintage stained-glass window look.
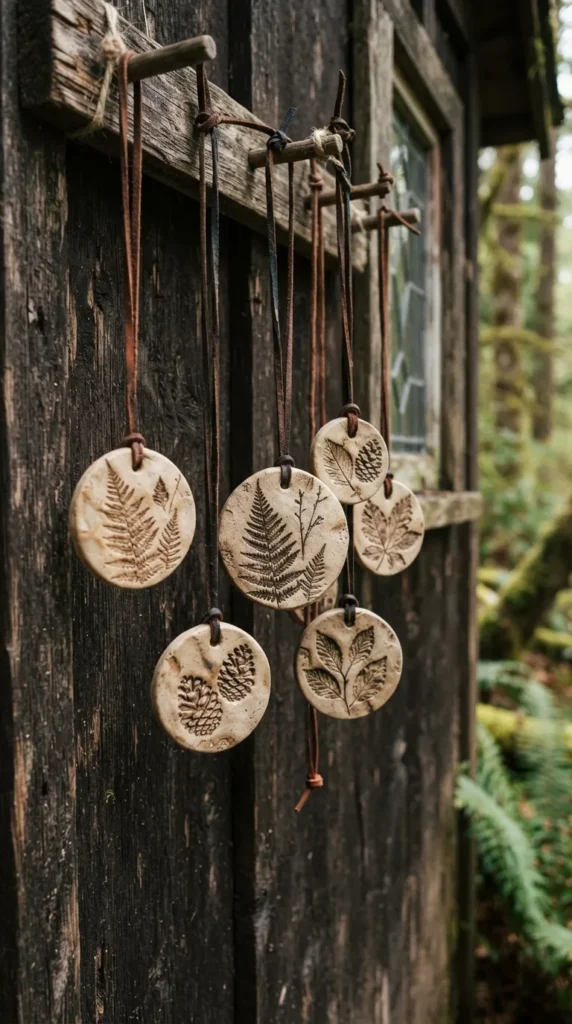
10. Rustic Clay Forest Animal Impressions
Introduction
Press forest leaves, pine needles, acorns, and animal tracks into self-hardening air-dry clay to craft rustic clay medallions and nature impressions.
What This Idea Means
Impression crafting teaches texture mapping and fossil preservation concepts. It allows kids to create lasting relief sculptures of wild forest flora and fauna.
Materials Needed
- Air-dry clay (terracotta or natural white)
- Rolling pin or smooth water bottle
- Forest items with strong textures (evergreen sprigs, textured leaves, pinecones)
- Round cookie cutters or plastic cups
- Straw (for making hanging holes)
- Jute twine or leather cord
How to Make It
- Roll out a ball of air-dry clay on a flat surface to about 1/4 inch thickness.
- Cut circular medallion shapes using a cookie cutter or cup rim.
- Press a textured leaf, cedar sprig, or pinecone firmly into the clay surface.
- Carefully lift the plant item away to reveal a detailed textural impression in the clay.
- Poke a clean hole near the top edge of the clay medallion using a straw.
- Allow the clay to dry in the sun for 24 to 48 hours, then thread with leather cord.
Tips and Variations
- Tip: Paint inside the dry clay impressions with watercolor paint or acrylic wash to highlight delicate leaf vein textures.
- Variation: Press forest animal track molds into larger clay plaques to create educational woodland tracking tiles.
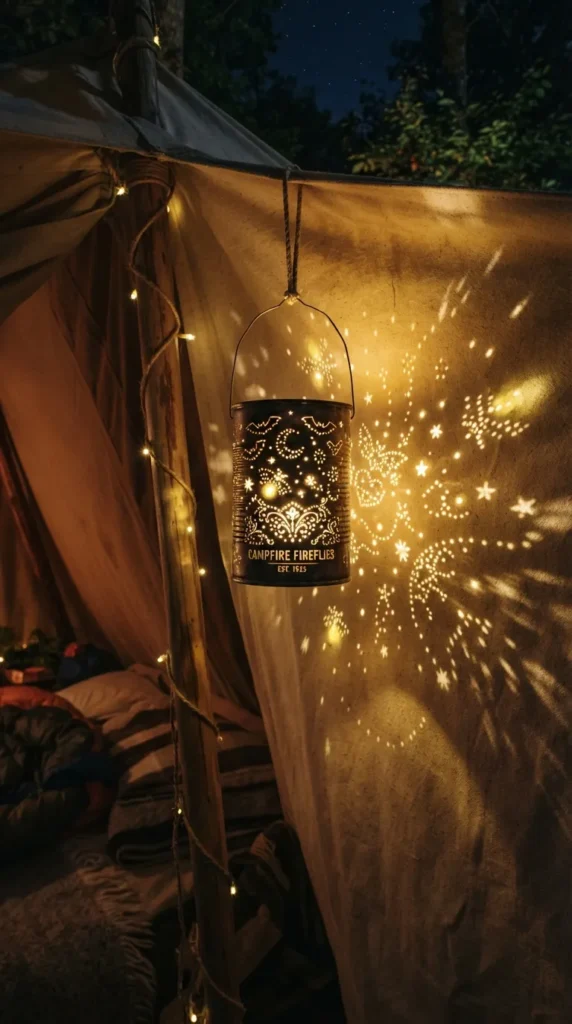
11. Mystical Firefly Jar Lanterns with Punch Paper
Introduction
Recreate the nostalgic magic of catching fireflies on summer nights with punched paper lanterns that project sparkling pinpricks of light across your campsite tent walls.
What This Idea Means
Light projection design teaches spatial geometry and light transfer. Punched hole patterns allow kids to map out constellations and firefly patterns using light beams.
Materials Needed
- Clean metal soup cans or heavy cardstock cylinders
- Push pins, small nails, or hole punchers
- Hammer (for metal cans, with adult assistance)
- Battery-operated LED tea lights
- Paint and paintbrushes
- Wire or twine handles
How to Make It
- If using metal cans: fill the can with water and freeze it solid overnight before crafting (the ice keeps the metal from denting while punching).
- Paint the outside of the can or cardstock tube with dark night-sky acrylic paint (navy blue, purple, or black).
- Draw firefly and constellation dot patterns onto the painted surface using a pencil.
- Use a push pin or nail to punch holes cleanly through each drawn dot point.
- Melt out any ice, dry the can, and attach a wire handle around the top rim.
- Drop a bright LED tealight inside to project firefly light patterns onto nearby surfaces!
Tips and Variations
- Tip: Use varying pin sizes to create large and small light pinpricks for realistic star and firefly depth.
- Variation: Wrap translucent yellow tissue paper around the inside of the punched can so the light glows soft golden firefly yellow.
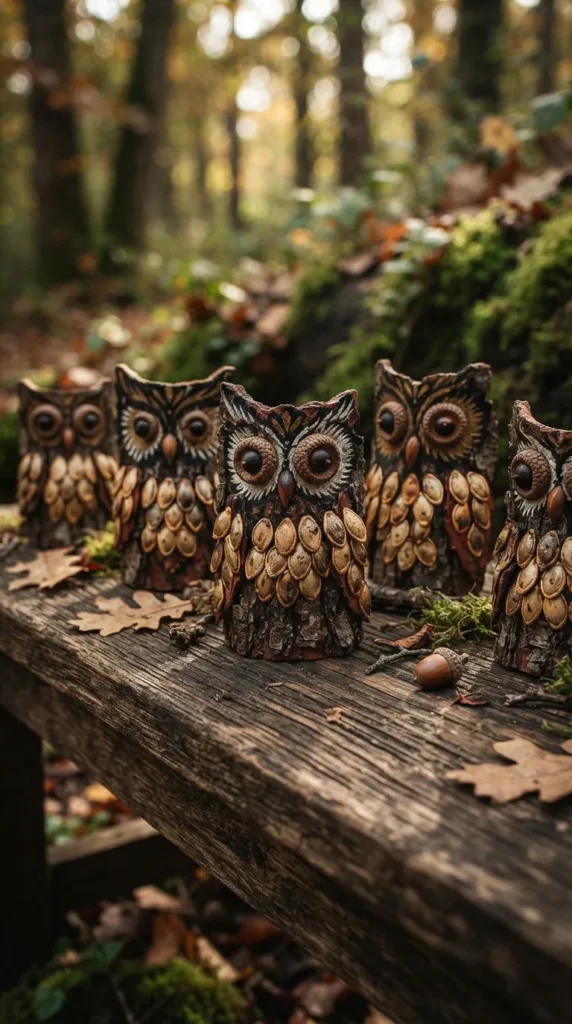
12. Magical Woodland Bark Owls & Creatures
Introduction
Bring pieces of fallen tree bark to life by turning organic timber shapes into adorable woodland owls, foxes, and magical forest guardians using simple paints and natural elements.
What This Idea Means
Transformative art encourages kids to look beyond basic shapes in nature. Painting bark pieces builds appreciation for natural organic patterns, grain, and tree textures.
Materials Needed
- Thick pieces of fallen tree bark
- Acorn caps, pumpkin seeds, and small pebbles
- Acrylic paint set and detail brushes
- Craft glue or low-temp glue gun
- Googly eyes or buttons (optional)
How to Make It
- Clean fallen bark pieces with a stiff dry brush to remove loose dirt and dust.
- Look at the shape of the bark to decide what forest creature it resembles (a tall owl, a sleeping fox, or a forest gnome).
- Glue two acorn caps near the top of the bark piece to serve as wide owl eye sockets.
- Paint white and black eyes inside the acorn caps, or glue googly eyes inside.
- Glue pumpkin seeds or small pointed stone chips in rows down the front to mimic feathery chest scales.
- Paint subtle beak and wing details along the sides using acrylic craft paints.
Tips and Variations
- Tip: Curved birch bark or cedar bark provides smooth surfaces that are especially easy for young children to paint.
- Variation: Glue small magnetic strips to the back of smaller bark creatures for rustic RV or refrigerator art.
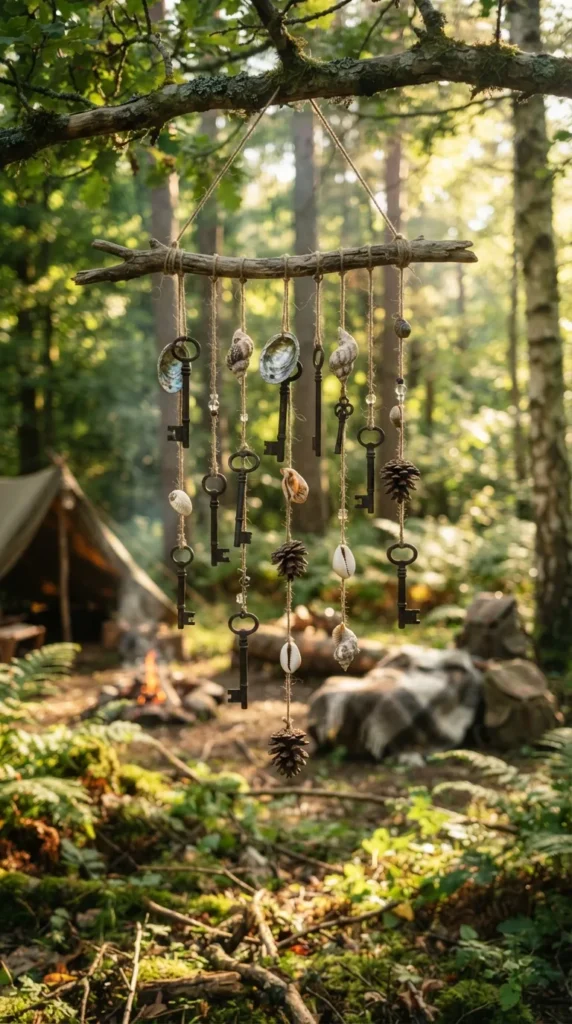
13. DIY Campsite Wind Chimes with Forest Treasures
Introduction
Listen to the soothing sounds of the forest breeze with custom campsite wind chimes crafted from twigs, shells, pinecones, and metallic keys suspended on jute twine.
What This Idea Means
Acoustic craft construction explores sound, balance, and kinetic movement, converting gentle breeze movements into melodic outdoor music.
Materials Needed
- 1 thick sturdy branch (about 12 inches long) to act as the main chime hanger
- Jute twine or strong fishing line
- Sound-making items (old keys, metal washers, tin jar lids, sea shells)
- Forest treasures (pinecones, driftwood pieces, acorns)
- Paint and brushes (optional)
How to Make It
- Paint the main hanging branch with bright stripes or leave it natural wood.
- Cut 4 to 6 pieces of jute twine in varying lengths (ranging from 10 to 18 inches).
- Tie one end of each string securely along the main branch, spacing them about 2 inches apart.
- Thread shells, pinecones, metal keys, and washers onto each hanging string.
- Ensure metal and shell pieces hang at heights where they gently tap against each other when the wind blows.
- Tie a hanging loop string to both ends of the main branch and suspend it from a sturdy campsite tree branch.
Tips and Variations
- Tip: Group metal washers and keys close together on adjacent strings so even a light breeze creates pleasant clinking sounds.
- Variation: Paint keys and jar lids with metallic or neon paints so the chime reflects sunlight during the day.
14. Magical Solar Printed Leaf Lanterns
Introduction
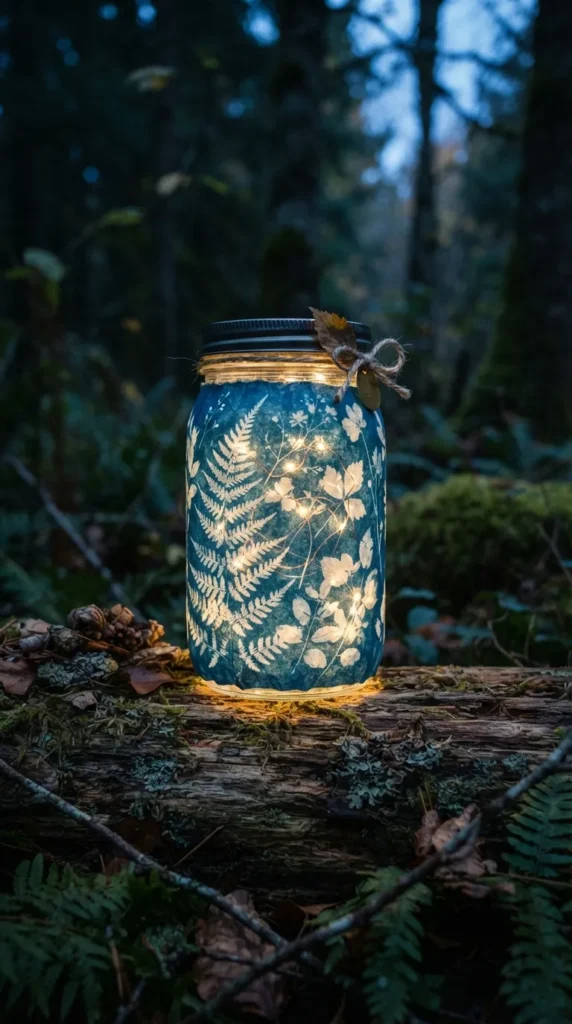
Combine solar print artwork with glowing jar crafting to build breathtaking night lanterns covered in intricate cyan-blue botanical leaf silhouettes.
What This Idea Means
Integrated craft design merges daytime sun printing with nighttime illumination. The blue solar paper creates a deep twilight backdrop when glowing from within.
Materials Needed
- Finished sun print paper sheets (made with leaves and ferns)
- Clean glass jars or plastic containers
- Mod Podge or double-sided tape
- LED wire fairy lights or battery tealights
- Decorative ribbon or twine
How to Make It
- Measure the height and circumference of your glass jar.
- Cut your sun print paper sheet into a rectangular band that matches the jar dimensions.
- Wrap the solar print sheet smoothly around the outside of the glass jar.
- Secure the paper edges using Mod Podge or double-sided tape.
- Tie a piece of jute twine or burlap ribbon around the neck of the jar.
- Insert a strand of battery-operated LED fairy lights inside the jar to illuminate the white and indigo leaf silhouettes from behind.
Tips and Variations
- Tip: Lightly oil the back of the paper with a drop of vegetable oil on a paper towel to make the paper more translucent before wrapping.
- Variation: Punch tiny needle holes along the outlines of the printed leaves so bright light pinpricks shine through the blue paper.
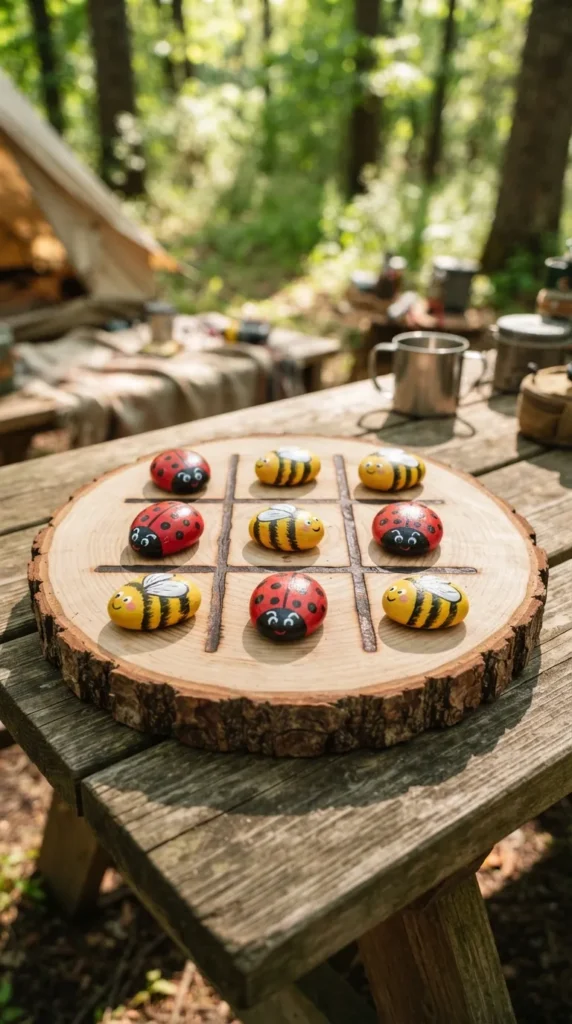
15. Painted Rock Campsite Tic-Tac-Toe Game
Introduction
Create an eco-friendly, portable outdoor board game using smooth river stones painted as woodland bugs (ladybugs vs. bumblebees) and a game board made from a log slice or canvas bag.
What This Idea Means
Game crafting combines artistic painting with interactive play. Making reusable campsite games provides screen-free entertainment during campsite downtime.
Materials Needed
- 10 smooth, rounded river stones of similar size
- Acrylic paints (yellow, red, black, white)
- Paint pens
- Flat wooden log slice or fabric drawstring bag
- Permanent black marker or painter’s tape
- Outdoor clear sealer
How to Make It
- Wash 10 river stones and let them dry thoroughly.
- Paint 5 stones as red ladybugs with black spots and 5 stones as yellow bumblebees with black stripes.
- Use paint pens to add fine details like eyes and wing outlines to the bug rocks.
- Seal all painted rocks with a clear protective outdoor varnish.
- Use a marker or tape to draw a 3×3 tic-tac-toe grid onto a flat log slice or fabric bag surface.
- Store the bug rocks inside the bag when done, ready for game night around the campfire!
Tips and Variations
- Tip: Using a canvas drawstring bag as the game board means the entire game packs away safely for hiking trips.
- Variation: Paint the stones as forest owls vs. campfire flames for a themed camping aesthetic.
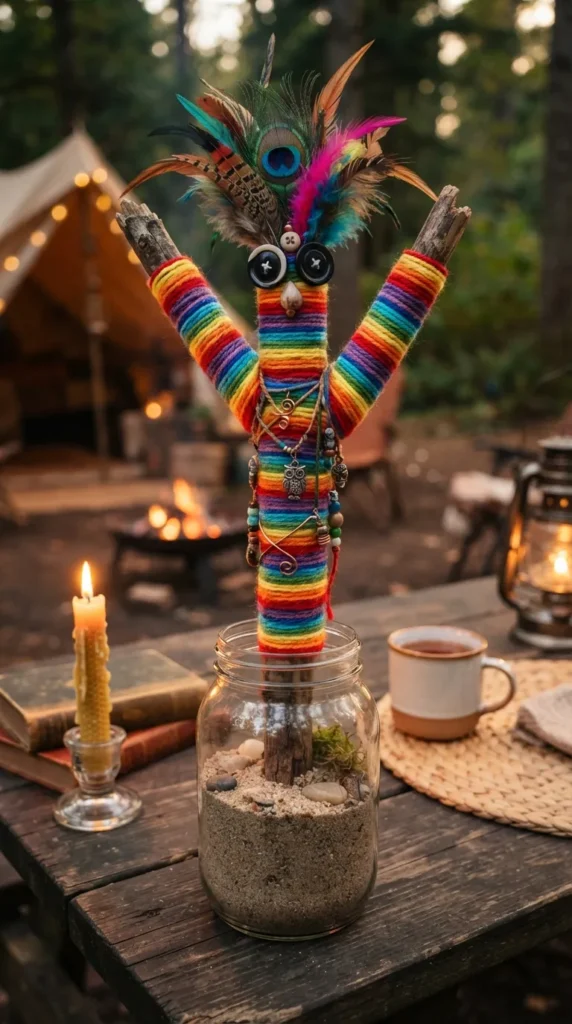
16. Whimsical Yarn-Wrapped Twig Tree Spirits
Introduction
Channel forest folklore by crafting colorful tree spirits and woodland guardians using fallen branches wrapped in vibrant yarn colors, complete with friendly button faces.
What This Idea Means
Fiber wrapping builds color coordination and motor rhythm. It breathes personality into simple sticks, making whimsical guardians to watch over campsites.
Materials Needed
- Forked Y-shaped tree branches or straight fallen sticks
- Assorted colorful yarn skeins and metallic threads
- Craft glue
- Wooden beads, buttons, or googly eyes
- Feathers and dried grass
How to Make It
- Select a sturdy Y-shaped branch with smooth bark.
- Tie a knot of colorful yarn around one branch tip.
- Wrap yarn tightly around the wood, working your way down the branch in smooth, overlapping turns.
- Switch yarn colors frequently by knotting new threads together to create colorful stripes.
- Glue two wooden buttons or googly eyes near the top fork of the stick to create the spirit face.
- Glue feathers or dried grass at the top of the stick to serve as wild forest hair.
Tips and Variations
- Tip: Apply a small dab of craft glue every few inches while wrapping to prevent yarn from slipping down smooth bark.
- Variation: Stand wrapping twigs in a small jar filled with sand to create a bright centerpiece for picnic tables.
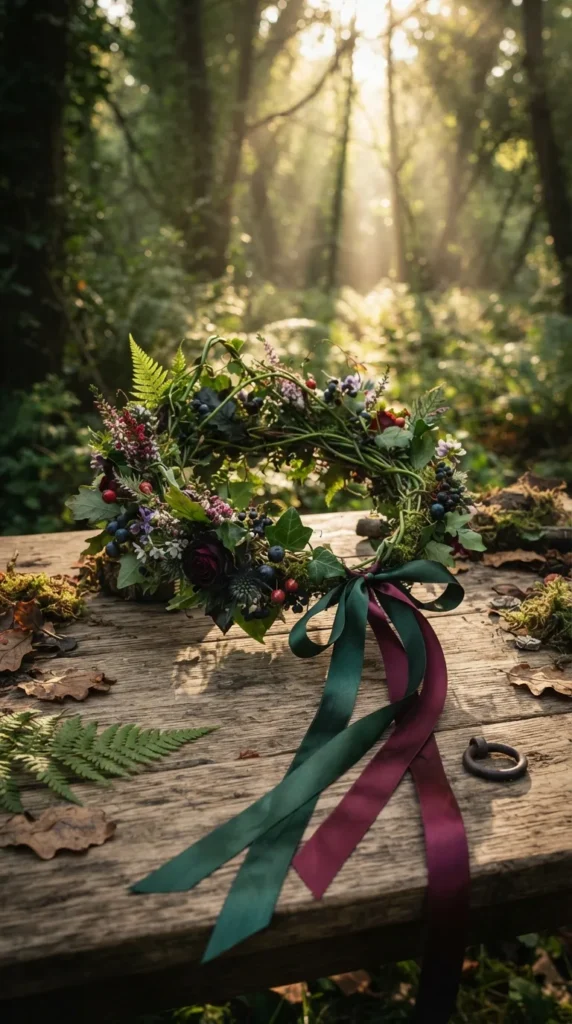
17. Enchanted Forest Berry & Leaf Crown
Introduction
Transform young campers into forest royalty with handmade botanical crowns woven from flexible green vines, colorful autumn leaves, and wild forest blossoms.
What This Idea Means
Wearable nature art celebrates seasonal botanical growth. Weaving plant stems into crowns teaches flexible structuring and wearable craft techniques.
Materials Needed
- Flexible green vines (like grapevines or soft willow stems) or floral wire
- Floral tape (green)
- Fresh or dried forest leaves, ferns, and wildflowers
- Colorful ribbon strands
- Scissors
How to Make It
- Bend a long, flexible green vine into a circle that fits comfortably around the child’s head.
- Secure the vine ends together by wrapping them with green floral tape or thin wire.
- Collect small clusters of fresh forest leaves, ferns, and colorful wildflowers.
- Attach plant stems onto the vine ring one by one, wrapping floral tape around the stems to secure them flat.
- Continue layering leaves and blossoms around the entire crown until full and lush.
- Tie long pieces of colorful satin ribbon at the back of the crown to float down in the breeze.
Tips and Variations
- Tip: Spritz the finished crown lightly with water to keep real flowers fresh and vibrant throughout camp day photos.
- Variation: Include faux silk flowers and leaves if you want a durable crown that lasts through long camping vacations.
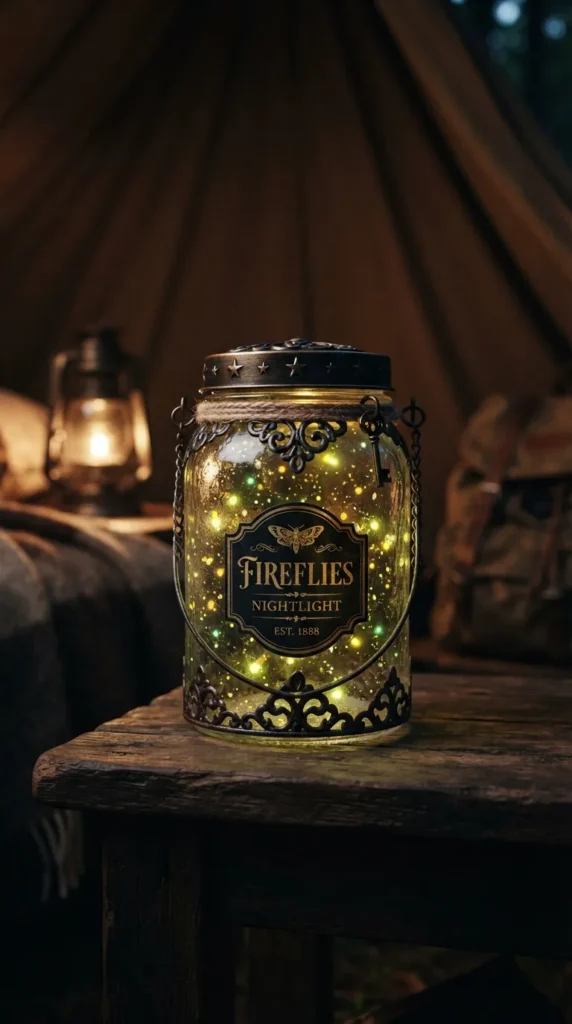
18. DIY Glowing Campsite Firefly Jar Nightlight
Introduction
Create a glowing mason jar nightlight filled with glowing paint specks that mirror a jar full of twinkling fireflies caught under the starry night sky.
What This Idea Means
Luminescent art uses photo-luminescent pigments to store light and glow softly in darkness, easing bedtime anxieties inside dark camping tents.
Materials Needed
- Clear glass mason jar with lid
- Glow-in-the-dark acrylic paint (green, yellow, and blue shades)
- Fine detail paintbrushes or wooden skewers
- Scrap paper
- Sunlight or flashlight (for charging glow paint)
How to Make It
- Unscrew the mason jar and clean the inside surface thoroughly.
- Dip the tip of a fine paintbrush or wooden skewer into glow-in-the-dark paint.
- Reach inside the jar and dab tiny paint dots all over the interior glass walls.
- Use different shades of glow paint (yellow, green, turquoise) to create depth.
- Let the paint dry completely inside the jar for 2 hours.
- Charge the paint by placing the jar in direct sunlight or under a bright flashlight, then take it into a dark tent to see it glow!
Tips and Variations
- Tip: Keep dots small and scattered; tiny pinprick dots look much more like realistic fireflies than large paint blobs.
- Variation: Glue a small plastic firefly toy onto a thread inside the cap so it hangs down in the center of the glowing dots.
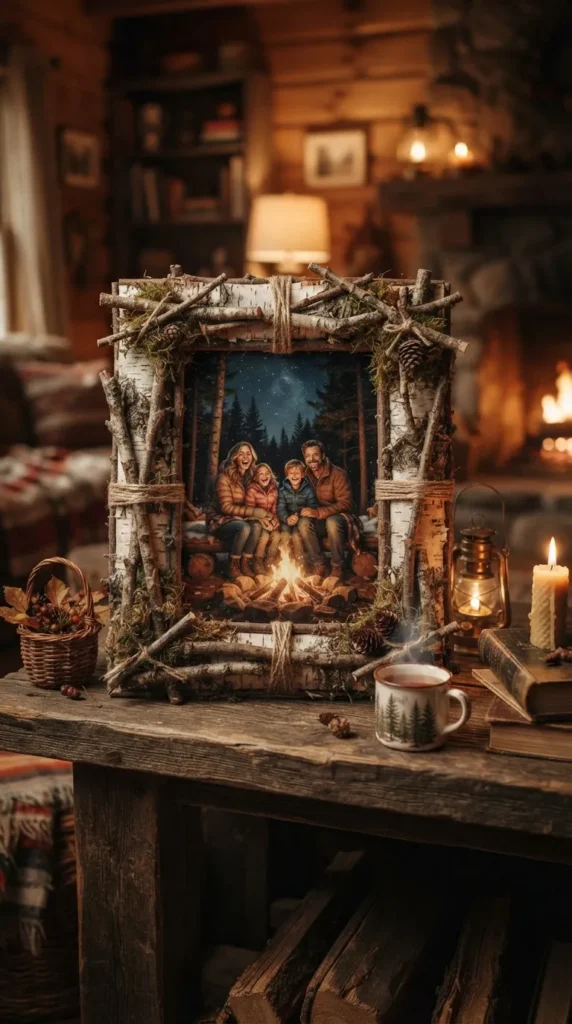
19. Rustic Birch Bark & Twig Picture Frames
Introduction
Preserve favorite camping vacation memories inside handmade rustic picture frames built from fallen birch bark, small twigs, and pinecone scales.
What This Idea Means
Framemaking preserves personal experiences. Using outdoor elements to frame camping photos connects visual memories directly to the wilderness environment.
Materials Needed
- Sturdy cardboard backing (cut from cereal boxes or packing boxes)
- Straight fallen twigs or strips of fallen birch bark
- Pinecone scales, acorn caps, and small seeds
- Craft glue or low-temp hot glue gun
- Printed campsite photo
- Scissors and ruler
How to Make It
- Cut a cardboard rectangle slightly larger than your printed camping photo (e.g., 6×8 inches for a 4×6 photo).
- Glue your printed campsite photo securely into the center of the cardboard rectangle.
- Measure and snap twigs to match the four border edges around the photo.
- Glue double rows of twigs or flat birch bark strips across the cardboard border to cover all exposed paper.
- Glue mini pinecone scales or acorn caps onto the four frame corners as decorative accents.
- Attach a cardboard easel stand or twine loop to the back for displaying on campsite tables or cabin walls.
Tips and Variations
- Tip: Use heavy-duty craft glue or hot glue to ensure thick natural twigs stay permanently attached to the cardboard backing.
- Variation: Write the camping date and location onto a strip of birch bark using a fine fine-liner pen and glue it along the bottom frame edge.
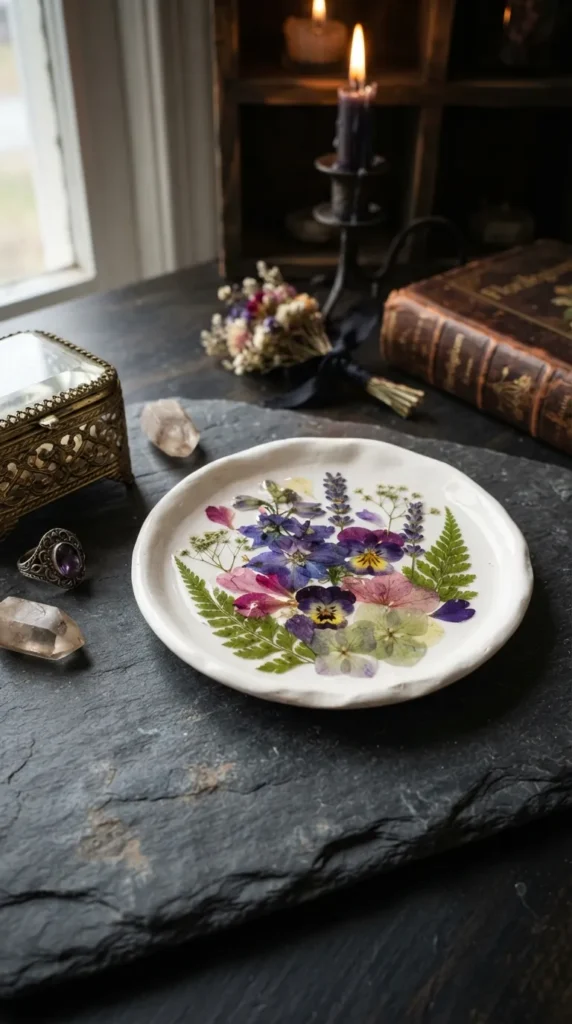
20. Magical Nature Mosaic Clay Plates
Introduction
Press colorful collected forest petals, leaves, and seeds into small decorative air-dry clay dishes to create stunning nature mosaic trinket plates.
What This Idea Means
Mosaic press art combines botanical color layout with sculptural pottery, turning delicate forest floor findings into permanent functional dishware.
Materials Needed
- Air-dry clay (white)
- Small oven-safe ceramic bowl (for shaping)
- Fresh colorful flower petals, green leaves, and small seeds
- Rolling pin
- Clear gloss Mod Podge or varnish
- Circular cookie cutter or plate template
How to Make It
- Roll out a portion of white air-dry clay to 1/4 inch thickness on a clean surface.
- Cut out a smooth circle using a small plate or template guide.
- Arrange colorful flower petals, fern leaves, and seeds in a mandala or mosaic pattern across the top clay surface.
- Lightly roll over the arrangement with a rolling pin to press the plants flat into the clay face.
- Press the clay disc gently inside a shallow bowl so the edges curve upward into a dish shape.
- Let dry for 24-48 hours, remove from the bowl, and seal with two coats of clear gloss glaze to preserve colors.
Tips and Variations
- Tip: Use vibrant petals like marigolds, pansies, and geraniums; they maintain rich bright colors best as the clay dries.
- Variation: Paint the rim edge of the dried clay dish with shiny gold or silver liquid leaf for an elegant finish.